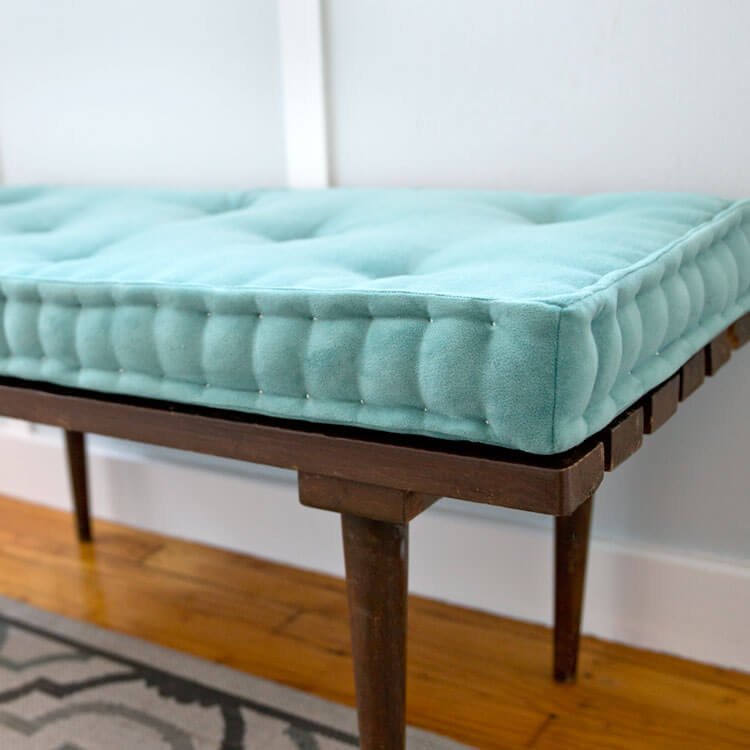
How to Make a French Mattress Cushion
- By Alyssa
- 3 hours
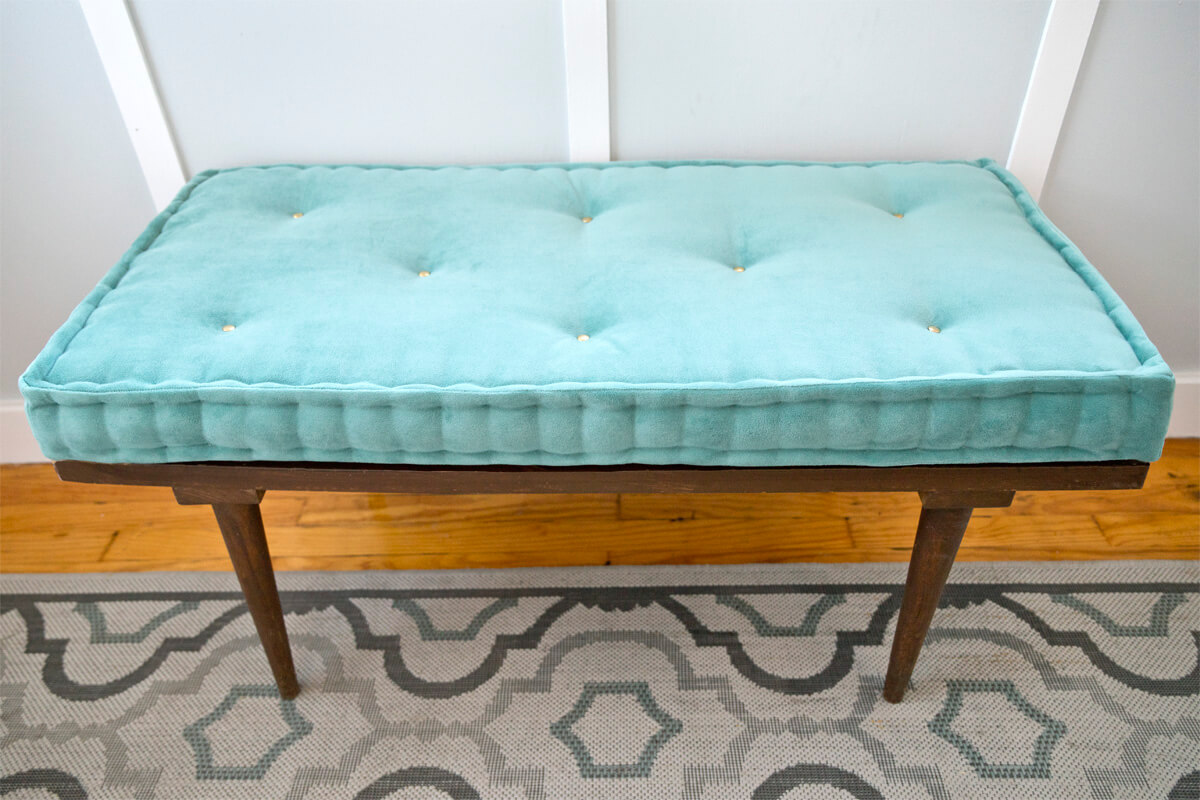
French Mattress Cushions are making a comeback and we are HERE for it. Whether your home looks like a farm house or an eclectic paradise, this style cushion is for you. I have been seeing this style all over my news feeds and I knew I needed to make a tutorial for you all because we love the look and we know you do too.
So, today I am going to show you how to make a French mattress style cushion.
NOTE: You can make any regular into a box cushion too if you have pre-made cushions that you want to give a face lift. If you are planning on using pre-made cushions, you can skip to step #4
I am making mine for a bench seat, but these are also really popular as floor cushions, decorative mattresses for day beds, and bay window cushions. So, here’s how you make your own.
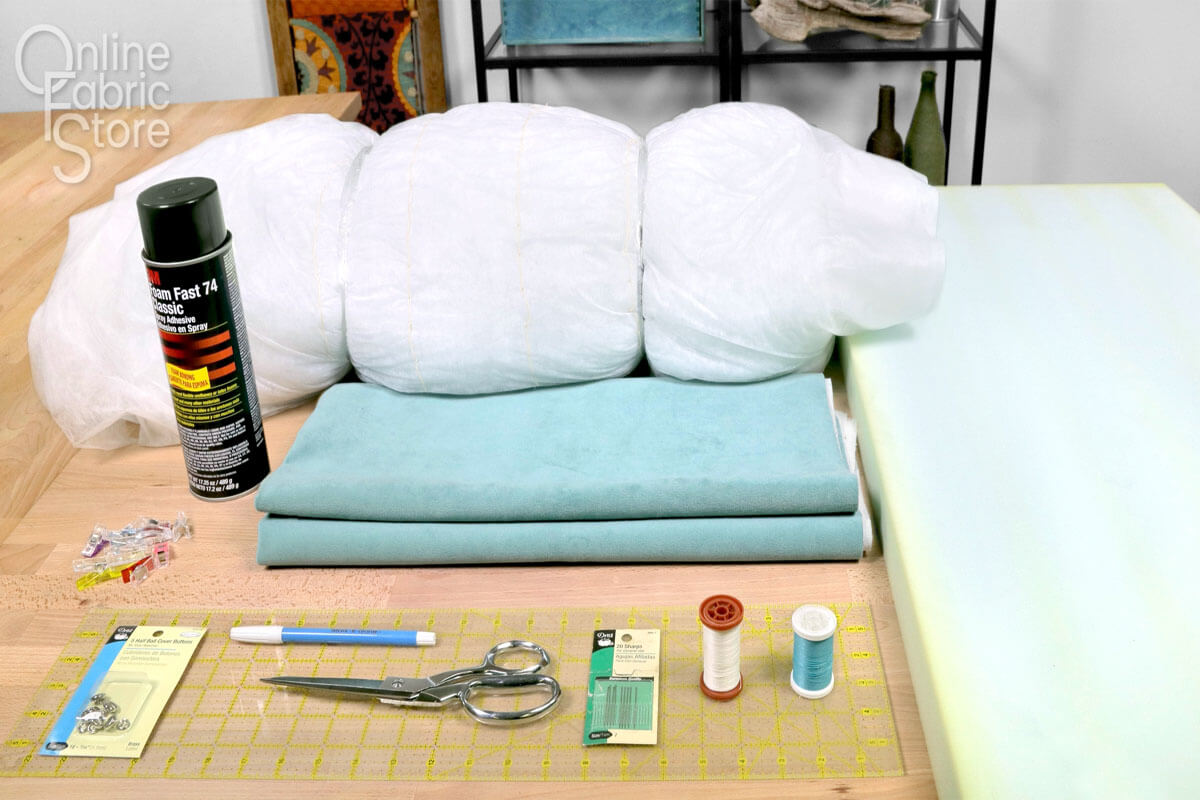
Materials
- Décor Fabric
- Upholstery Foam
- Dacron Padding
- Serrated or Electric Knife
- Spray Adhesive
- A Ruler
- Thread and Upholstery Thread
- Scissors
- A Tufting Needle and a Curved Tufting Needle (Which is Optional)
- A Fabric Marker
- Dritz Cover Buttons
- Pins or Clips
- A Sewing Machine
Related Products
-
 Cushion Dacron Wrap
-
 Knife Edge Dressmaker's Shears - 8"
-
 Curved Round Point Upholstery Needle Kit
-
 5 Half Ball Cover Buttons -Size 18
-
 3 x 24 x 54 Upholstery Foam
-
 Extra Strong Upholstery Thread - Natural
-
 Dual Duty XP Thread - Cloudy Blue, 250 Yards
-
 Pro Stick 65 Hi-Strength Web Spray Adhesive
-
 Dual Tipped Marking Pen - Blue & Purple
-
 20 Sharps Hand Needles - Size 7
-
 Bella Velvet Caribbean
-
 500 Quilting Pins - Size 28
-
 Quilter's Ruler - 6" x 24"
Video
Instructions
Step 1: Cut the foam & padding
Mine will be 17 x 36”.
Mark and cut the foam to the size you want your cushion
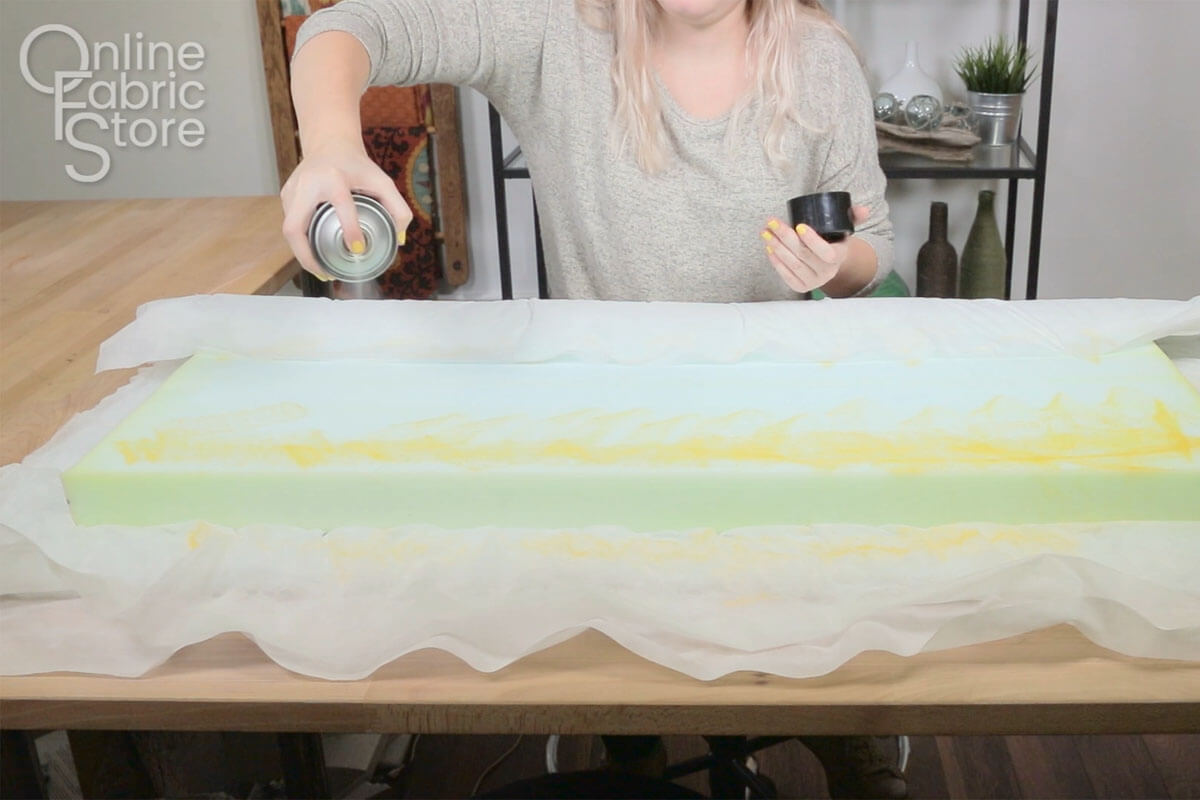
Lay the foam on the Dacron padding, wrap the padding around the piece, and trim off any excess padding.
Use a spray adhesive to attach the padding. Spray it onto the foam and lay the padding on top. Make sure the Dacron is laying as flat as possible and isn’t folded over in any spots or you will be able to feel them through your cushion.
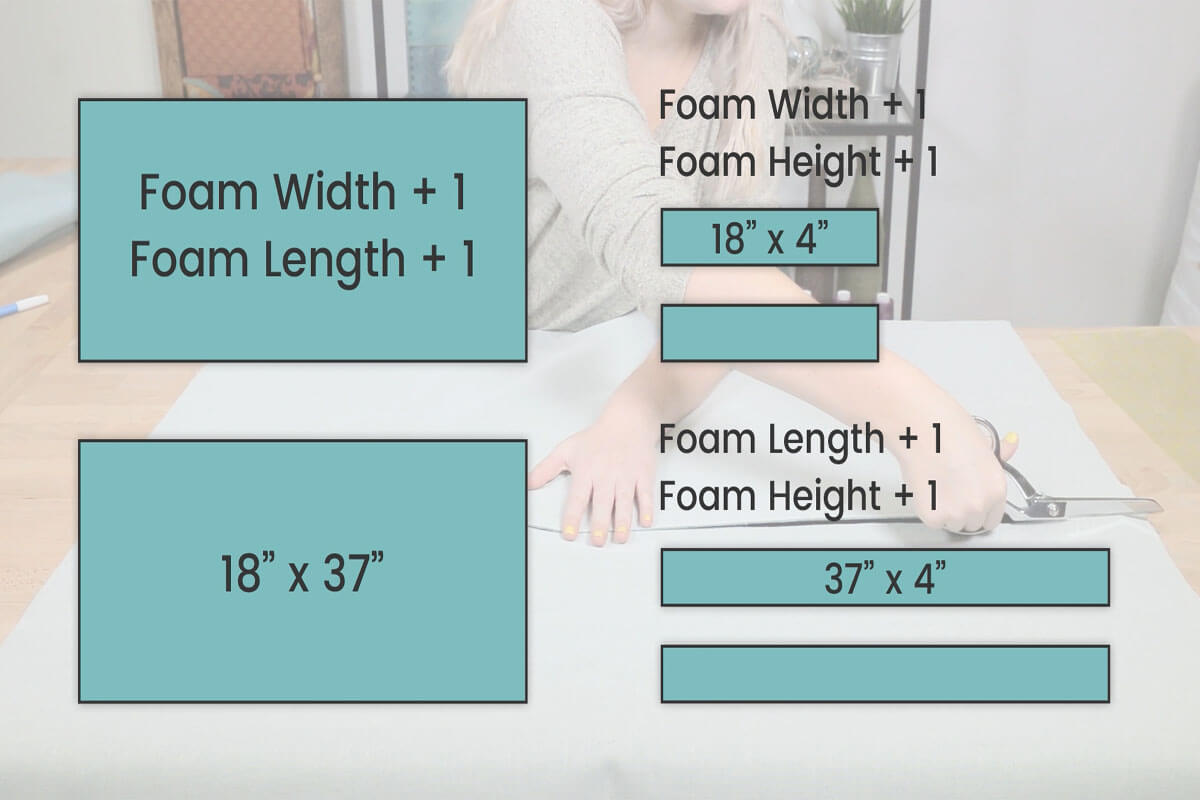
Step 2: Measure & cut the fabric
So I’m cutting two pieces that are 19 x 37”.
Measure and cut two pieces for the top and bottom. This should be the dimensions of your foam plus 1” to both sides to account for the seam allowance.
Then measure and cut the piece that will wrap around the sides of the cushion. If your fabric is wide enough, you may be able to get away with making this one piece of fabric, but I need four.
Each piece should be the length of the side they will be attached to plus 1” by the height of the foam plus 1” for seam allowance.
Step 3: Sew the pieces together
Pay attention to what pieces you are sewing if your cushion is not a perfect square, you want the sides that are the same length to be parallel each other.
Start by sewing the side pieces together. Lay the first two out with right sides together and sew up the short side with a half inch seam allowance. Then, take the next two pieces and do the same.
When you have the strip of all four pieces sewn together, pin the open ends of the first and last piece and sew them with right sides together.
Now, pin or clip the side walls to your top piece with right sides together. Make sure the corners match up on all four sides.
Sew around the perimeter.
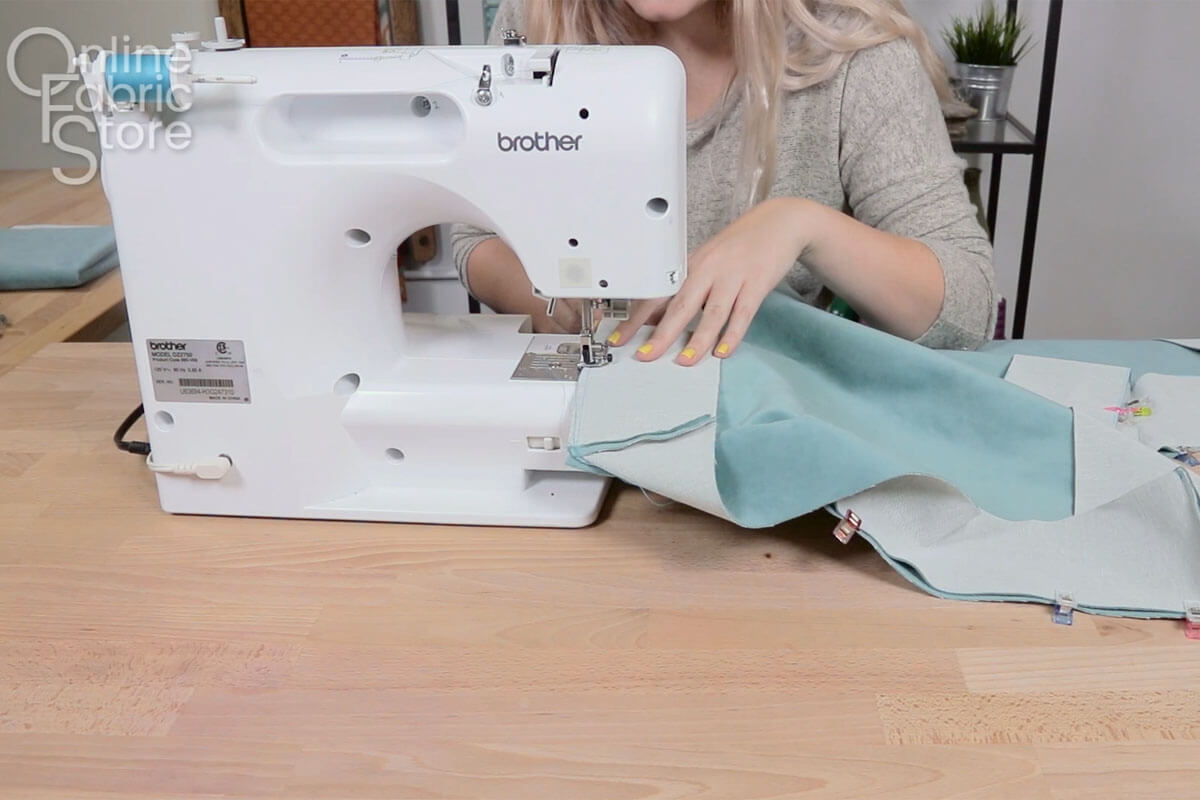
Then, pin or clip on the bottom piece to the other side of the wall. You are going to sew around the perimeter but leave an opening large enough to insert your foam.
Turn the cushion cover right side out and insert the foam.
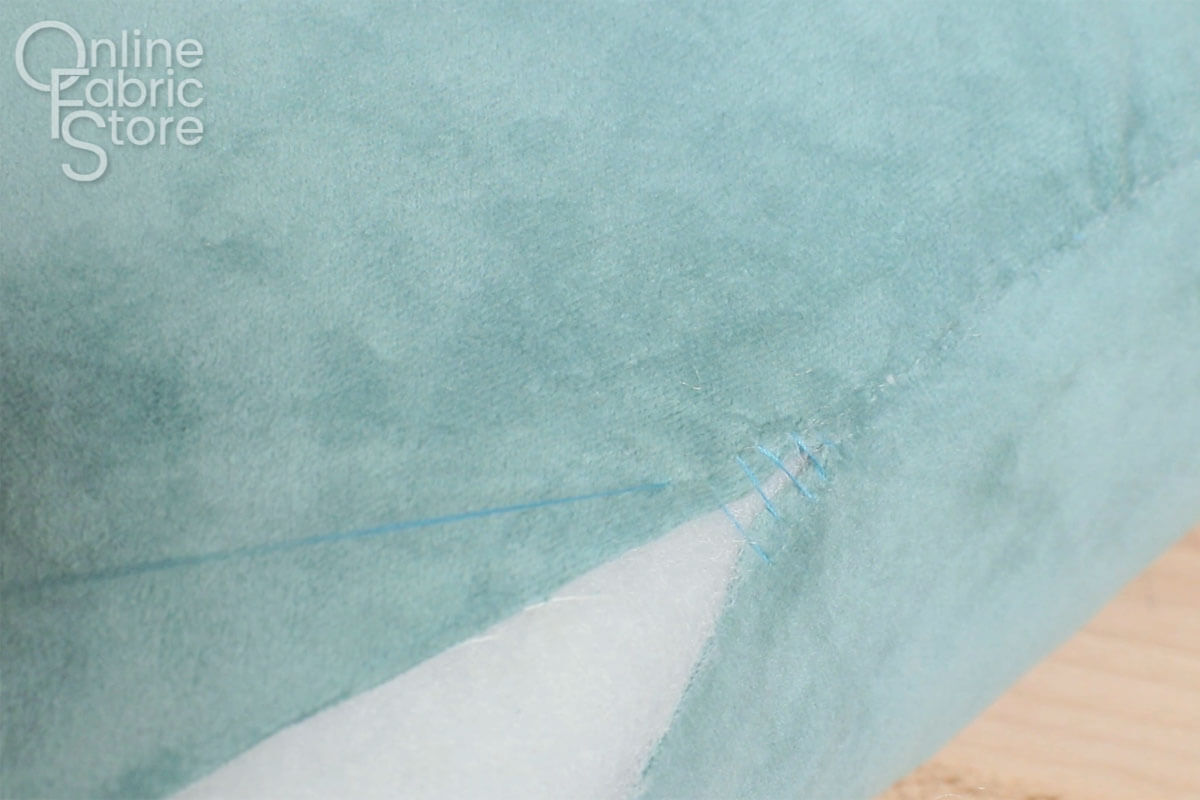
Sew the opening shut using an invisible stitch. See our Invisible Stitch Tutorial if you don’t know how.
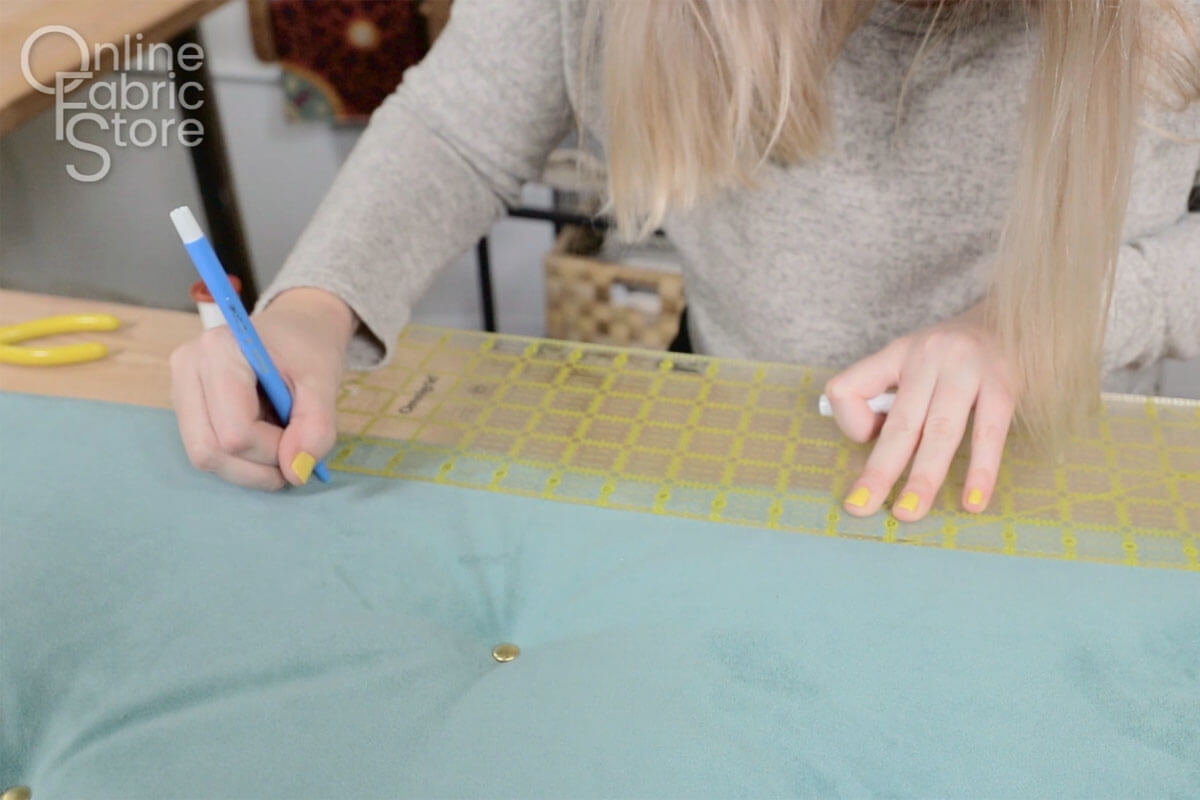
Step 4: Tuft and sew
Mark where you are going to tuft your cushion.
I am using Dritz cover buttons, so see our tutorial for details if you want customizable buttons.
String the button onto a piece of upholstery thread. Put both ends of the thread through the eye of an upholstery needle and stick them through the cushion to the other side.
Then string another button onto one end of the thread. Create a loose knot in the thread and take the other half and stick it through the loop. This will create a slip knot that you can tighten as much as you want.
To secure the button, just create a couple of normal knots around the base and trim the ends down.
Do this to all the places you wanted tufted.

Mine will be ½” from the edges and are going to be 1 and 1/2” apart.
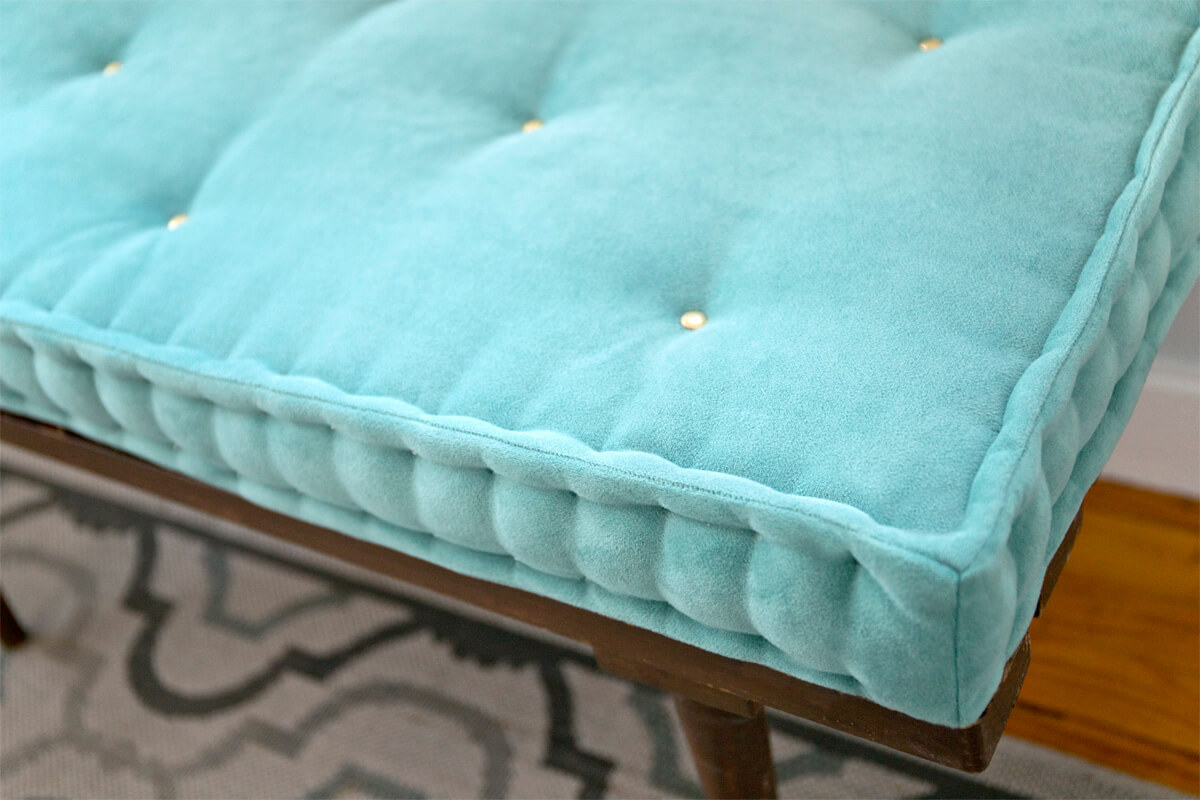
Now, to create that classic French mattress look.
Start by measuring and marking out where you are going to be creating the French mattress roll.
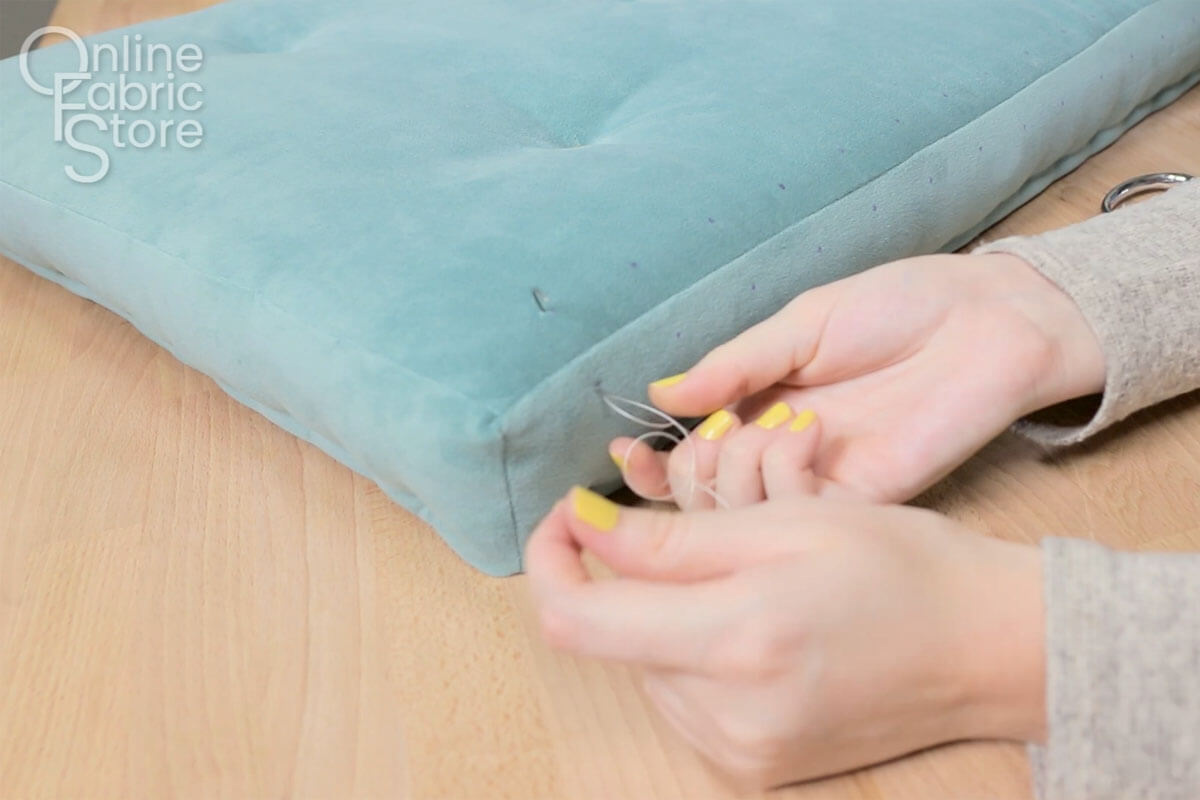
Take a long piece of upholstery thread and string one side through a curved needle.
You can use a regular needle for this step too, but the curved needle is a little easier to create the effect you are going for.
To hide the ends of the thread, we strung them on a needle and pushed them back into the cushion. Then we pushed the needle out at a random spot and pulled the thread tight before cutting it so it got lost inside the stuffing and fabric.
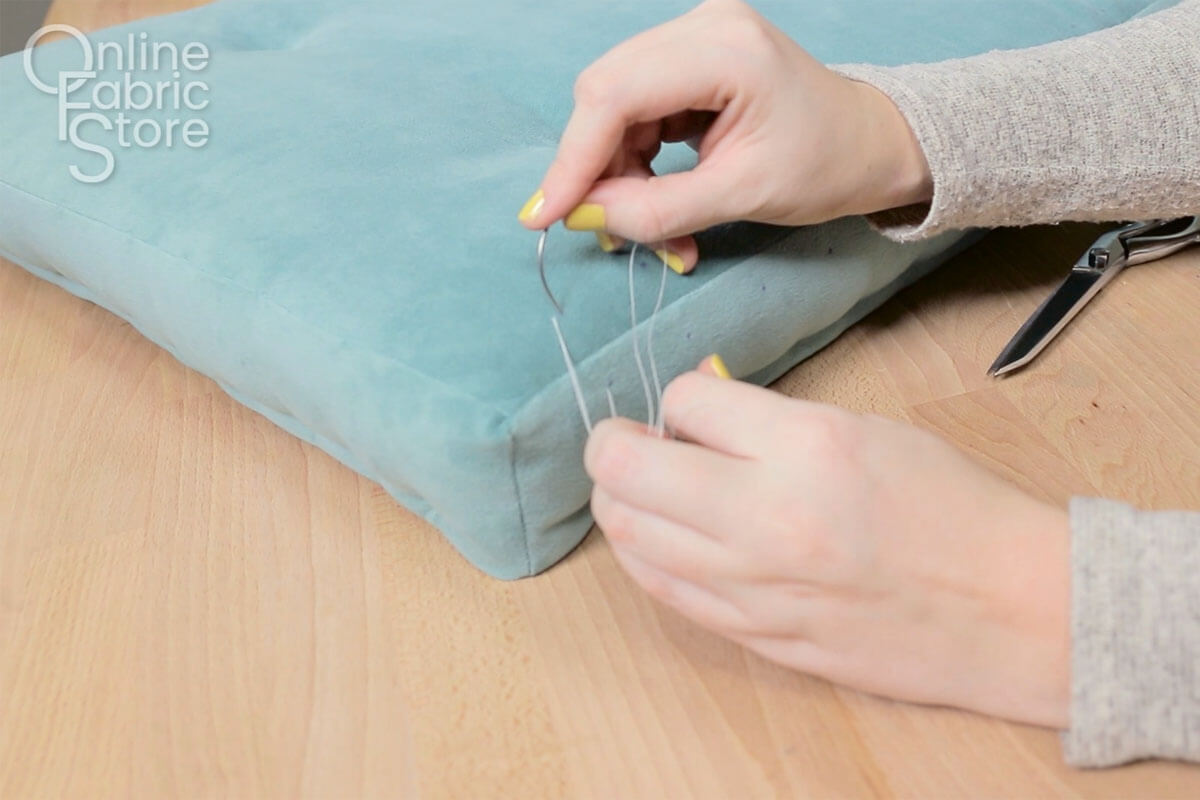
Bring the thread up through the side of the pillow where you marked and out the top.
Then sink the needle back into the fabric at the same place and come out where you originally started.
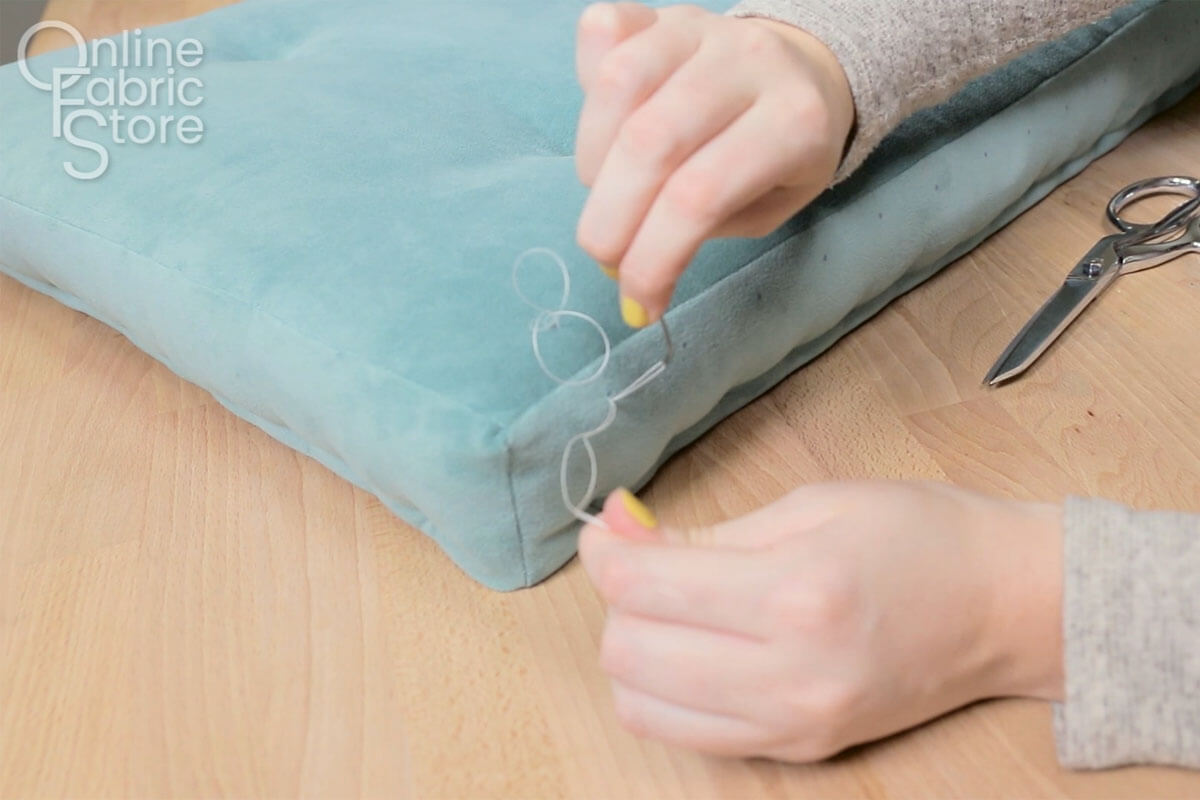
Create a slip knot the same way as before and pull it tight.
Repeat this around all of the edges of the cushion.


-
{{#each productSuggestedQueries.results}}
- {{query}} {{/each}}
-
{{#each categories.results}}
- {{html title}} {{/each}}
{{html attributes.description}}
{{/if}}-
{{#each queries.results}}
- {{query}} {{/each}}