How to Make a Halloween Themed Center Piece
- By Alyssa
- 45 minutes
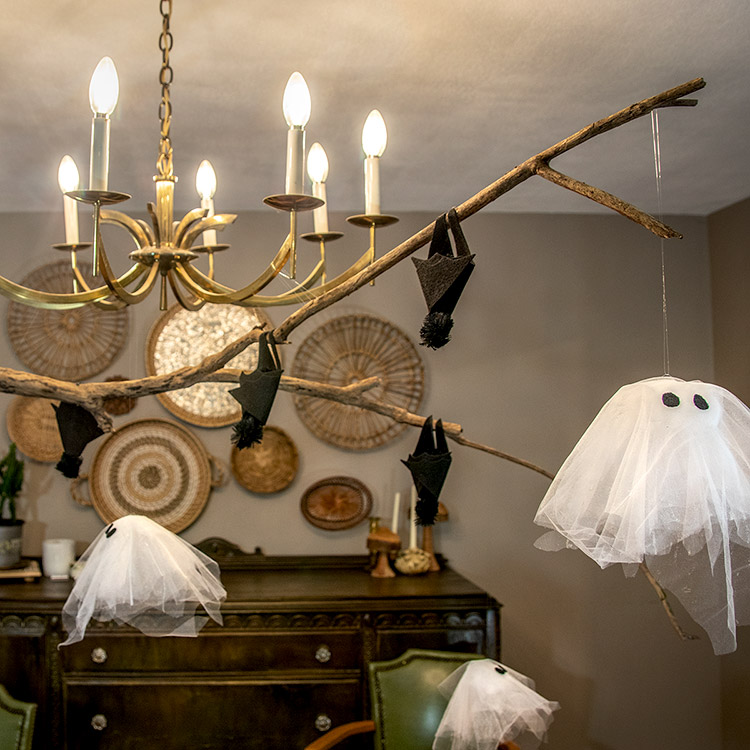
This year, I wanted to take my Halloween décor to the next level. I have some table top décor, but I wanted a center piece that could stay on the table for my annual Halloween party because as it stood I had to move the décor any time I wanted to use the table to eat.
While thinking about it, I realized that clear thread could be used to make a piece that hung above the table and wouldn’t interfere with my spook table setting.
I chose to make mine with bats and ghosts, but I could see spiders being a really great addition as well.
Materials
- A stick
- Black spray paint
- Clear thread
- Black felt sheets
- Black bear skin faux fur
- Hot glue gun
- White tulle
- Liquid starch

Related Products


Video
Instructions
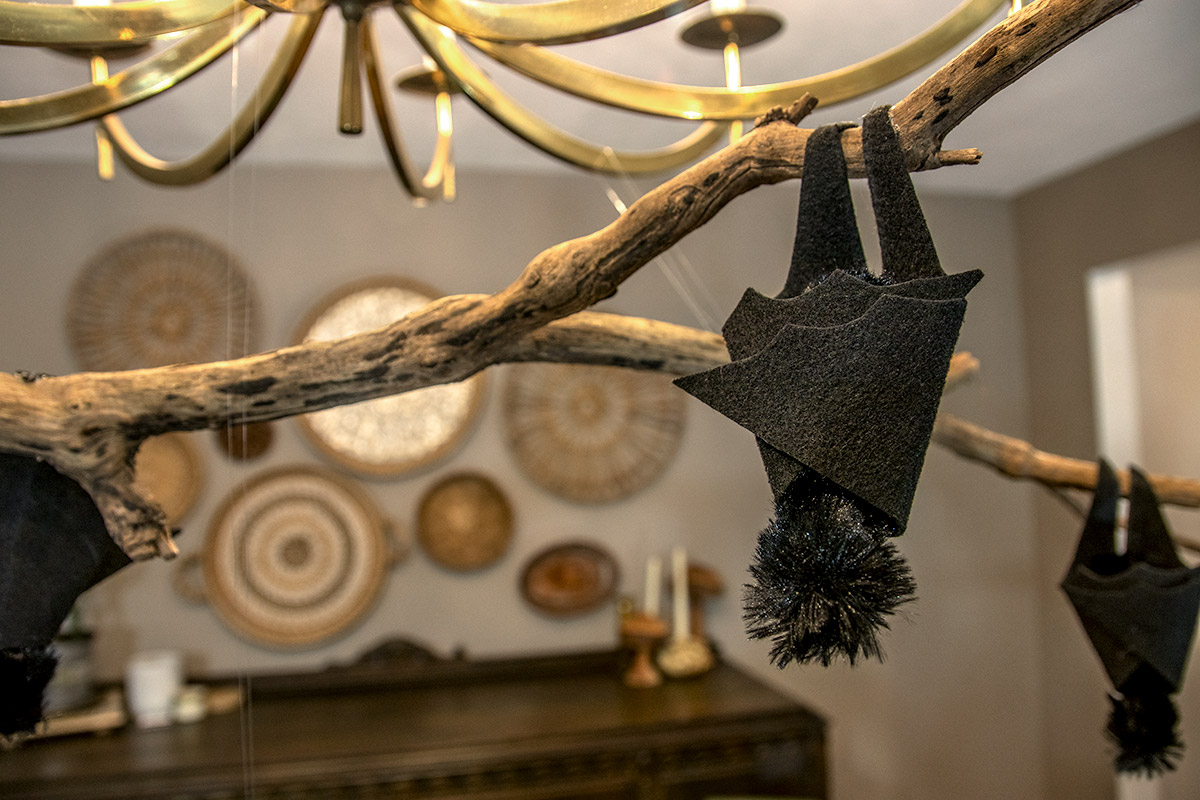
Step 1 – Make the Bats
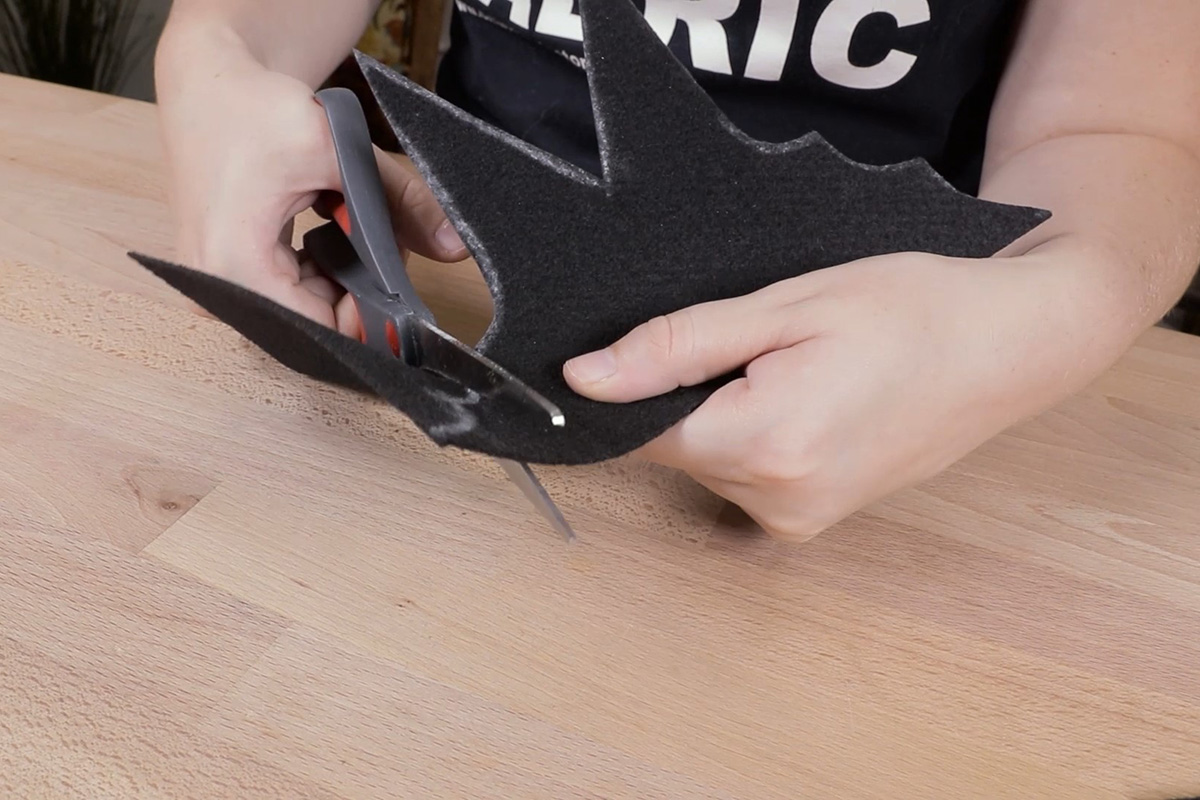
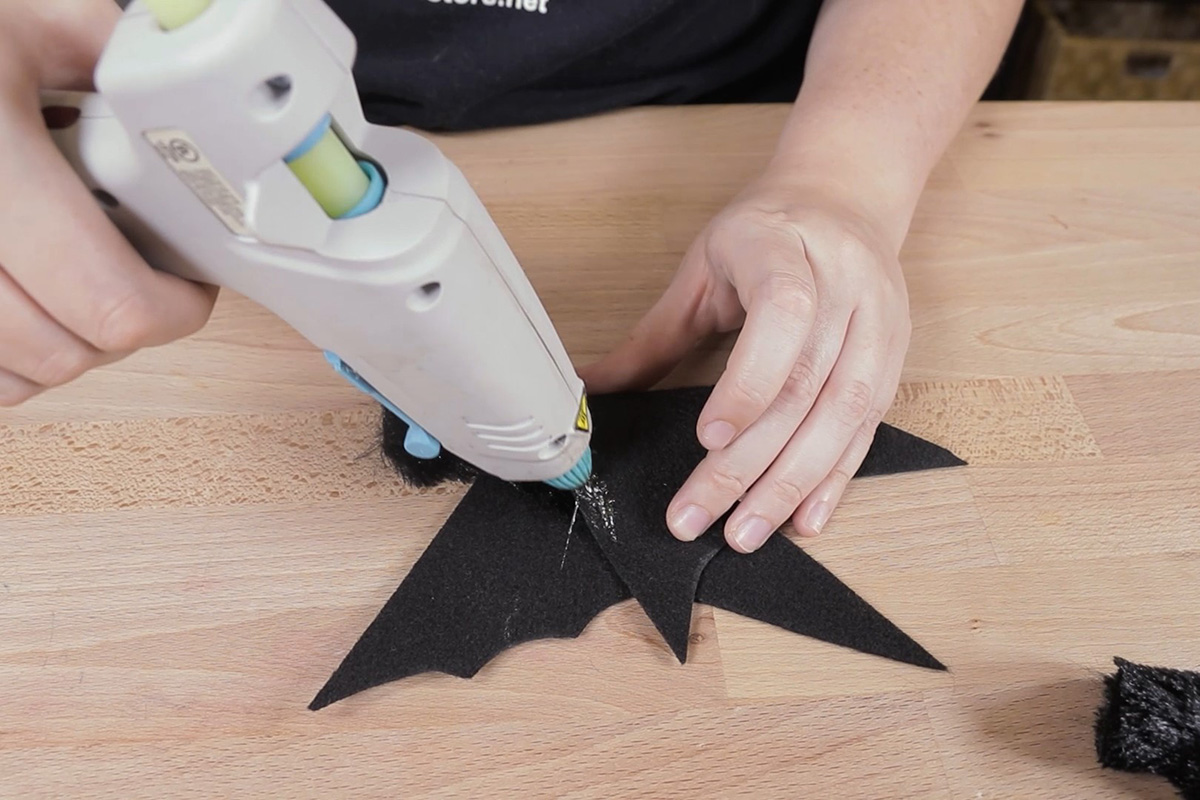
Cut the felt sheets in half, so you have 9×6” rectangles. Using this cute little bat template that you can find for free on our website, cut out 5 bat shapes.
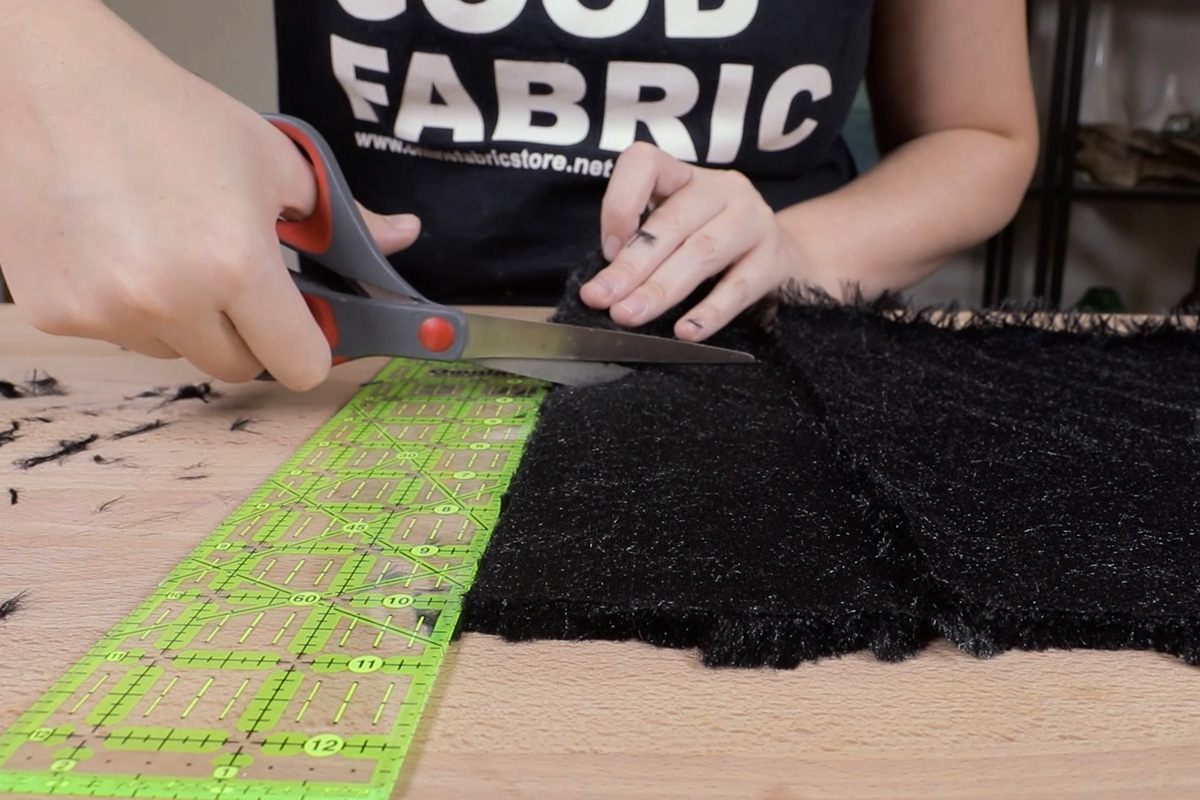
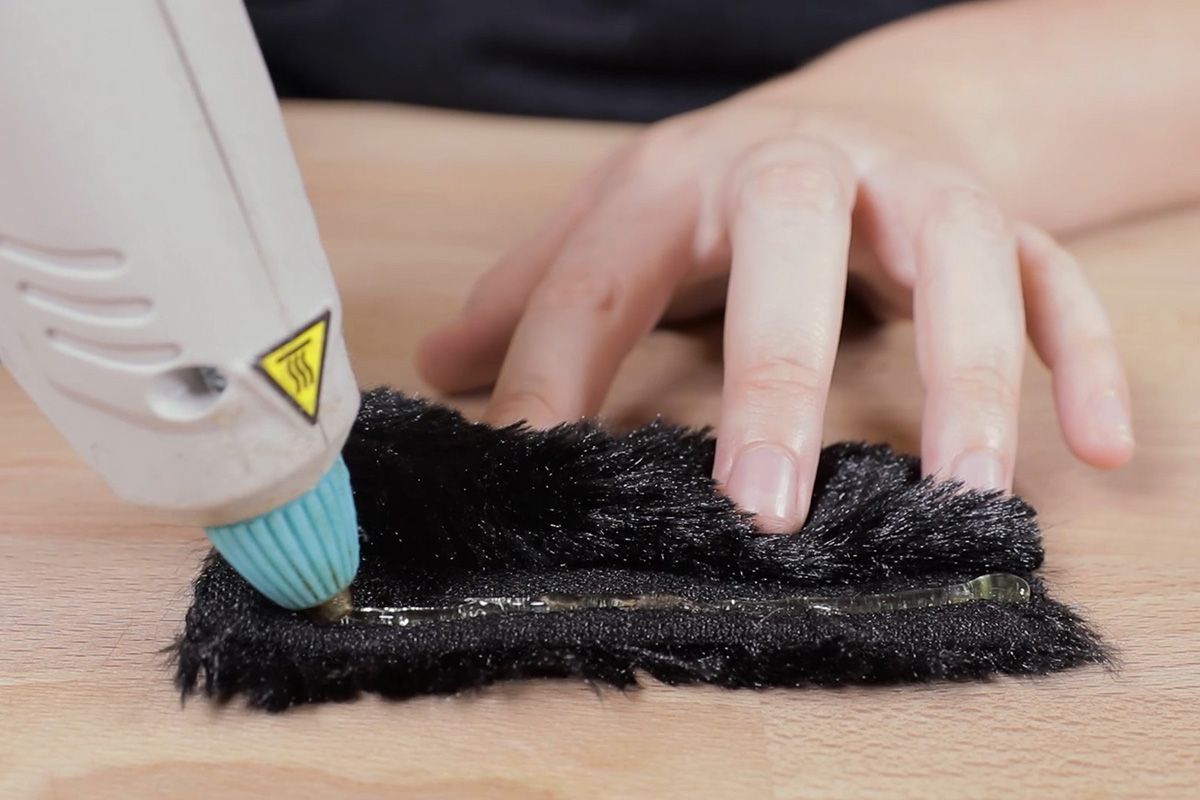
Also cut out the same number of 3×4” pieces of faux fur
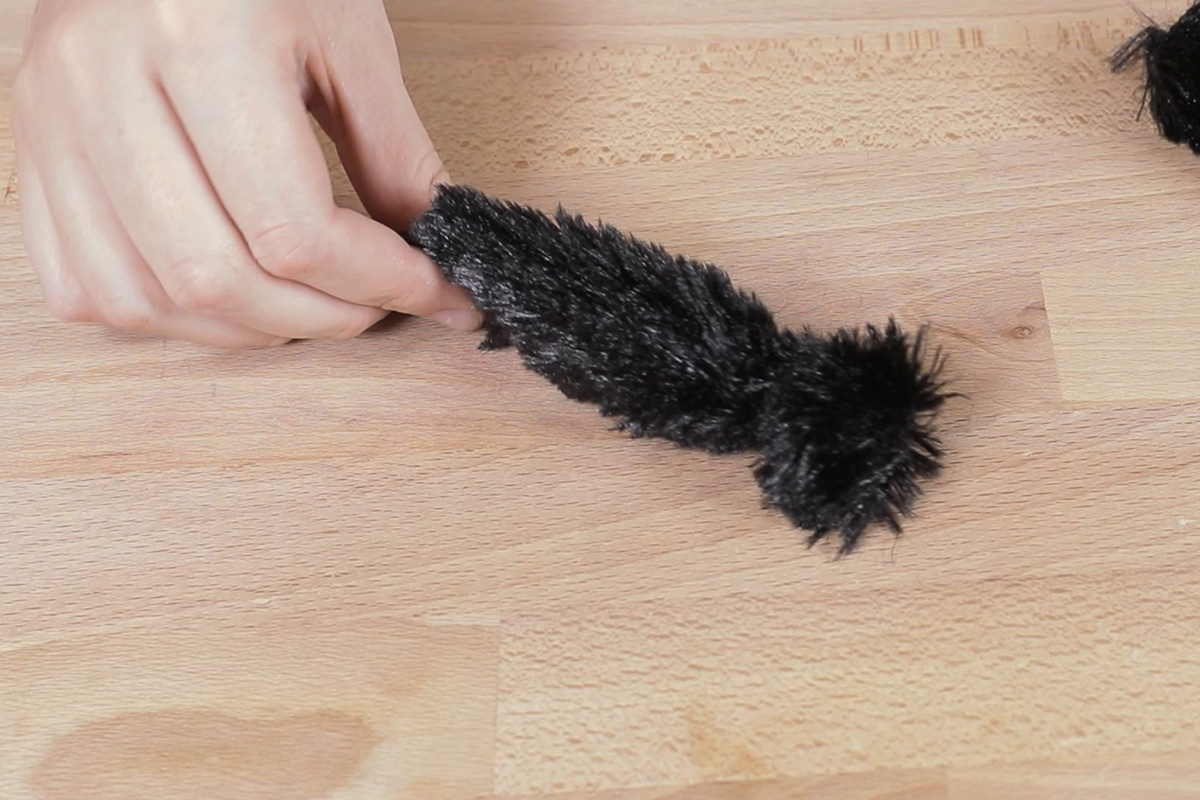
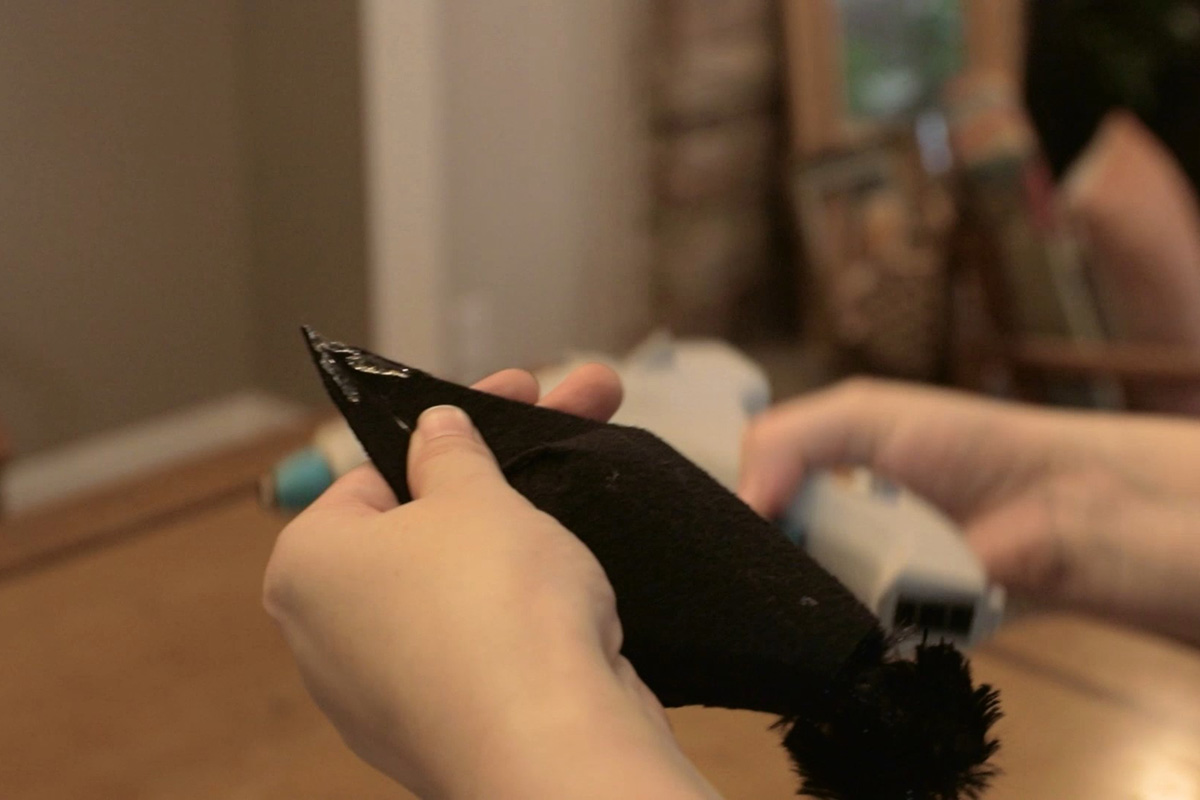
Roll the fur up and glue it in place. Then take a piece of thread and tie off the top third of the fur. This is going to be the bats head. I brushed the fur with my fingers to make it more defined.
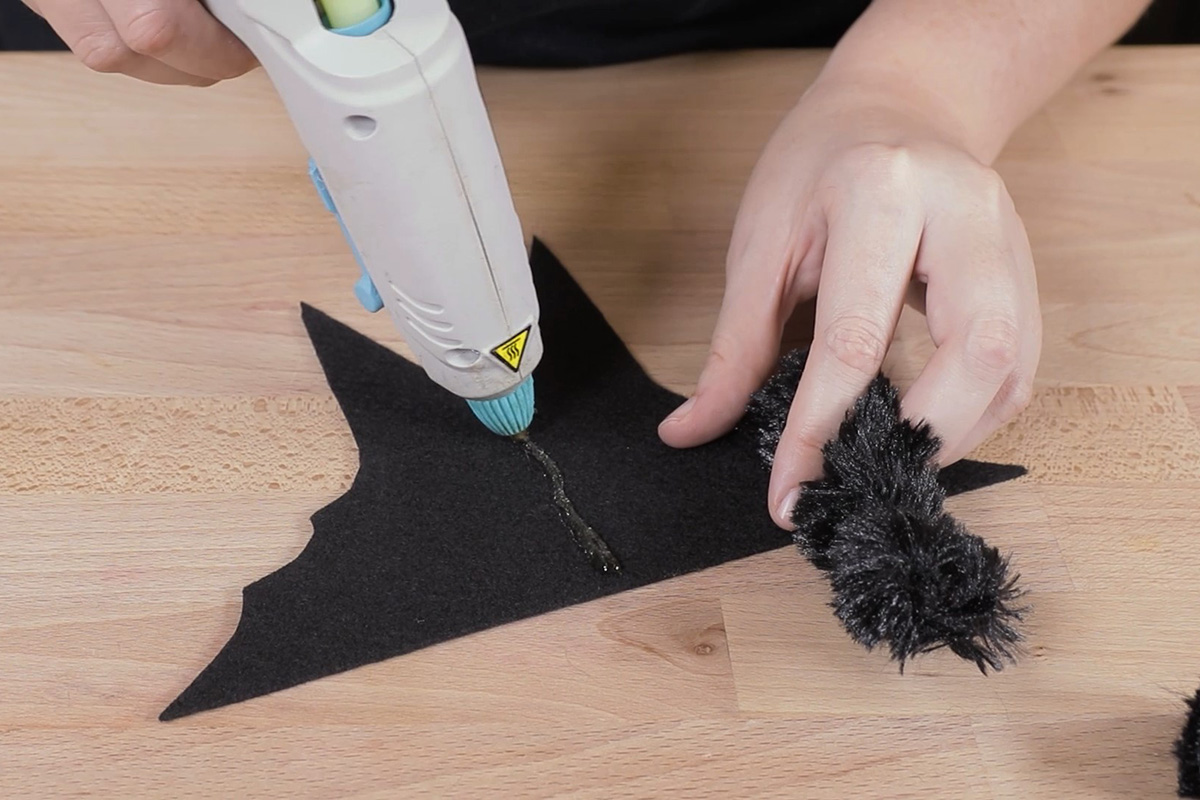
Place the body in the center of the felt and glue it in place. Then wrap the wings around the body and glue those in place. Do this to all of your bats.
Step 2 – Make the Ghosts
Cover your work space because part gets a little messy.
Make the forms for your ghosts. I am using a couple of different glass jars to make different sized ghosts. But if your form can’t be washed, cover that with plastic as well.

Drape one or two pieces of white tulle over the top of your form and spray it in place with liquid starch. Keep layering the tulle and spray it with starch.
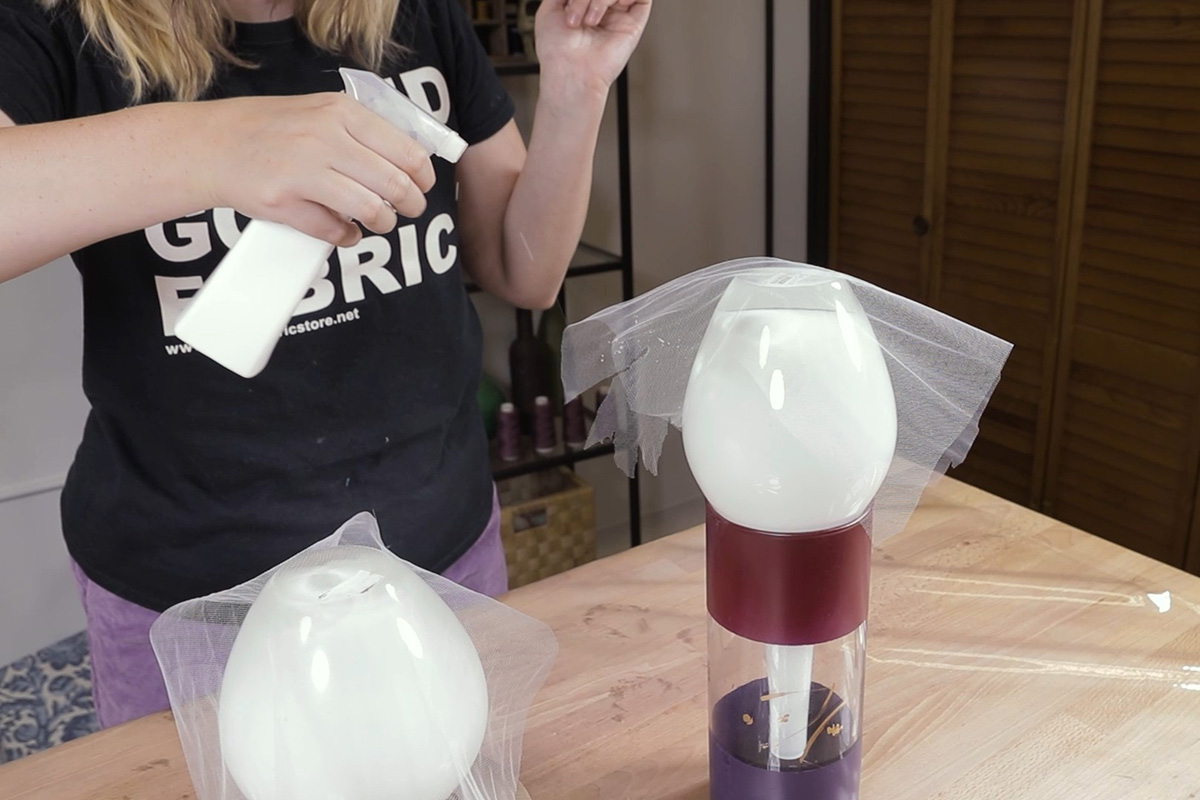
After the first two layers, I balled up a piece of tulle and sprayed it down with the starch, and then placed it between two layers to create a more defined head. I ended up using about 5-7 layers of tulle on each ghost.

Don’t remove the tulle from the form until it is dry, which was over night for me.
Once the tulle has dried, remove the ghosts from the form. Cut out some felt circles and glue them on to make little ghost eyes.
Step 3 – Find a Stick
Put on your adventure hat and find a tree branch that fits your space. Clean up any loose dirt and if you want, you can spray paint the stick black.
Step 4- Place the Creatures
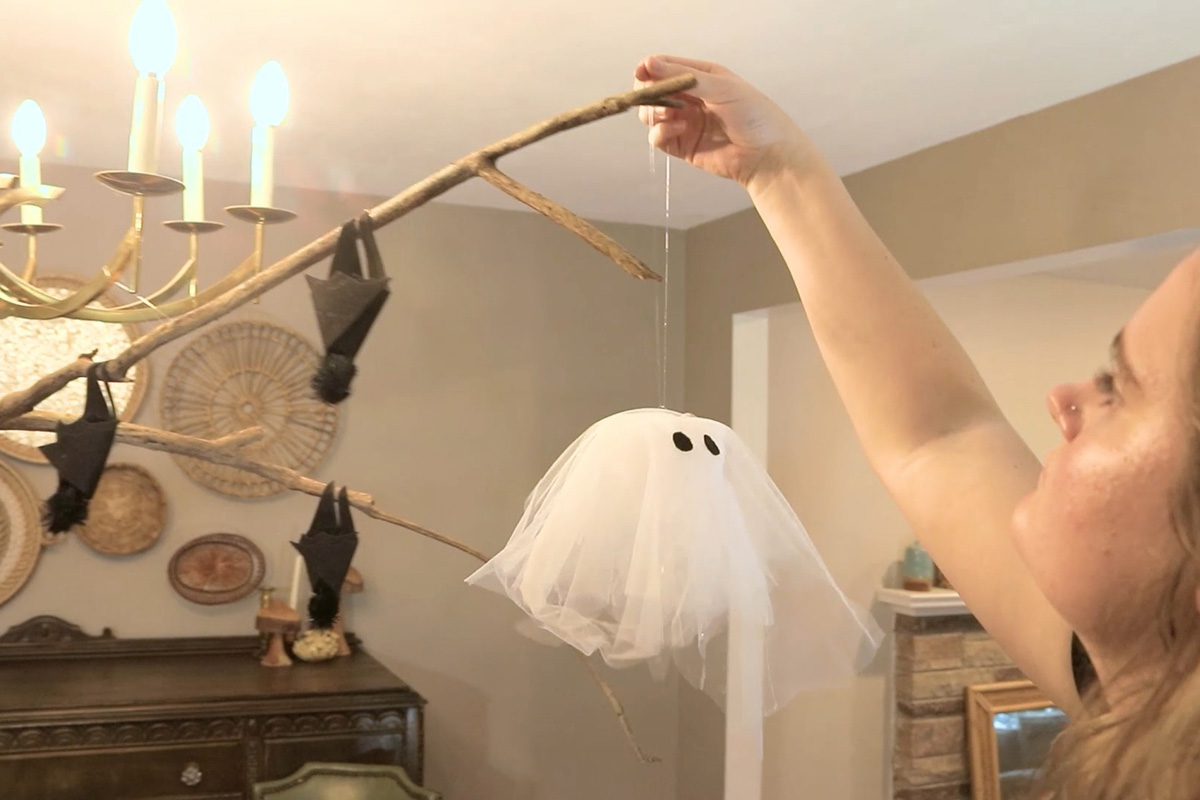
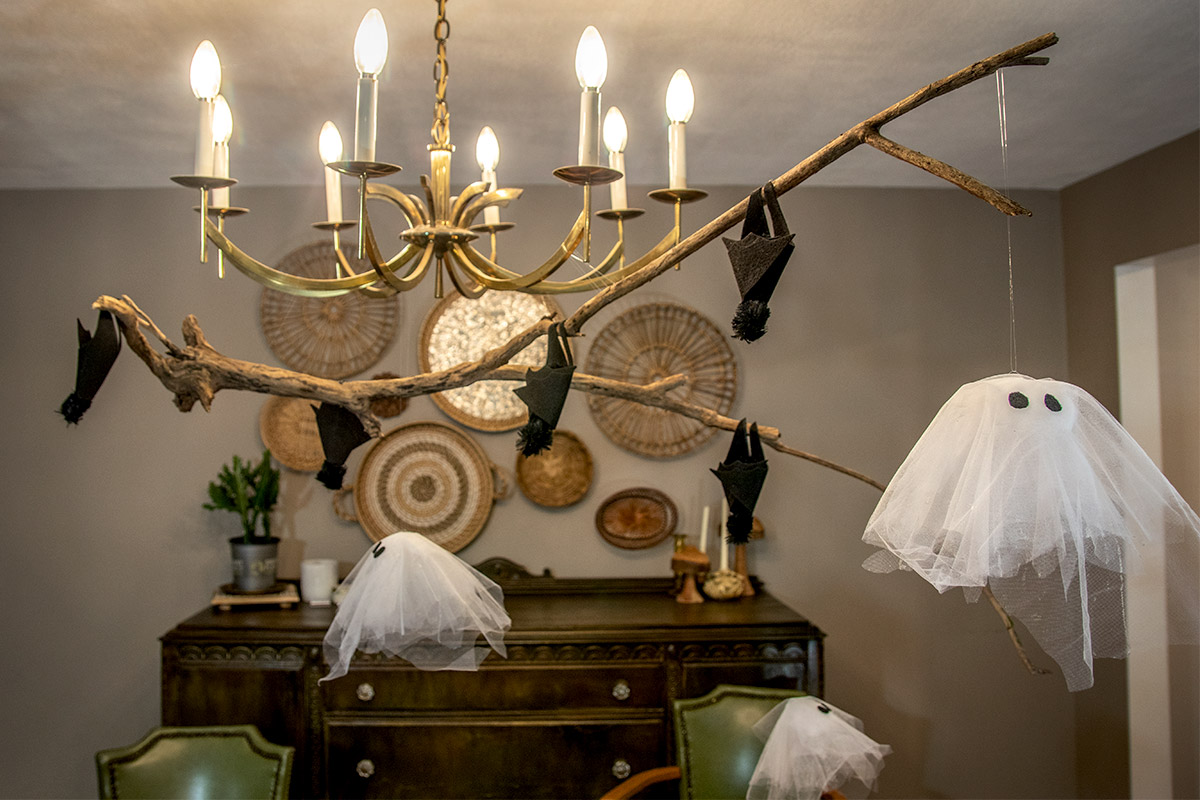
Welcome to my dining room! I am going to finish this project up in place just to make sure it looks symmetrical. I started by hanging the stick from my chandelier. Having another person help with this step made it much easier, but its not necessary. If you want it to look extra spooky, use clear thread to hang the stick at least 6” down from the lowest point on your chandelier. If you don’t have a chandelier, you could find a stick that has a lot of vertical lift and place it on the table using a little double-sided tape to keep it in place.

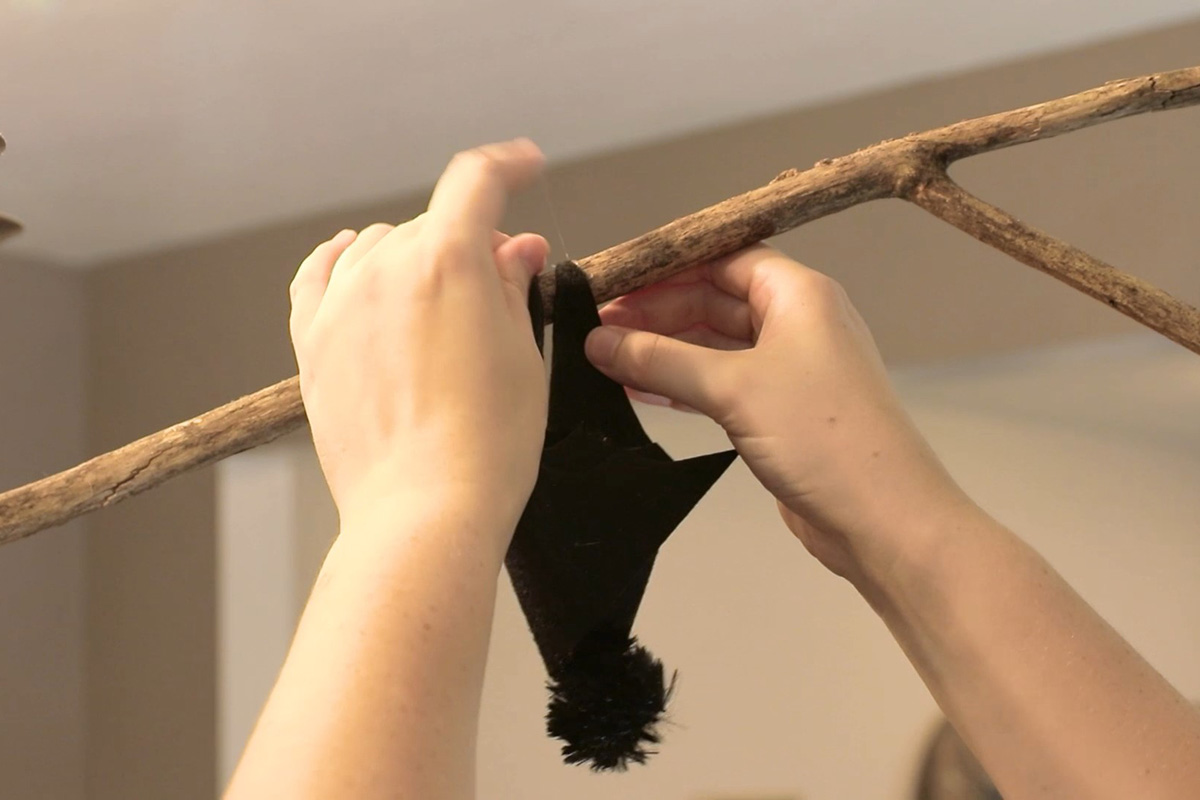
Take the bats and glue them to the stick by their legs so they look like they’re hanging upside down sleeping, you know like bats do. When I placed the bats, I pulled the legs close together and it gave them a little more dimension.
Also use the clear string to tie the ghosts up. The easiest way to do this was by stringing the thread in and then out through the other side of the head and then tying a knot up the thread so the ghost hangs where you want it to. I especially liked this method because I am able to move the ghosts around whenever I want.
Check Out Our No Sew Ghost Halloween Costume!
-
{{#each productSuggestedQueries.results}}
- {{query}} {{/each}}
-
{{#each categories.results}}
- {{html title}} {{/each}}
{{html attributes.description}}
{{/if}}-
{{#each queries.results}}
- {{query}} {{/each}}