How to Make a Phone Wristlet
- By Clara
- Intermediate
- 2 hours
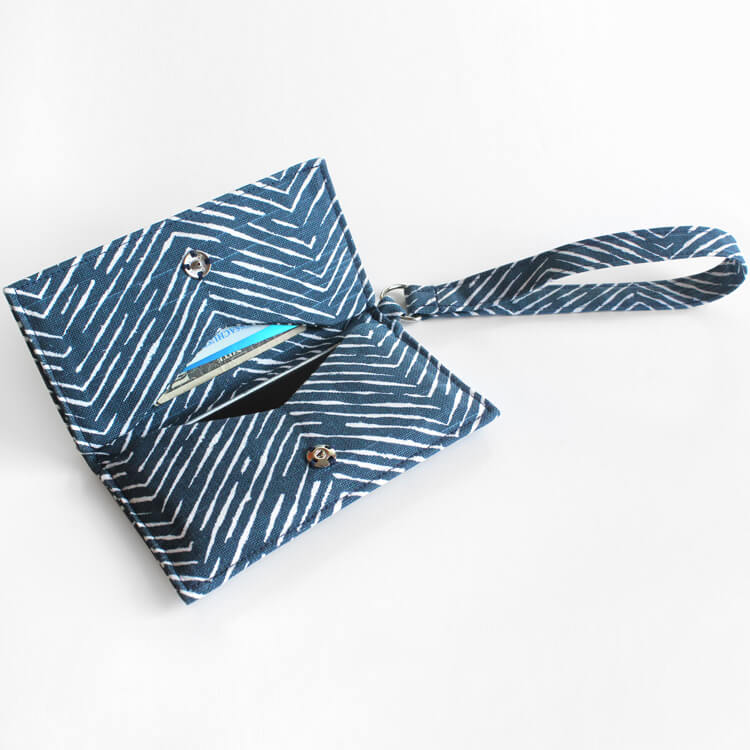
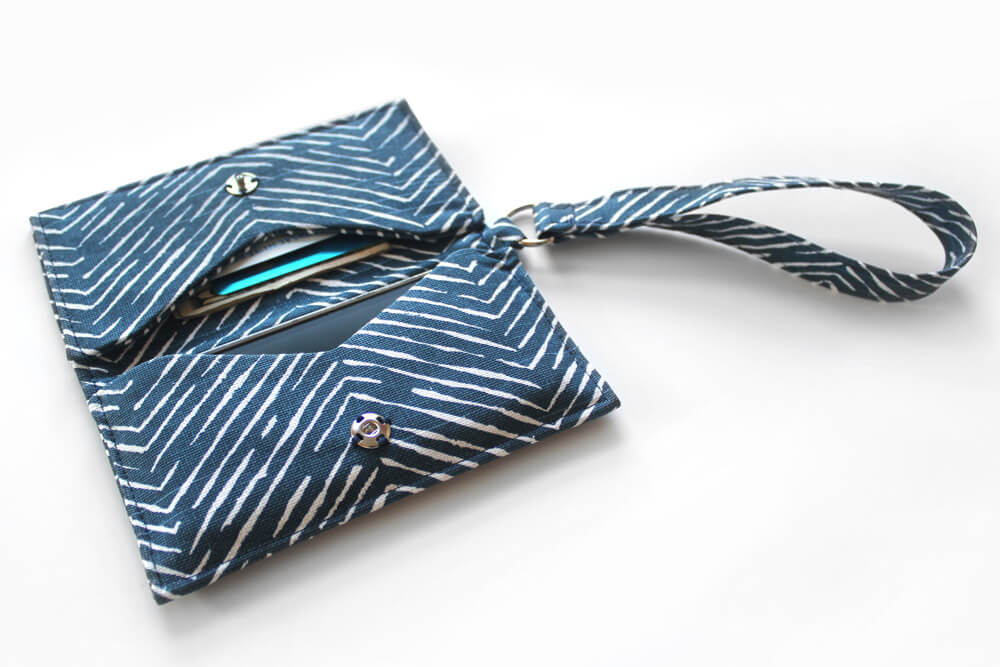
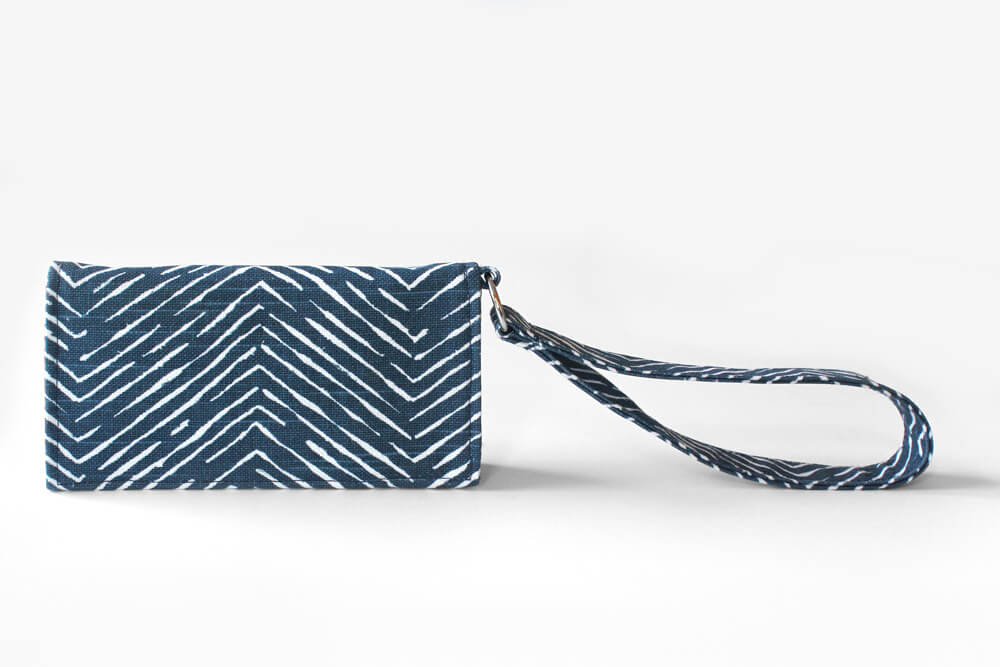
At concerts and other events, or even just running errands, I found myself constantly wanting to ditch my large handbag in favor of something that would just carry the essentials like my cell phone, a credit card, ID and maybe some cash. I couldn’t find what I wanted, so why not make my own!
This phone wristlet has a simple design that’s a good project for someone looking to get into bag making. No zippers, just two pockets and a snap. The sewing pattern is free to download and try out for yourself!
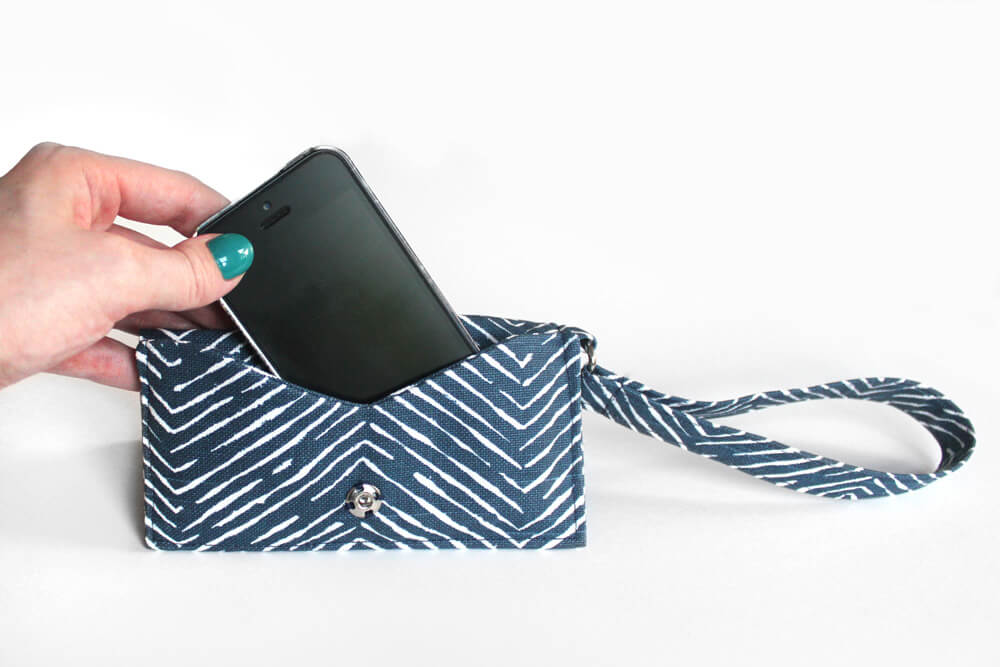
It has three sizes for different sized cell phones: Small for phones up to 5 ¼” x 2 ¾” (iPhone 5); Medium for phones up to 5 ¾” x 3 ¼” (iPhone 6); Large for phones up to 6 ½” x 3 ½” (iPhone 6+)
Sign up to our mailing list to get the FREE pattern and printable PDF instructions.
Update: We now have a new and improved design! I added a zipper compartment for more securely holding cards and cash, plus the sizes are updated for today’s phones.
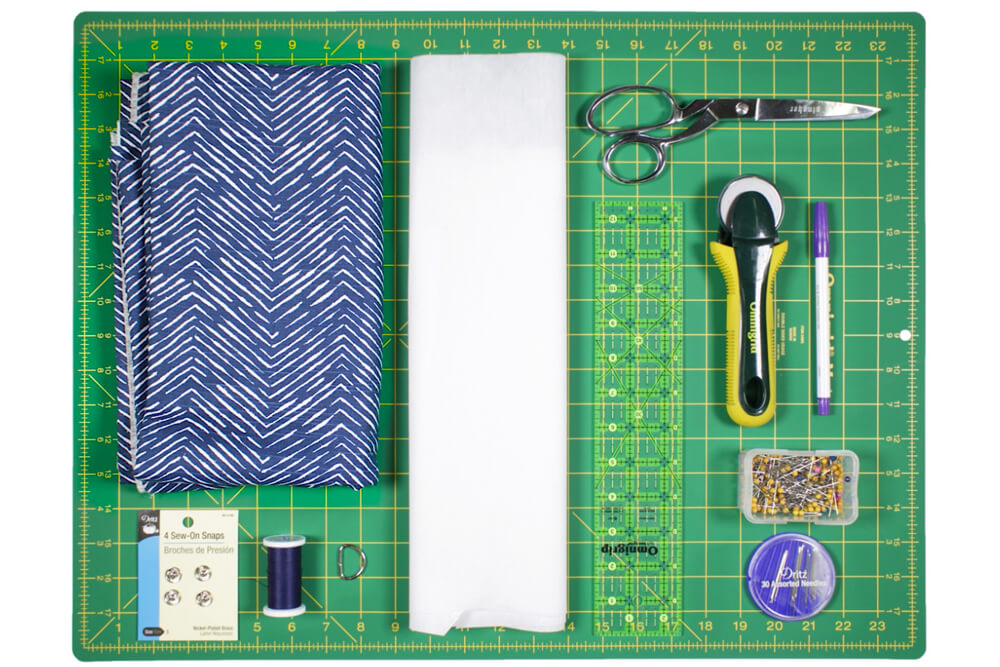
Materials
Related Products
-
 Knife Edge Dressmaker's Shears - 8"
-
 30 Assorted Needles
-
 Dual Duty XP Thread - Navy, 500 Yards
-
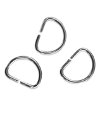 3/4" Upholstery D-Rings - 1 Gross
-
 #809 Decor Bond Fusible Stabilizer
-
 175 Quilting Pins - Size 28
-
 Disappearing Ink Marking Pen - Purple
-
 45mm Rotary Cutter
-
 Non Slip Ruler 2-1/2 inch X 12-1/2 inch
-
 Cameron Premier Navy Slub
Video
Instructions
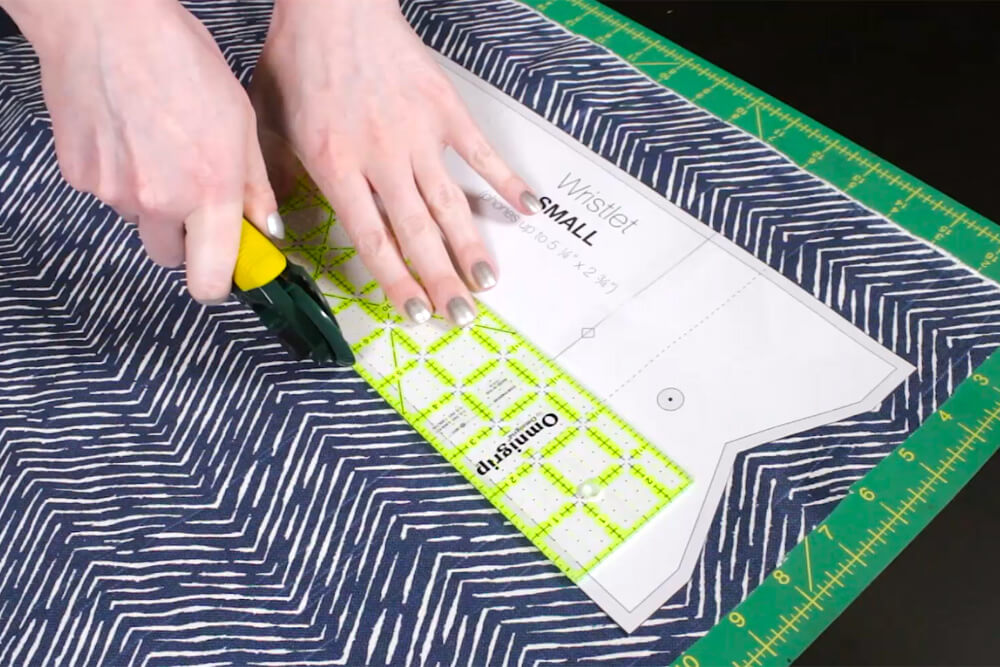
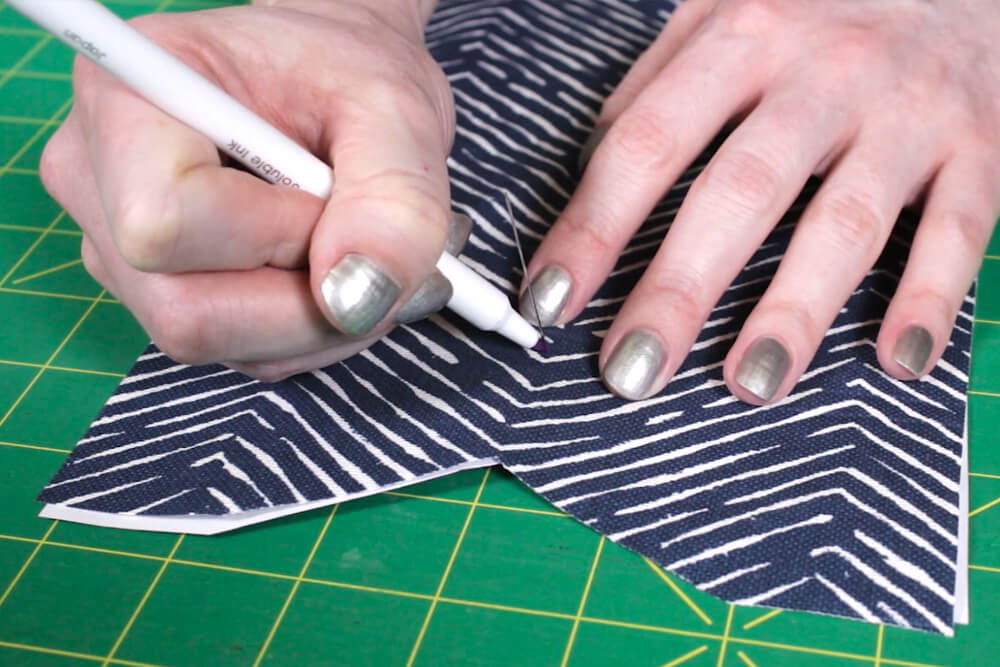
Step 1: Cut the fabric
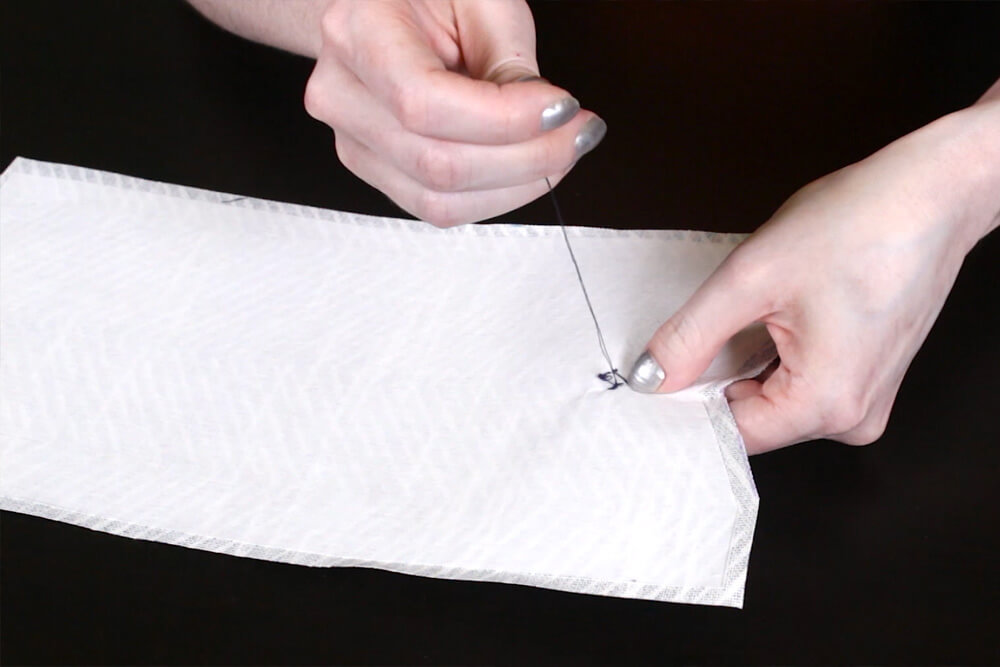
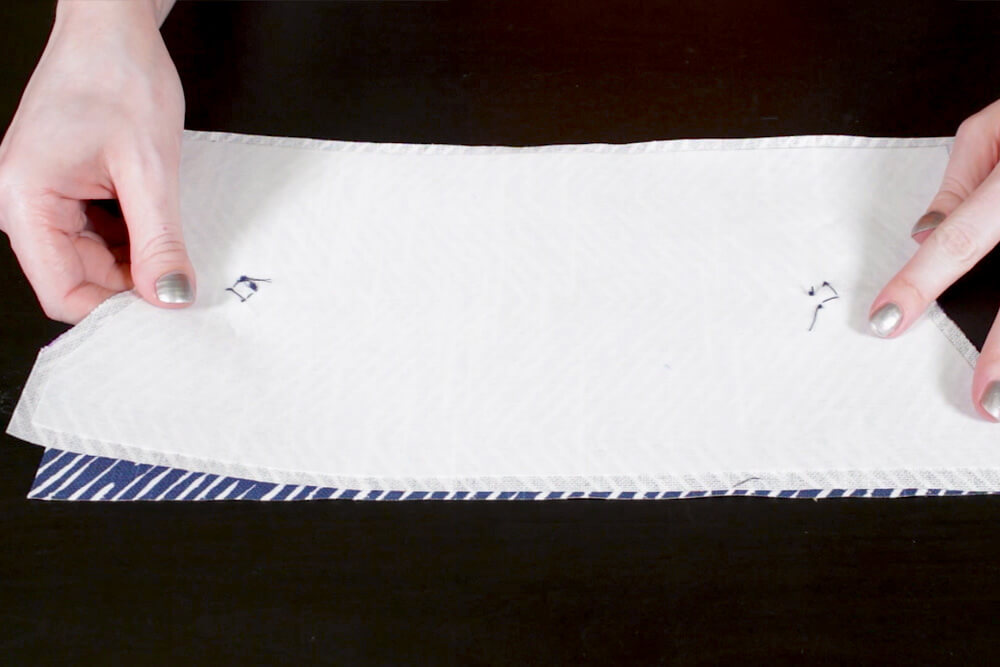
Use the pattern piece that will fit your phone to cut out 2 pieces of your fabric. If you want to use a different pattern for the lining, cut out one of each. On the piece that will be on the outside, poke a pin through the center of the snap marking on the pattern. Mark where the pin comes out on the right side of the fabric. Repeat for the other snap marking.
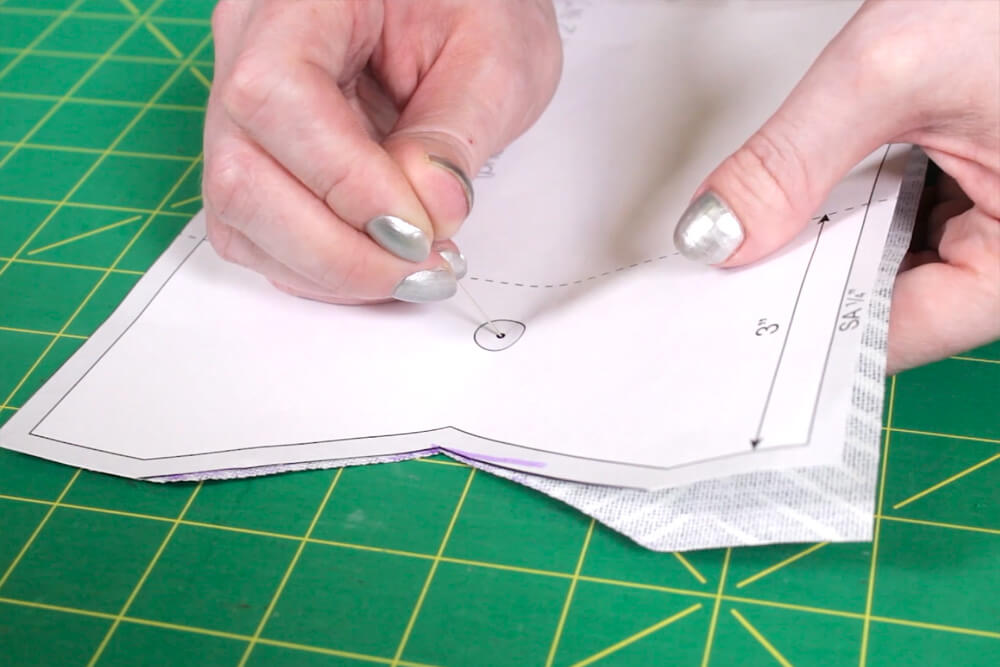
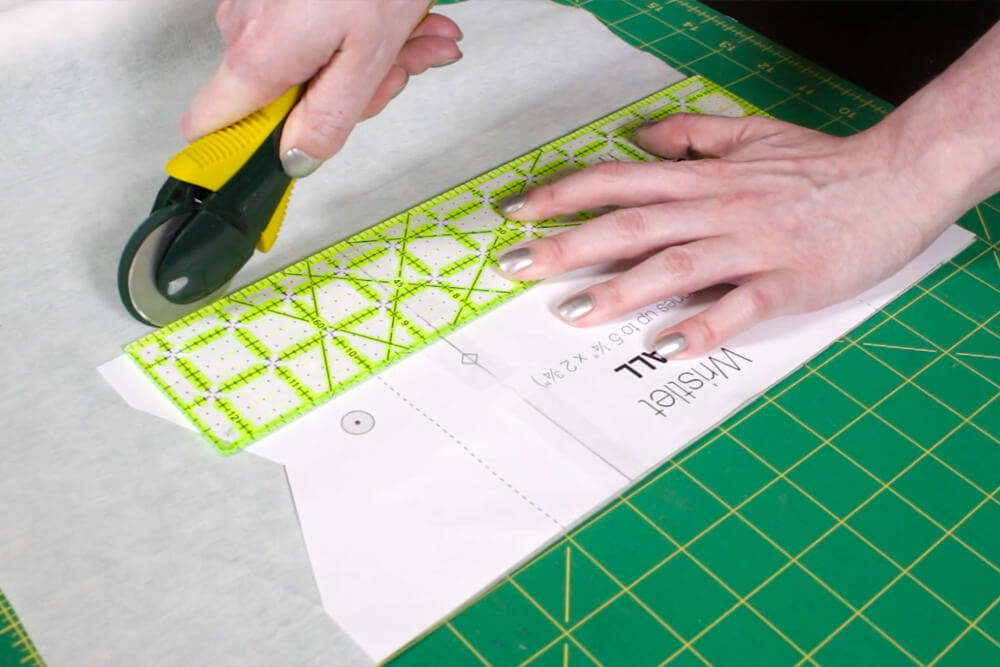
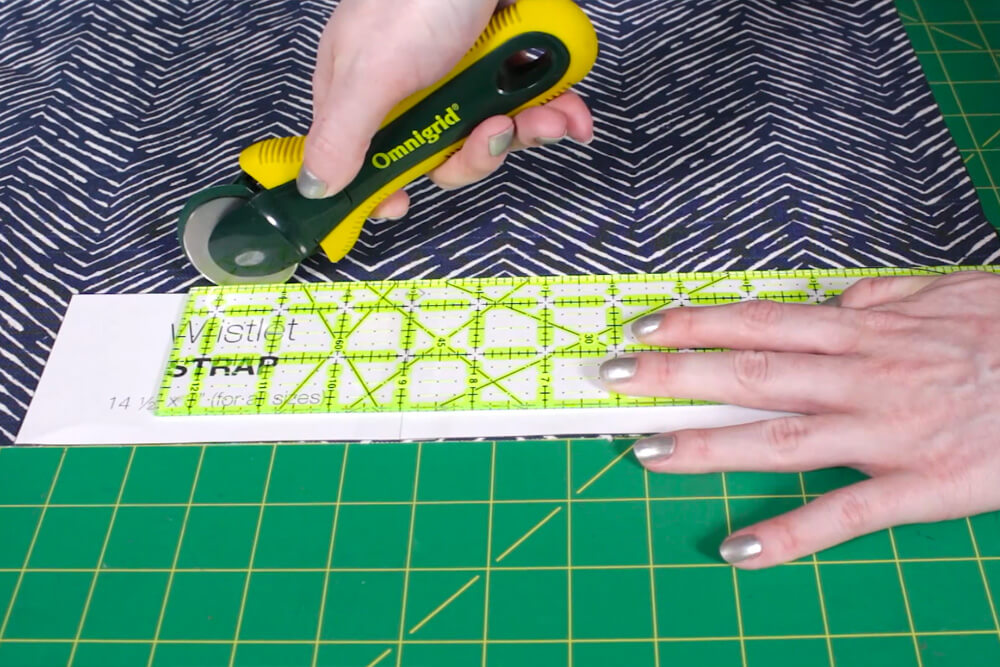
Cut off the seam allowance on the pattern piece and cut out one piece of the interfacing. Finally cut the two strap pieces. Center the interfacing on the back of the piece that has the snaps marked. Make sure the fusible side is facing down and iron to attach the interfacing.
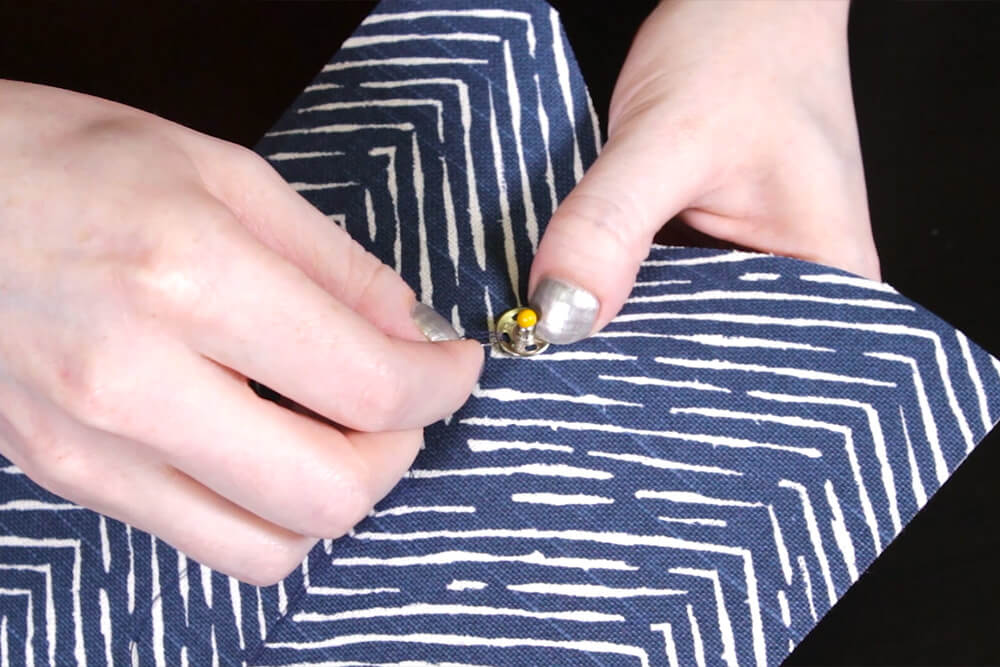
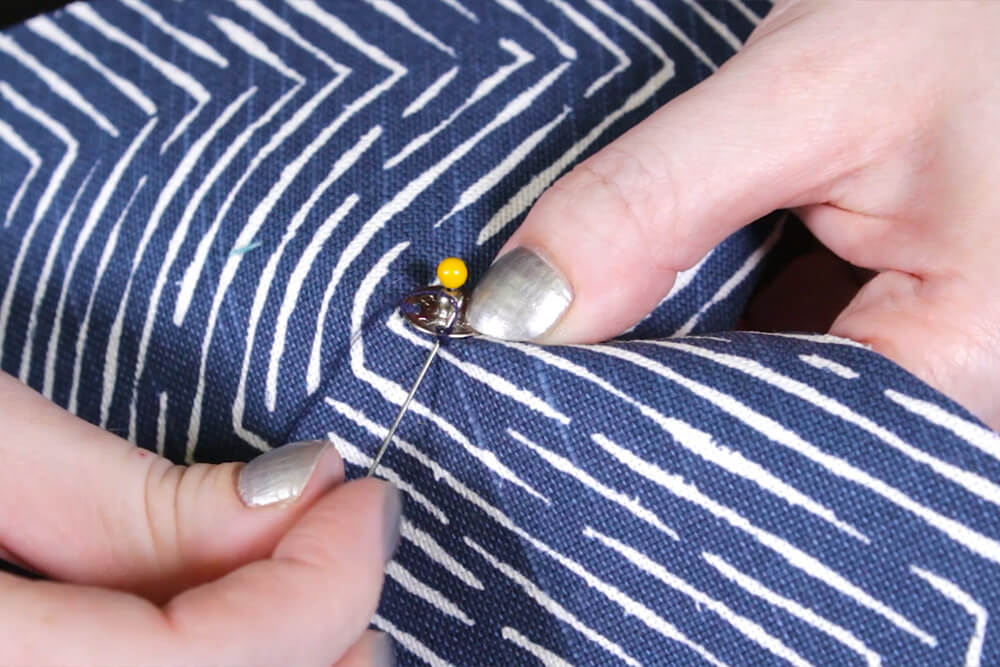
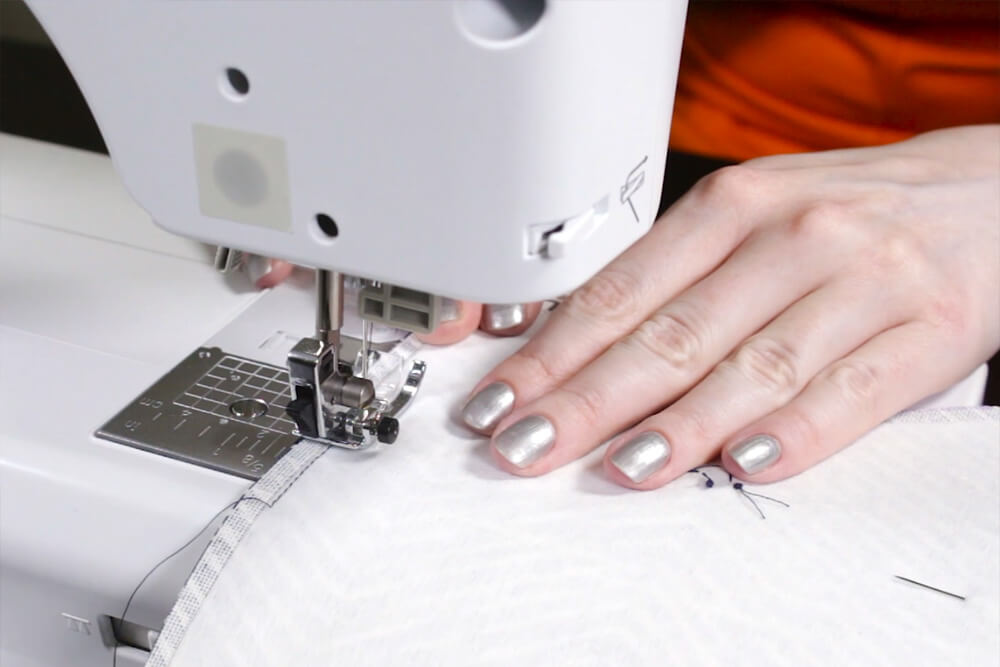
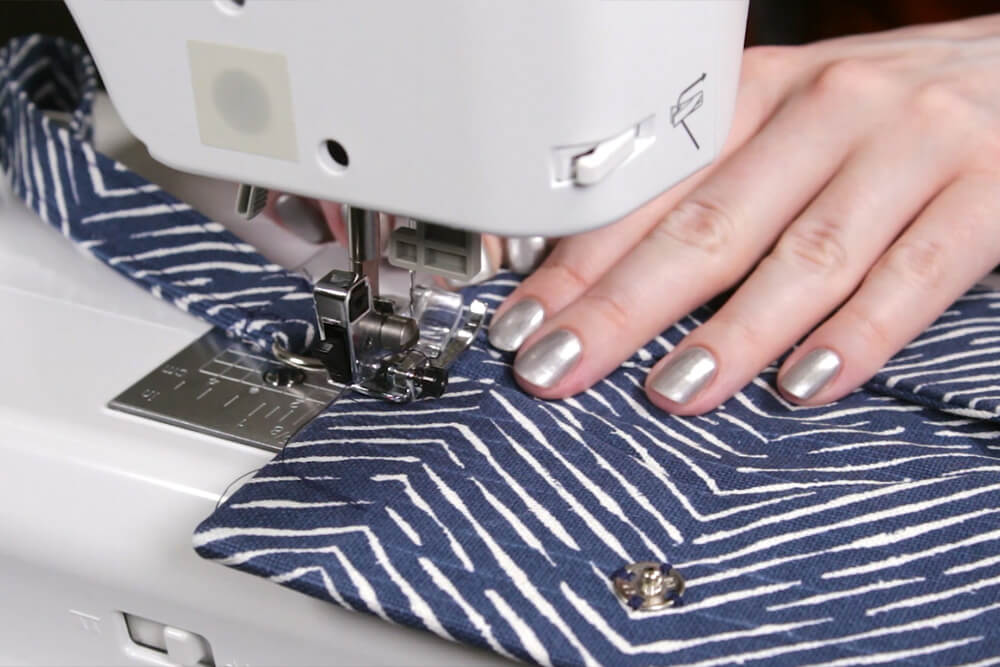
Step 2: Sew on the snaps
Center one side of the snap on a mark and stick a pin through to hold it in place. From the back, push a threaded needle through so it comes out of one of the 4 holes on the edges of the snap. Go in and out of the fabric several times to wrap the thread around that that side of the snap. Then move on to the next hole and continue until the snap is attached on all 4 sides. Knot the thread on the back. Repeat for the other half of the snap.
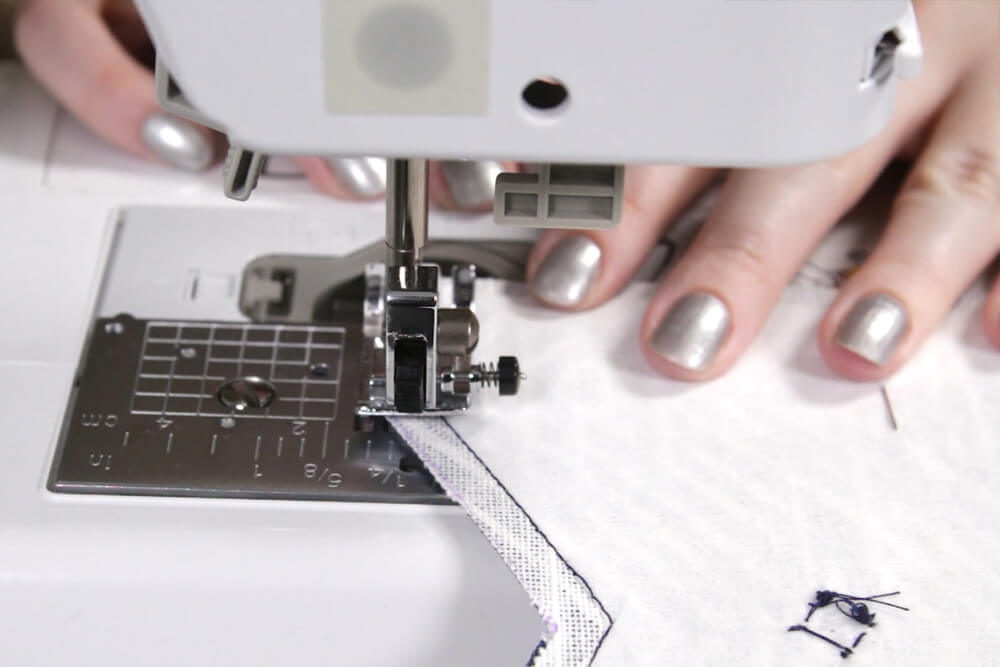
Step 3: Sew the pieces together
With the right sides facing, pin the pieces together. Sew around the edges with ¼” seam allowance. You can use the edge of the interfacing as a guide. Leave a gap of about 5” on one of the sides. At the corners, lift the foot with the needle still in the fabric, turn, and continue to sew. Back stitch at the beginning and the end.
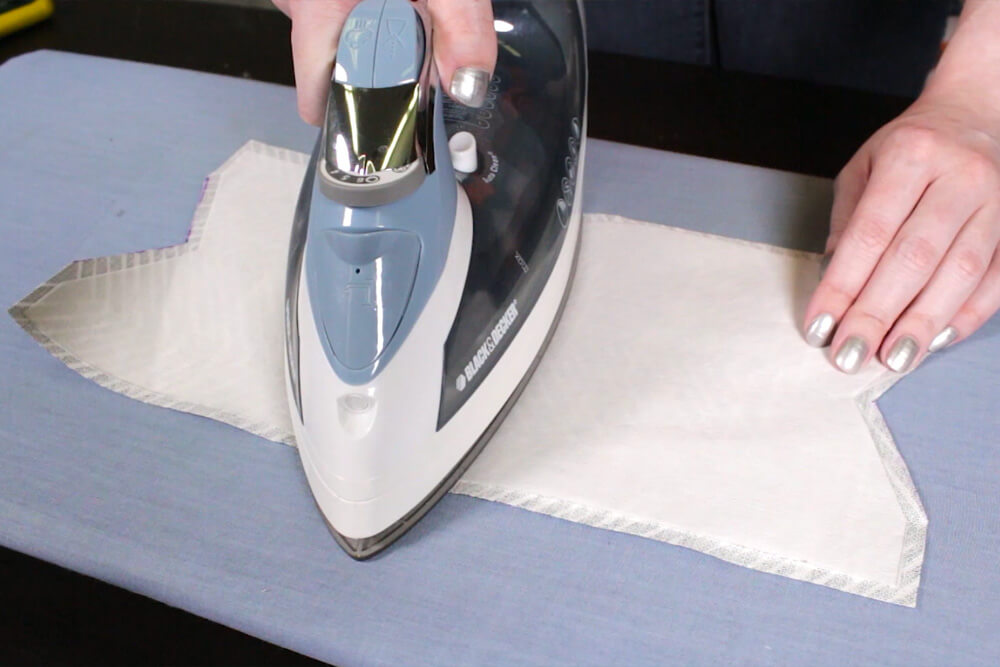
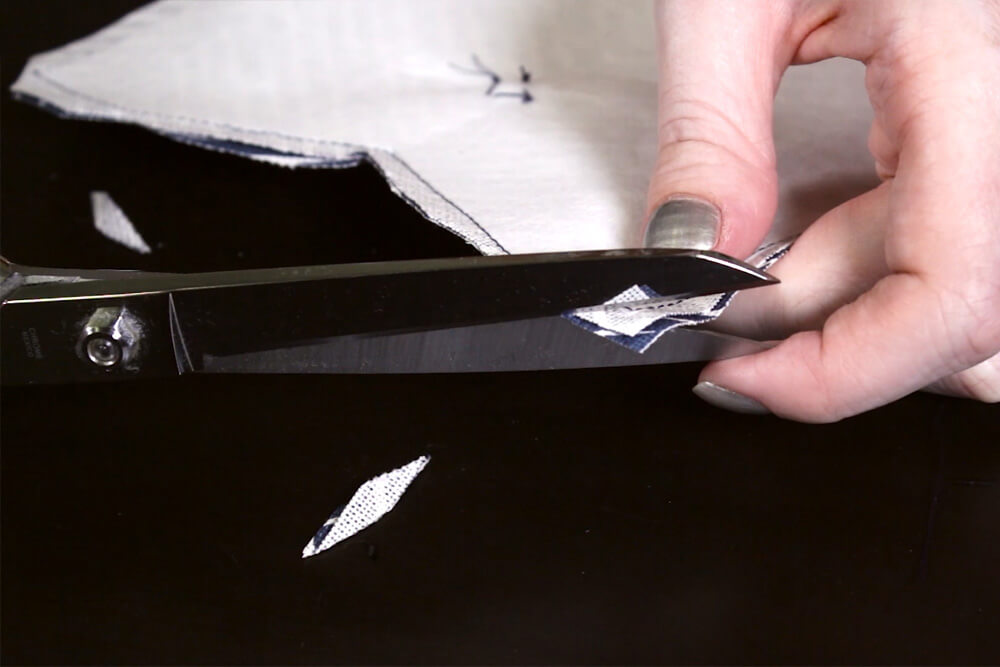
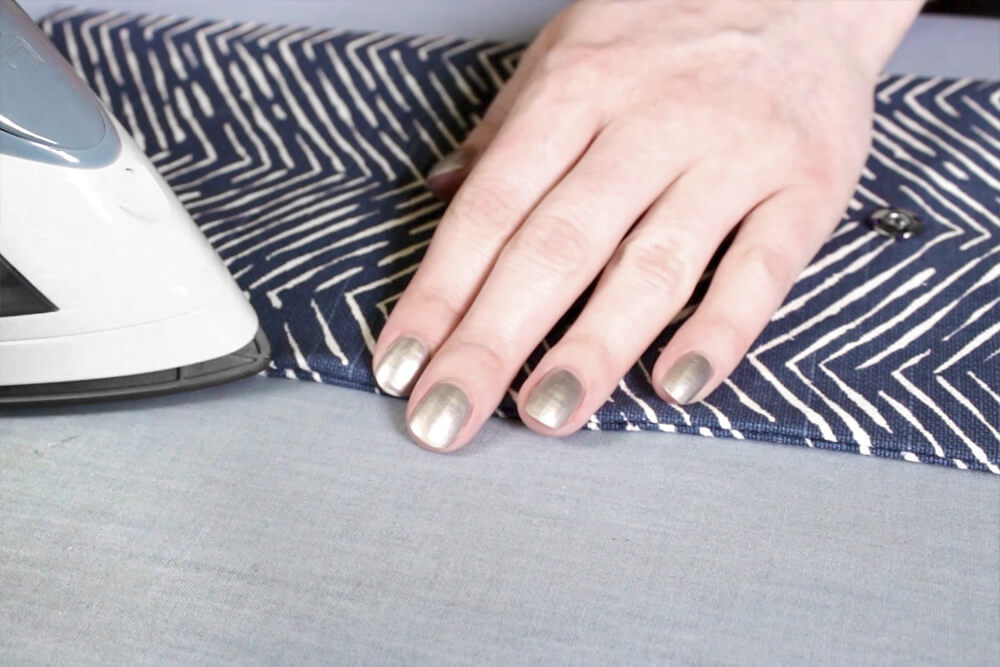
Clip all the corners close to the stitches. Turn the piece right side out and poke out the corners with your finger or something sharp. Iron the edges flat.

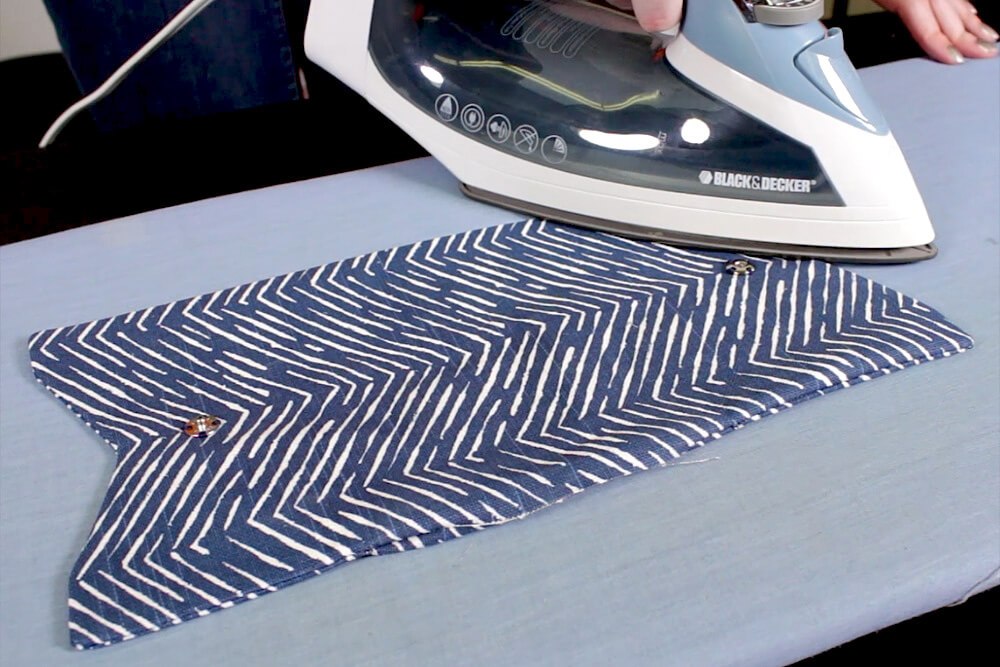
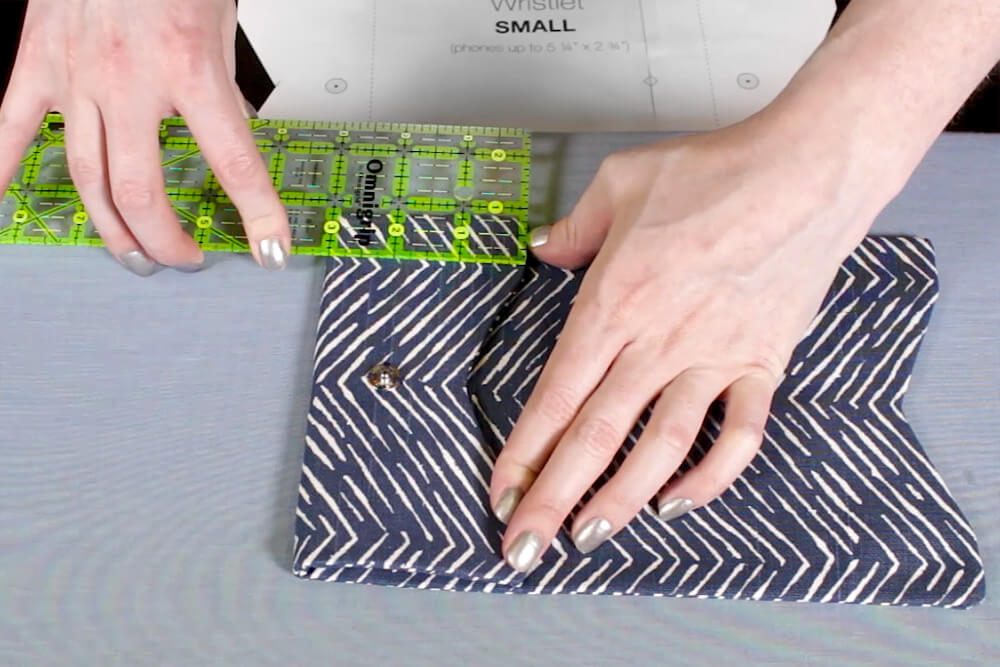
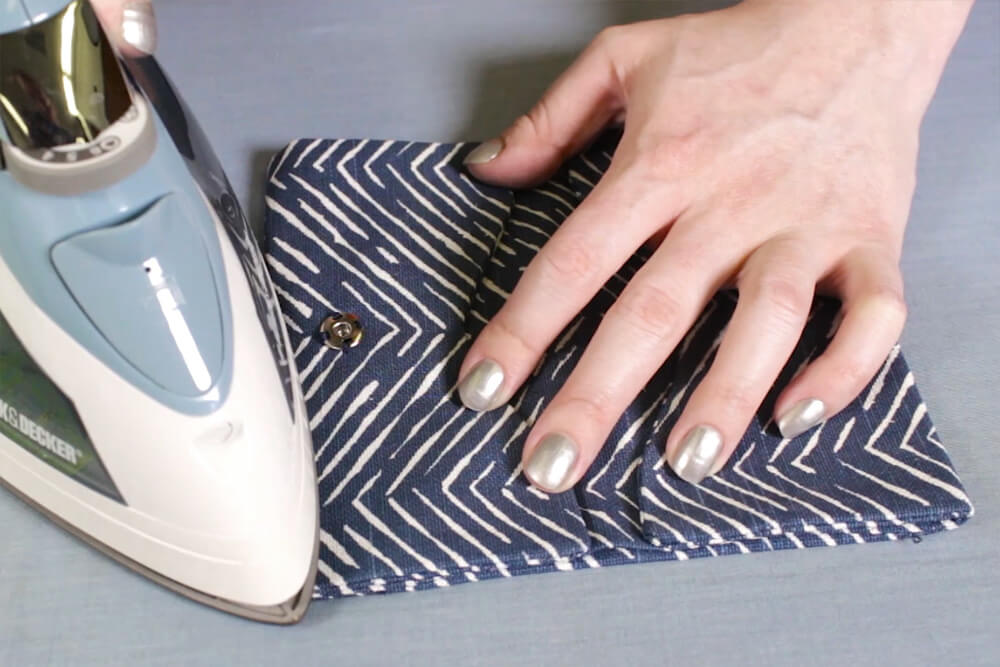
Fold under the part that isn’t sewn ¼” and iron. Fold the 2 ends over the amount indicated on the pattern and press flat.
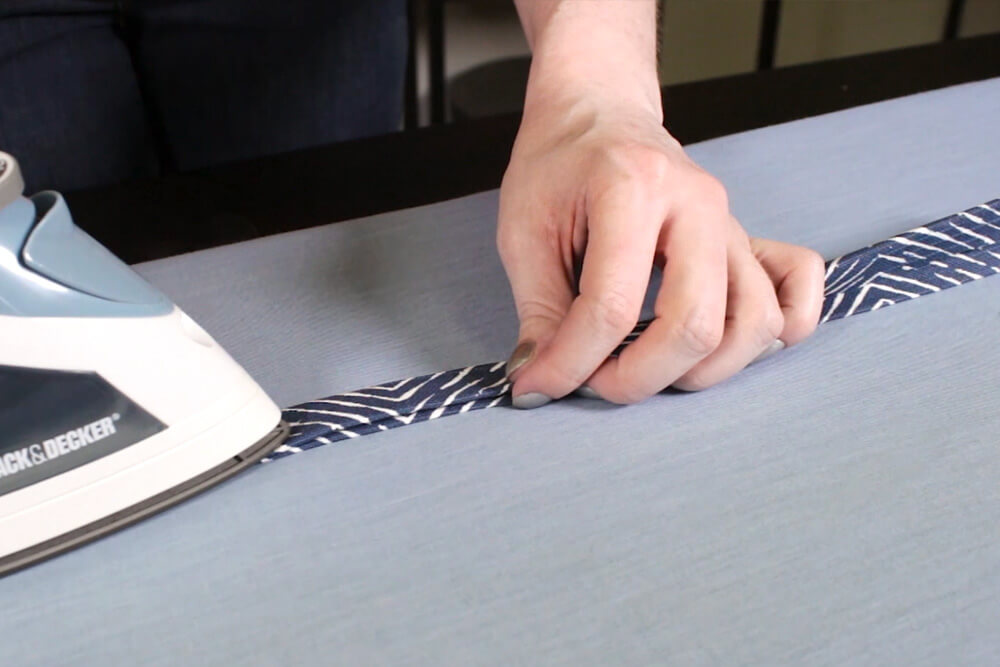
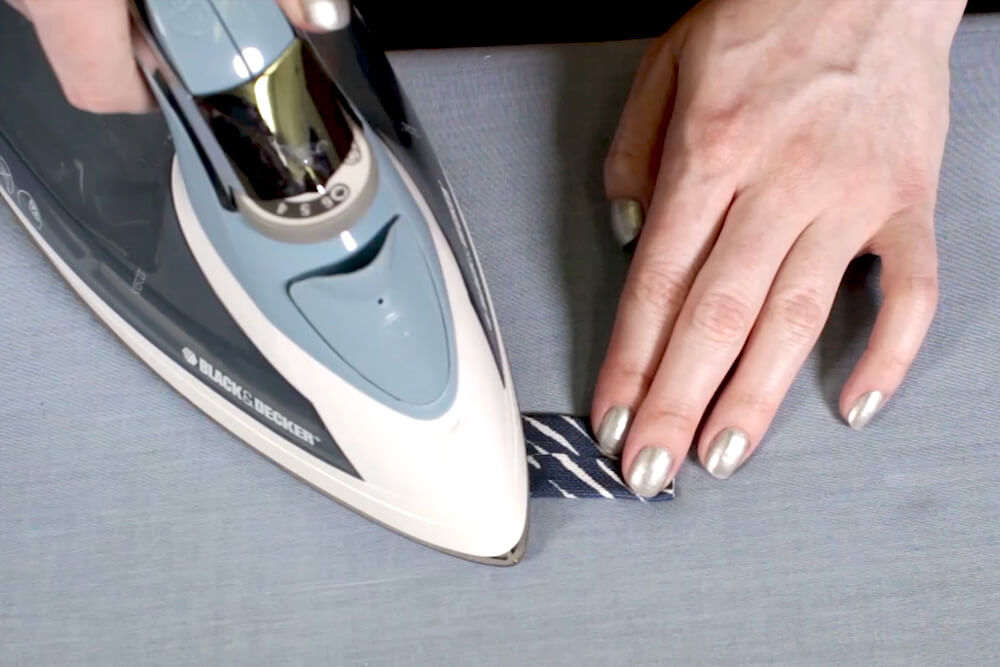
Step 4: Make the strap
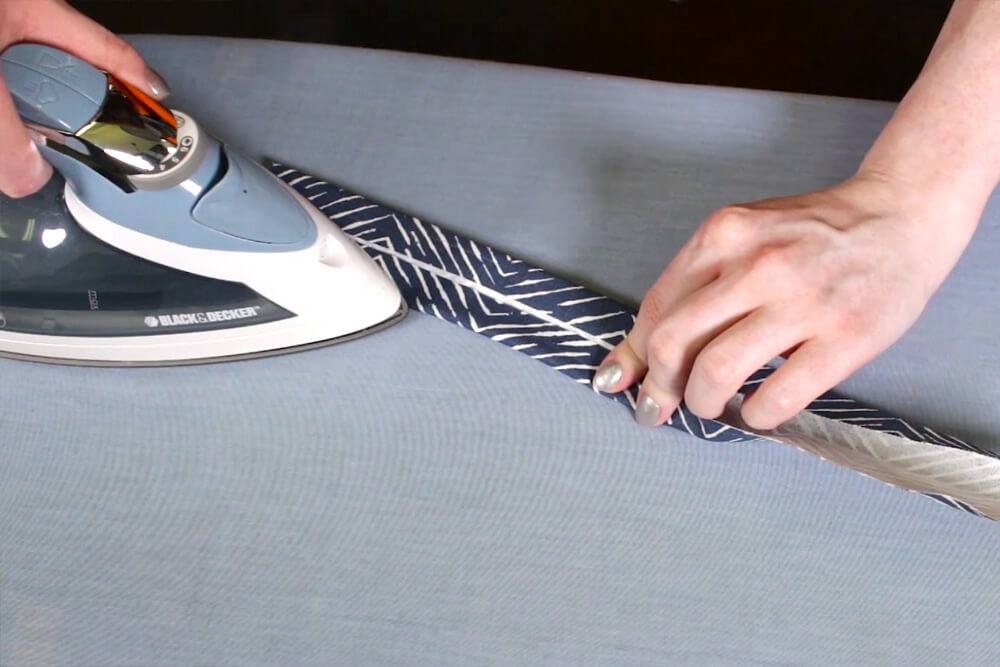
Iron the large strap piece in half. Then fold in one side, iron, and repeat for the other side. Fold it in half again and iron. This strap will be 7” long when finished, but you can make it shorter or longer if you prefer. Then do the same thing for the small strap piece.
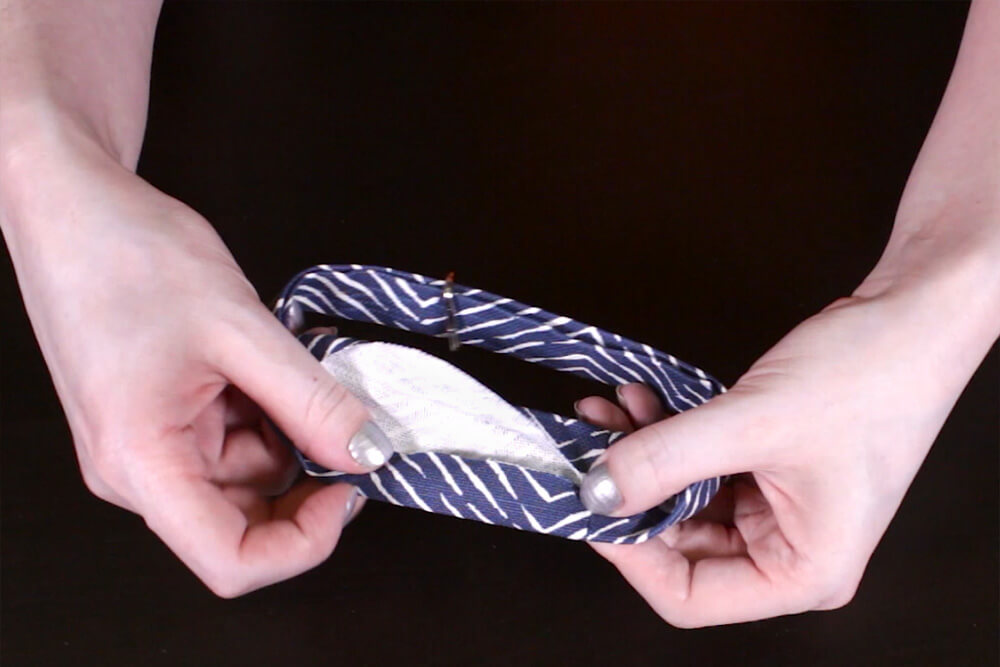
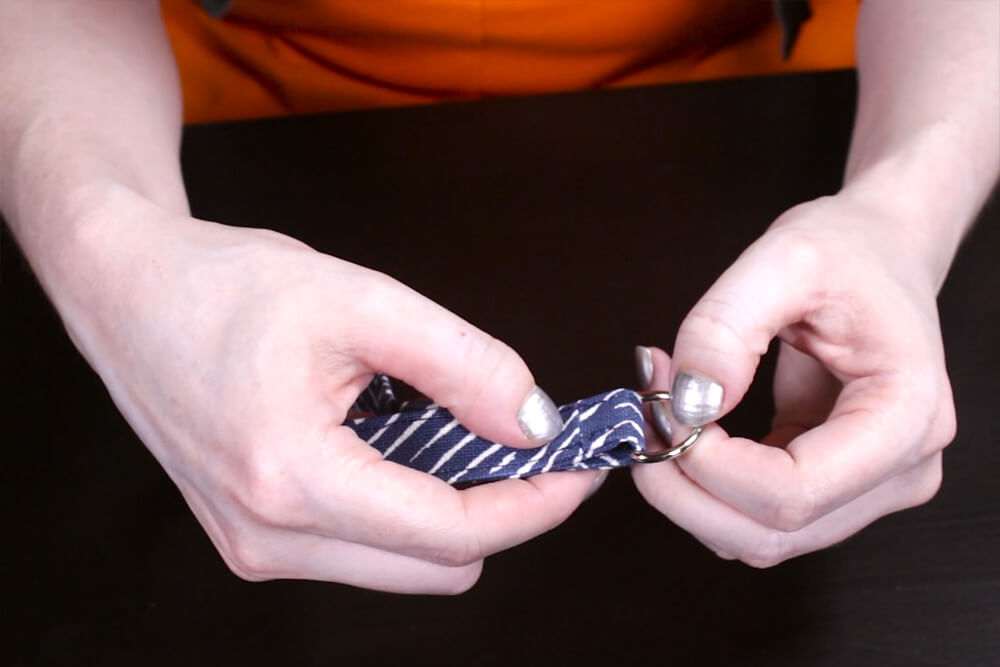
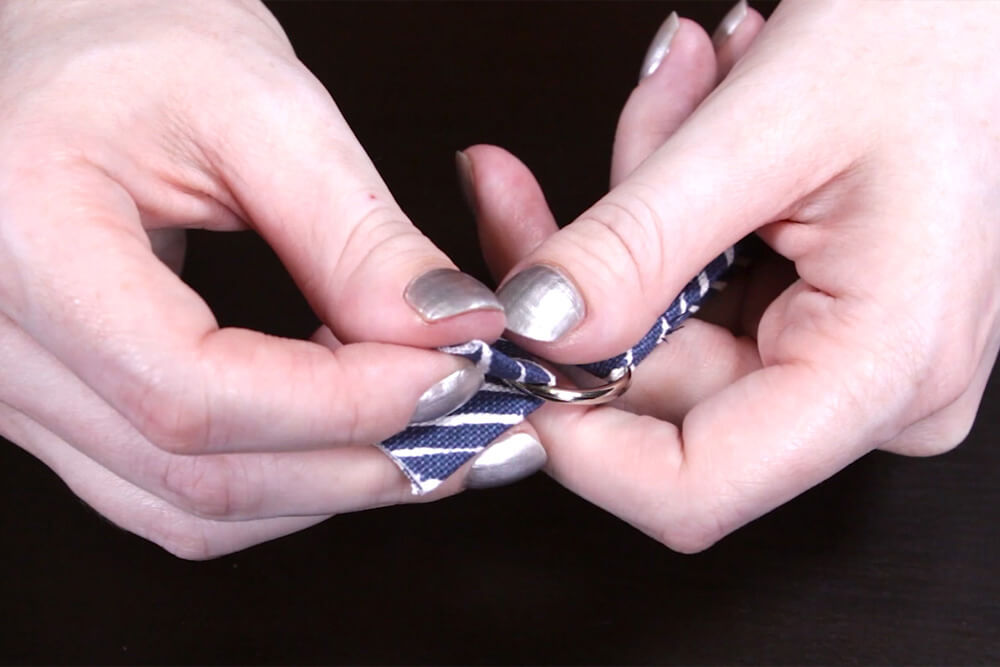
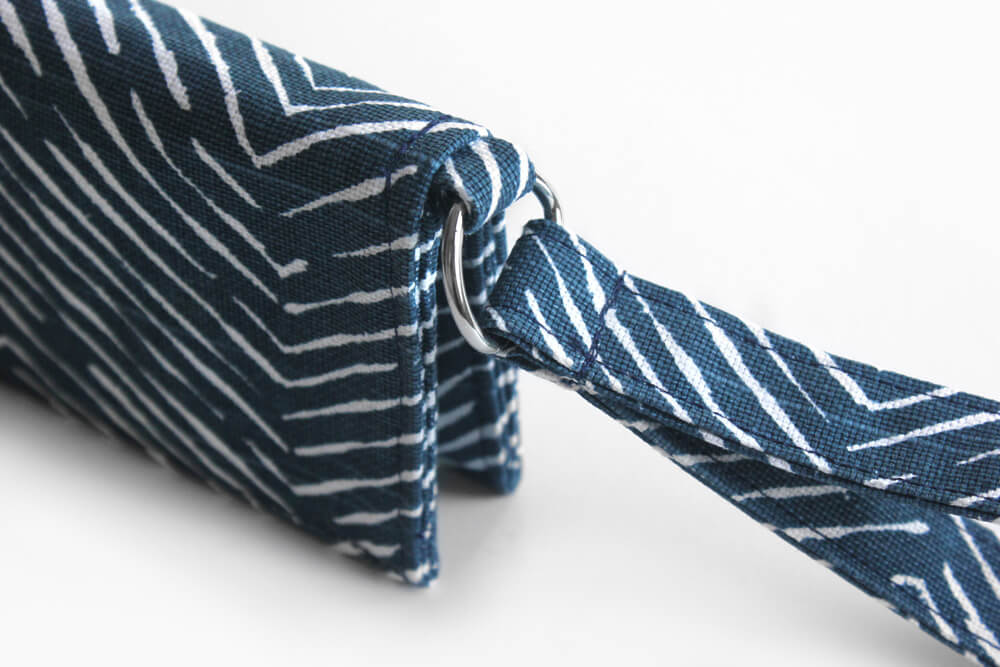
Loop the long piece through the D-ring.
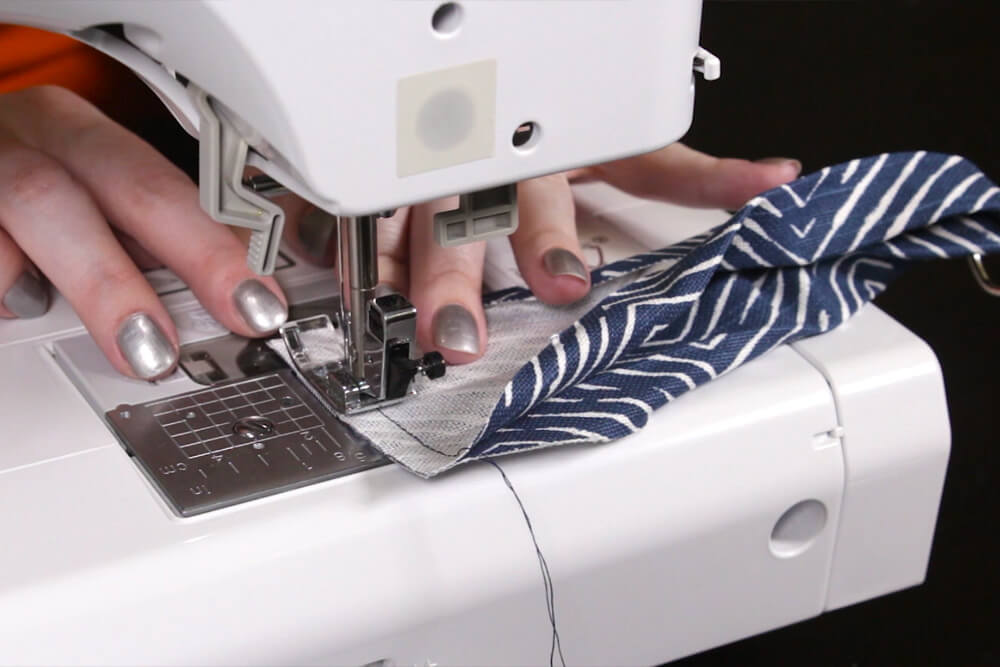
Unfold the two ends and line them up with right sides facing. Sew them together with ¼” seam allowance and refold. Then stitch 1/8” from the edge on both sides of the strap.
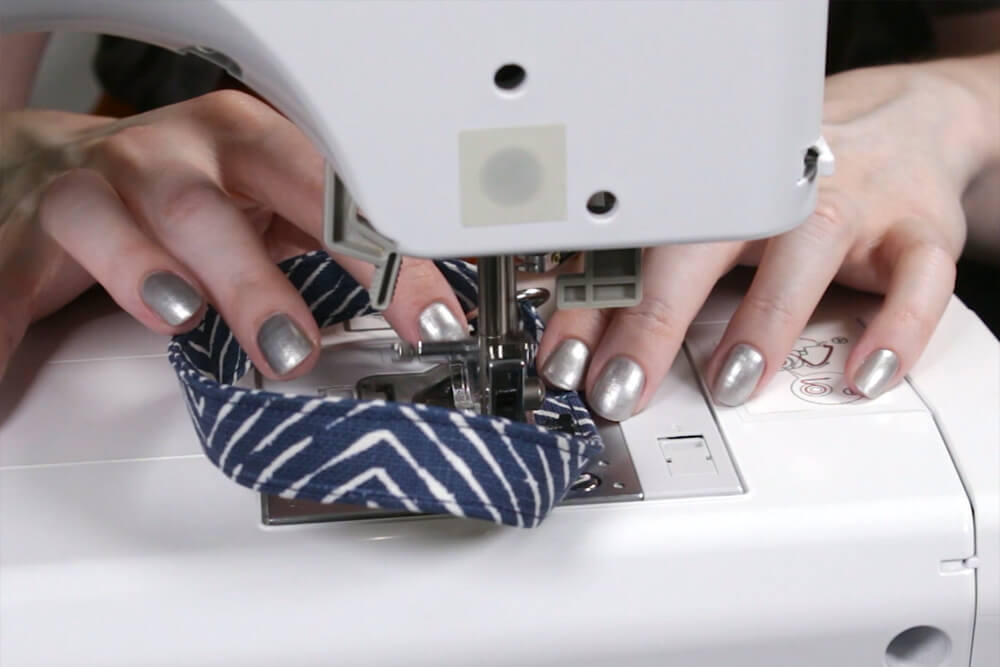
I clip my keys on the D-ring with a small carabiner clip so they’re easy to get on and off. When I need more stuff with me, I just throw the wristlet in my purse so I don’t have to transfer my ID and cards.
Position the seam about ½” above the ring and stitch the 2 sides together on the seam, back stitching at the ends.
Loop the small piece through the ring and sew the ends together just to hold it in place.

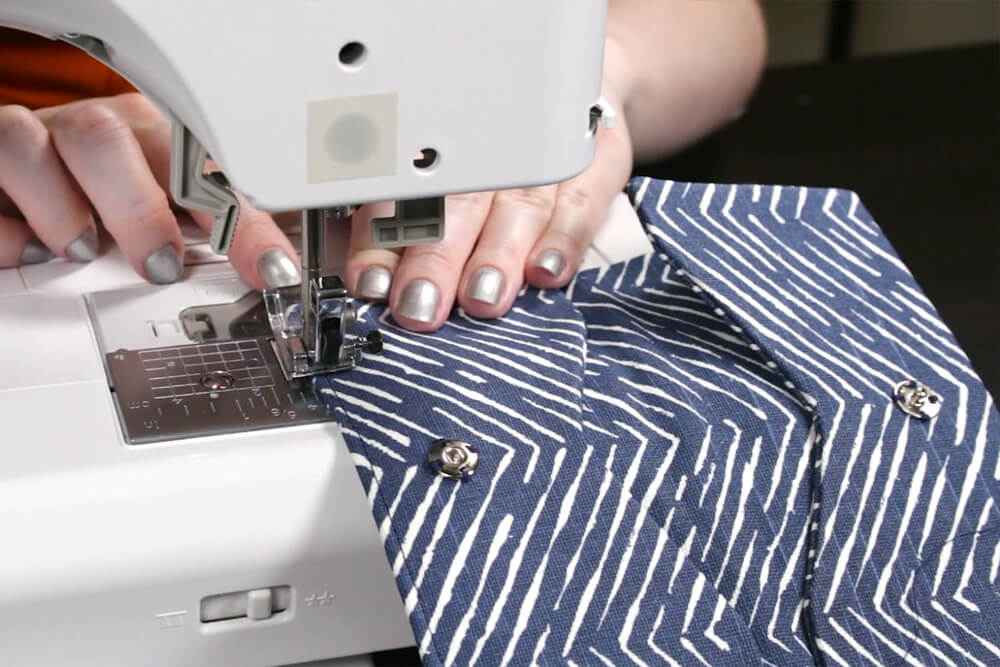
Step 5: Sew it all together
Place the end of the strap between the fabric in the center of the side that’s not sewn. Back stitch and sew across the strap 1/8” from the edge and continue to sew around the entire piece. When you get back to the beginning back stitch across the strap again and the phone wristlet is complete!
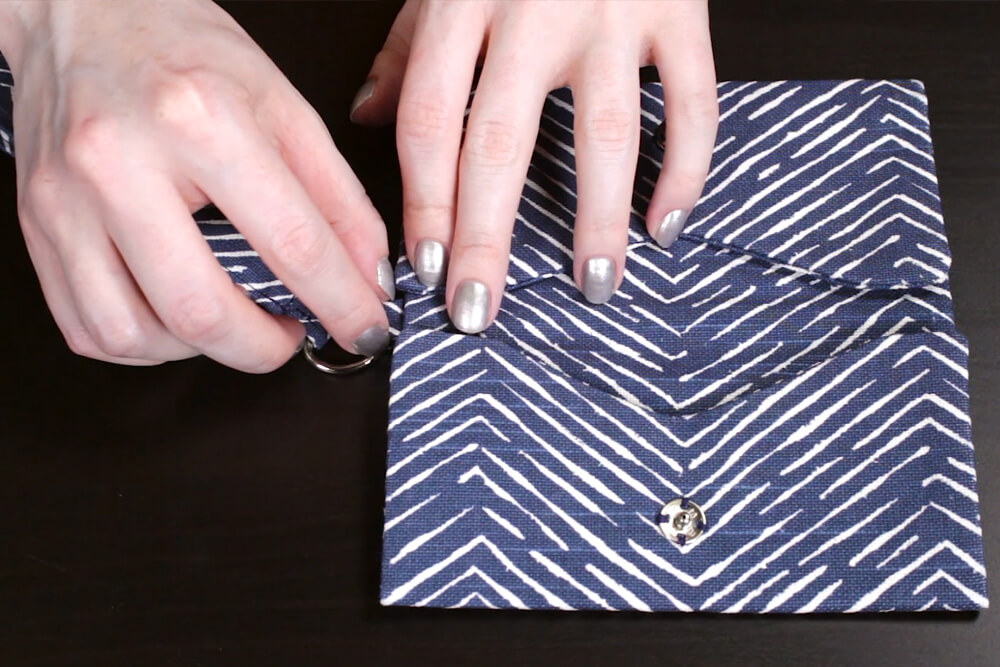
You can also use a clip to make the strap removable if you just want to use it as a clutch. Or you can make a longer strap that attaches to both sides to make it into a purse, especially for the large size.
Make one for yourself, or it’s also a great handmade gift for friends and family.

Looking for more options for decor fabric? Click here!
-
{{#each productSuggestedQueries.results}}
- {{query}} {{/each}}
-
{{#each categories.results}}
- {{html title}} {{/each}}
{{html attributes.description}}
{{/if}}-
{{#each queries.results}}
- {{query}} {{/each}}