
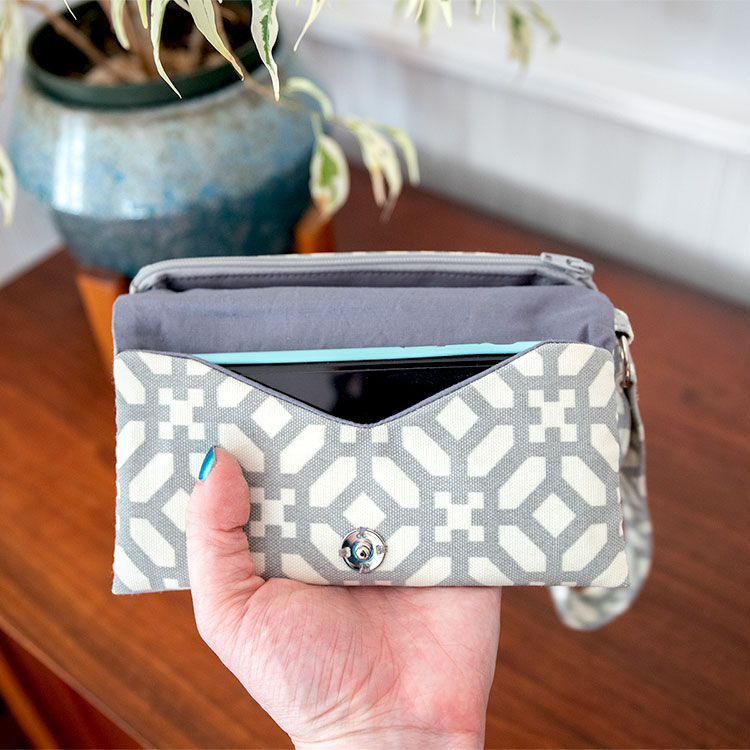
Wristlet Phone Wallet with Zipper Pocket
- By Clara
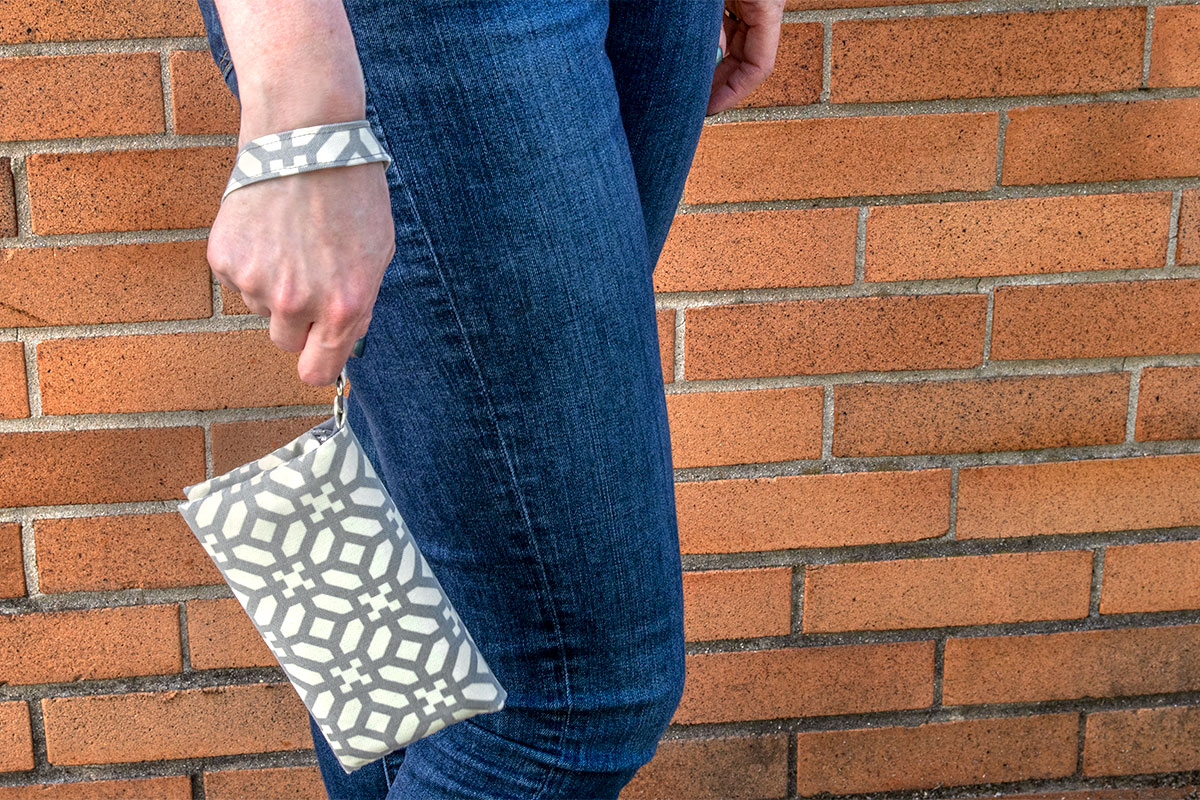
Way back in 2015 we made a tutorial on how to make a simple wristlet. It’s always been one of my favorites and I got a lot of use out of it. I’ve made many since then for myself and for presents and have improved the design over time. I updated the pattern sizes and added a zipper compartment.
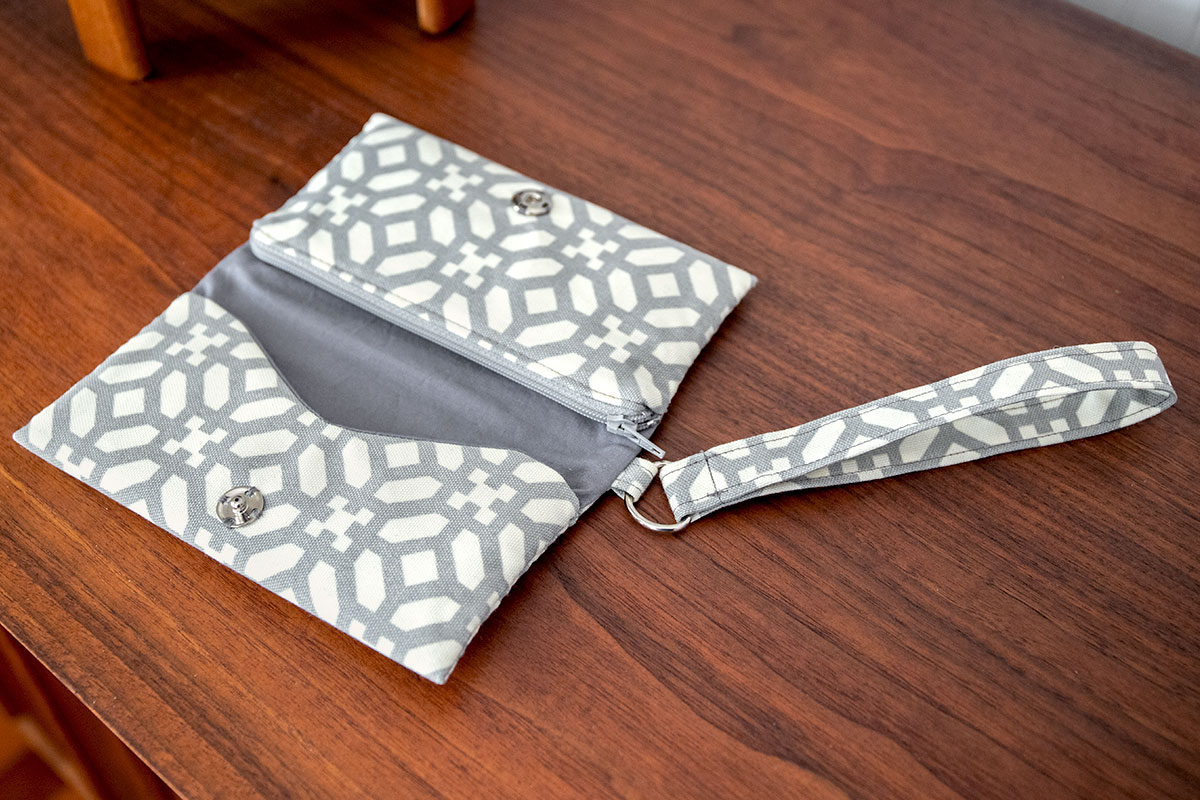
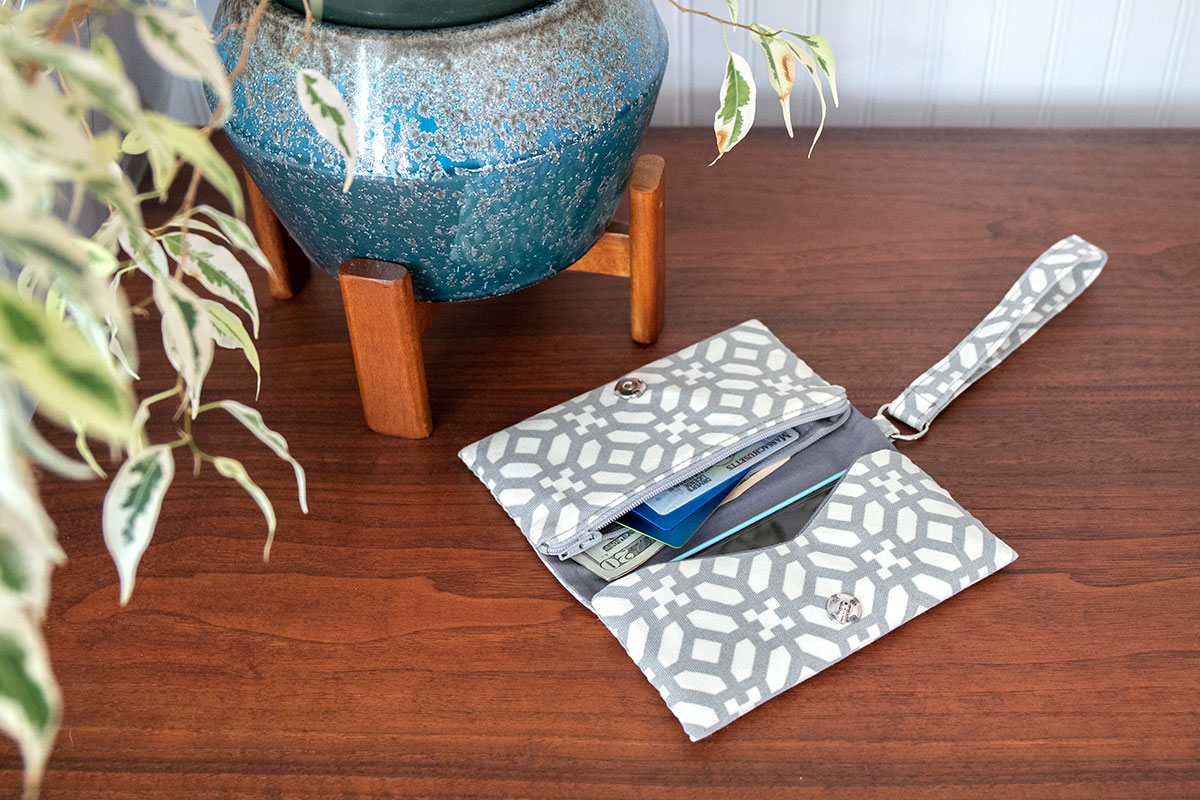
This new zipper compartment can hold cards and cash in a more secure way than the first model. I love this wristlet because I can use it on it’s own or throw it in a bag like a wallet.
You can download our free PDF pattern by signing up to our mailing list.
Let’s get started on this new and improved wristlet!
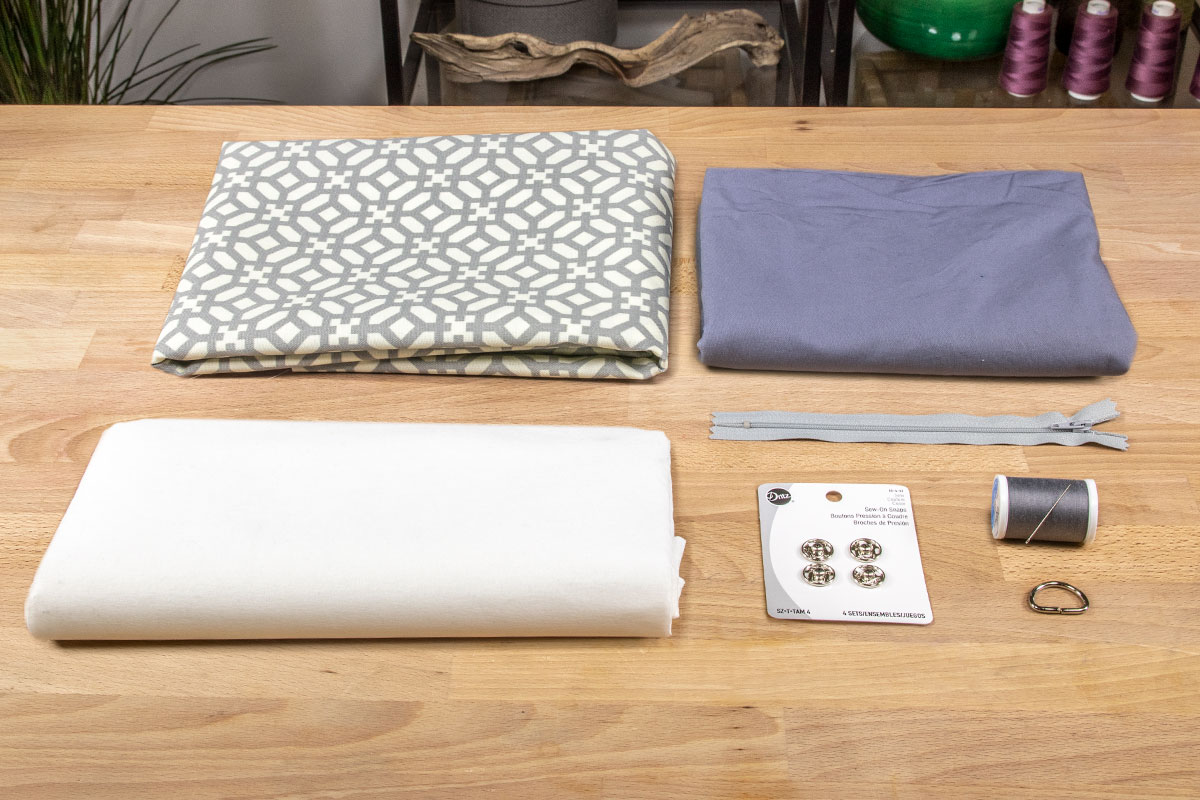
Materials
- Outer fabric (outdoor fabric)
- Lining fabric (broadcloth)
- Interfacing
- 7" zipper
- Sew-on snap
- Thread
- Sewing needle
- D-Ring (3/4")
- Other basic sewing supplies
Related Products


Video
<iframe title="DIY Wristlet Wallet for your Phone with Zipper Pocket | Free Pattern Download" width="500" height="281" src="https://www.youtube.com/embed/UTdoWlGRG-Q?feature=oembed" frameborder="0" allow="accelerometer; autoplay; clipboard-write; encrypted-media; gyroscope; picture-in-picture; web-share" allowfullscreen></iframe>Instructions
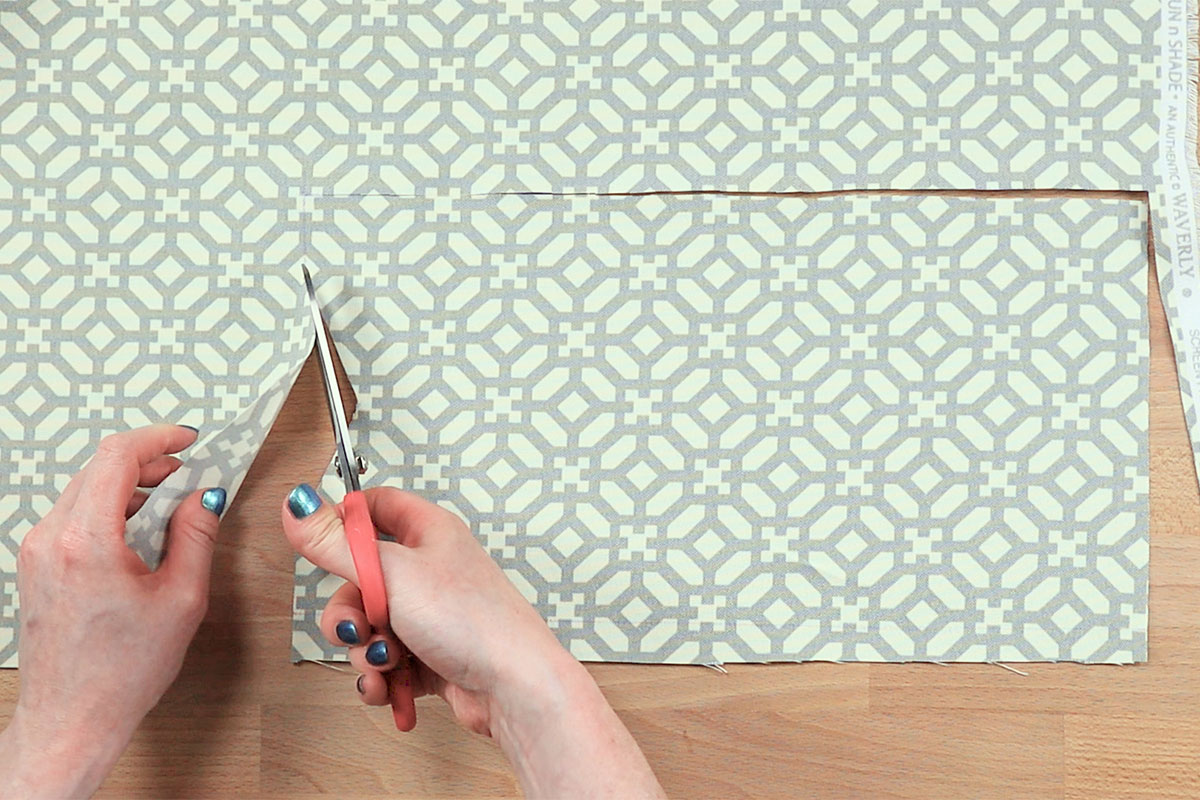
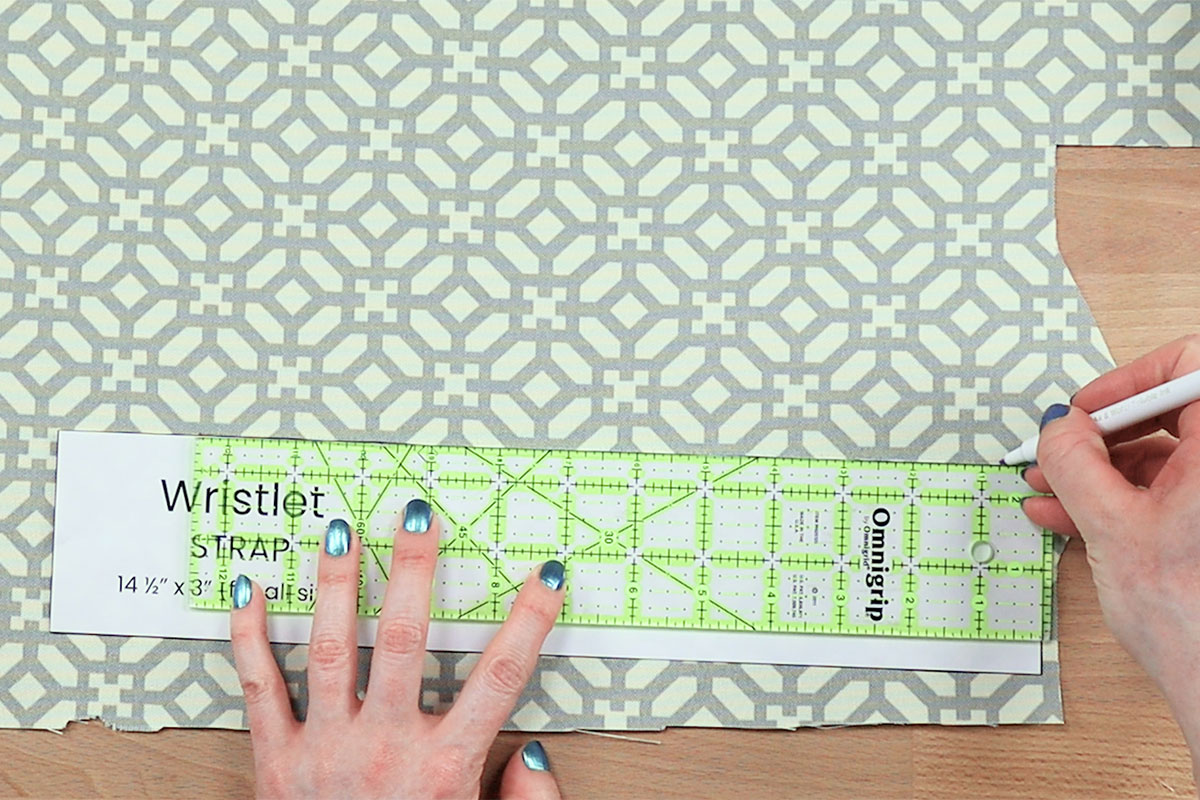
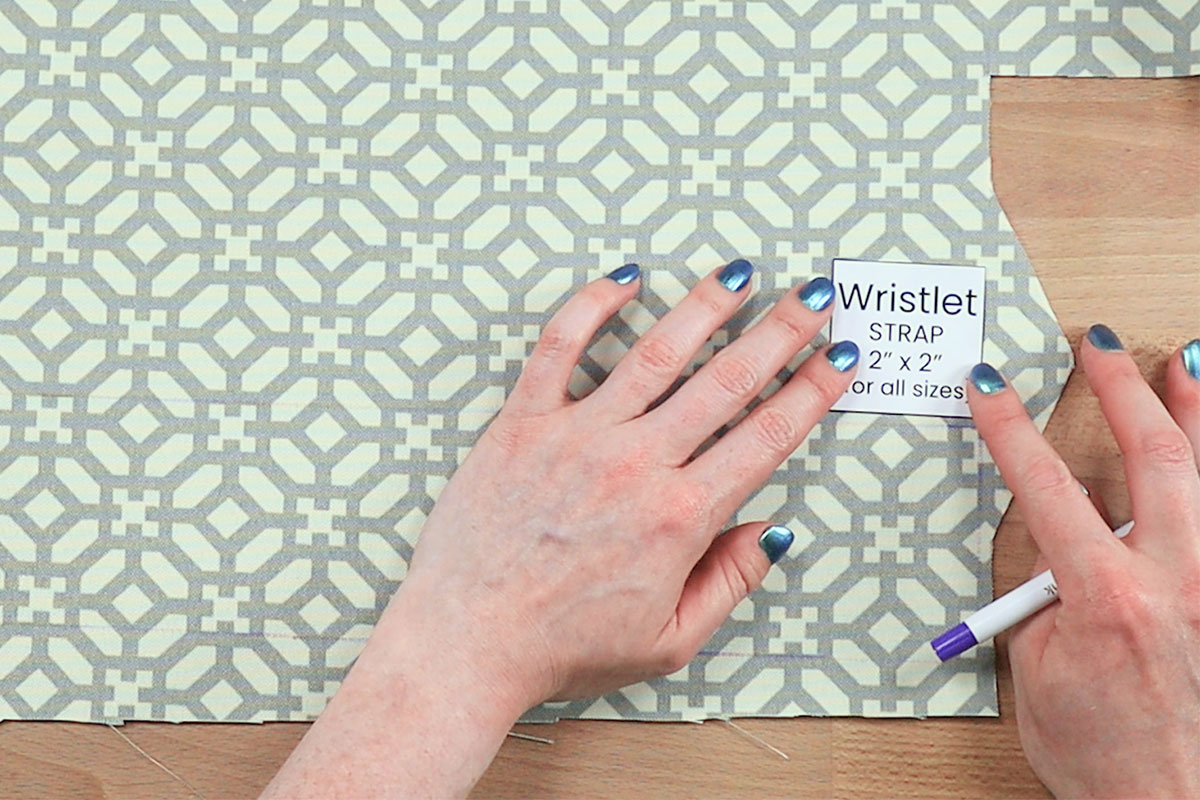
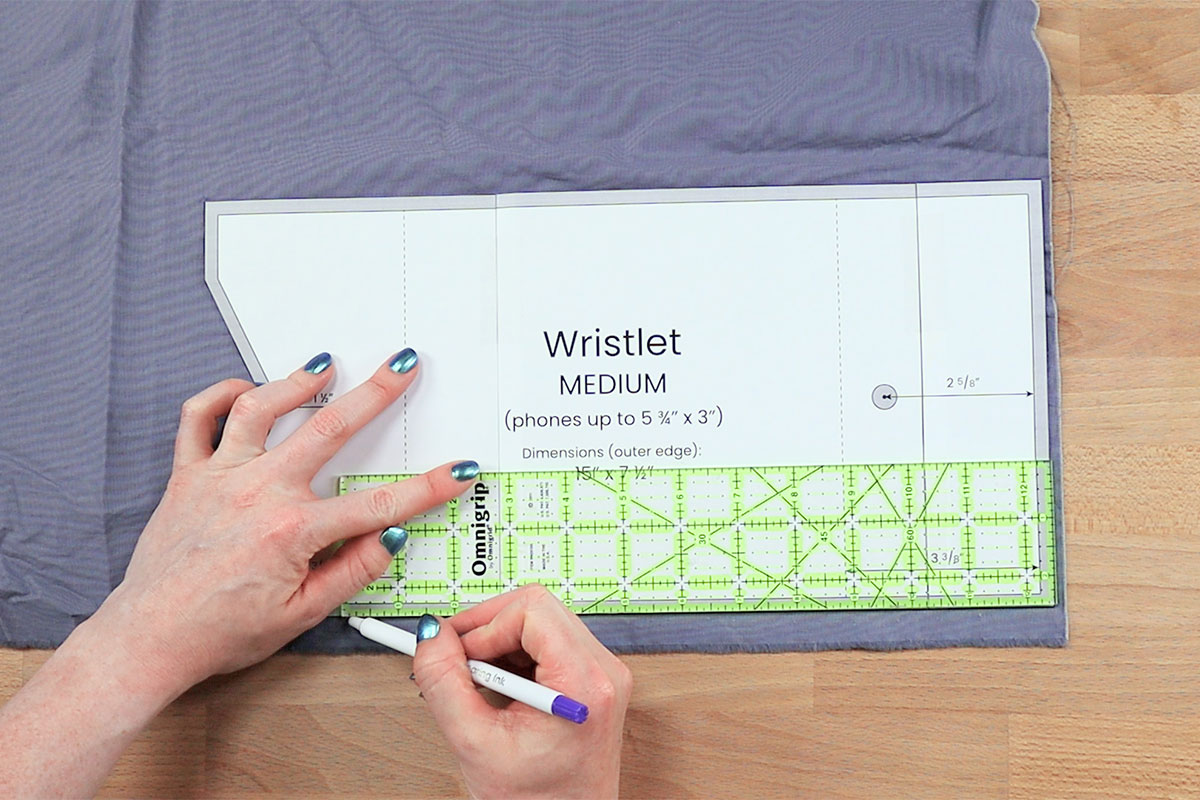
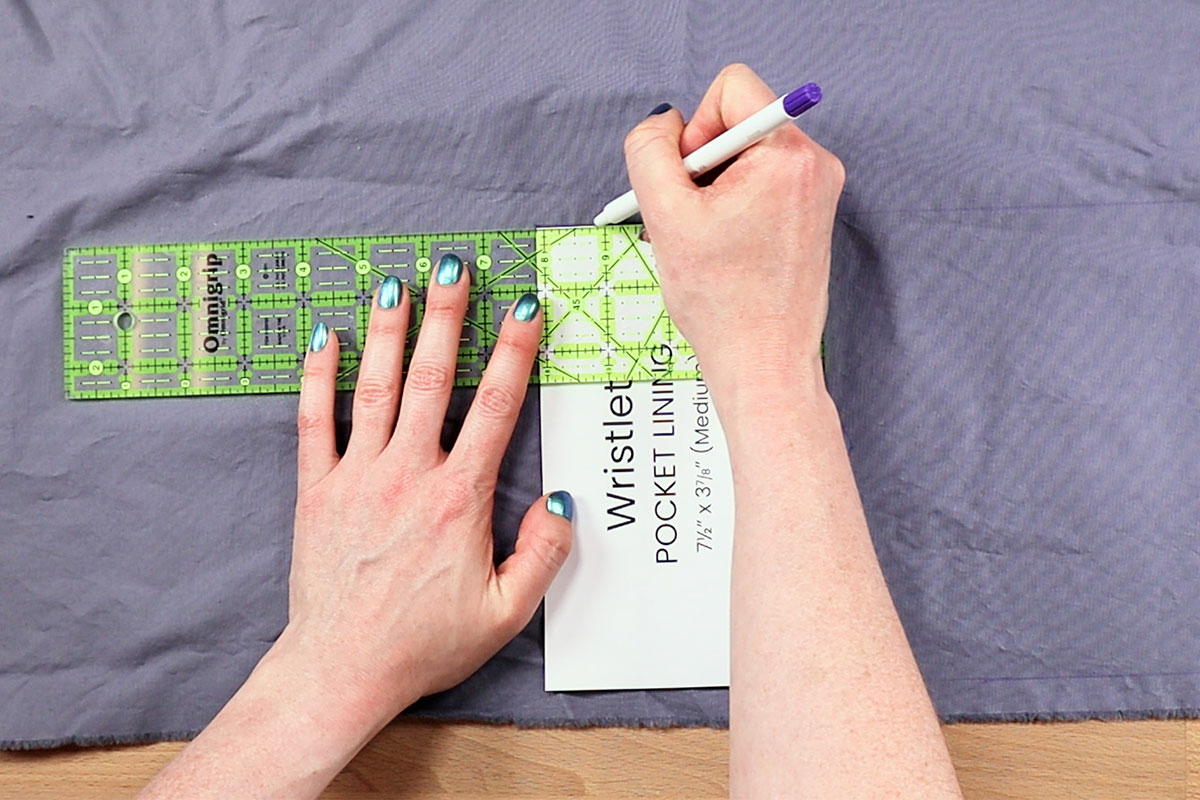
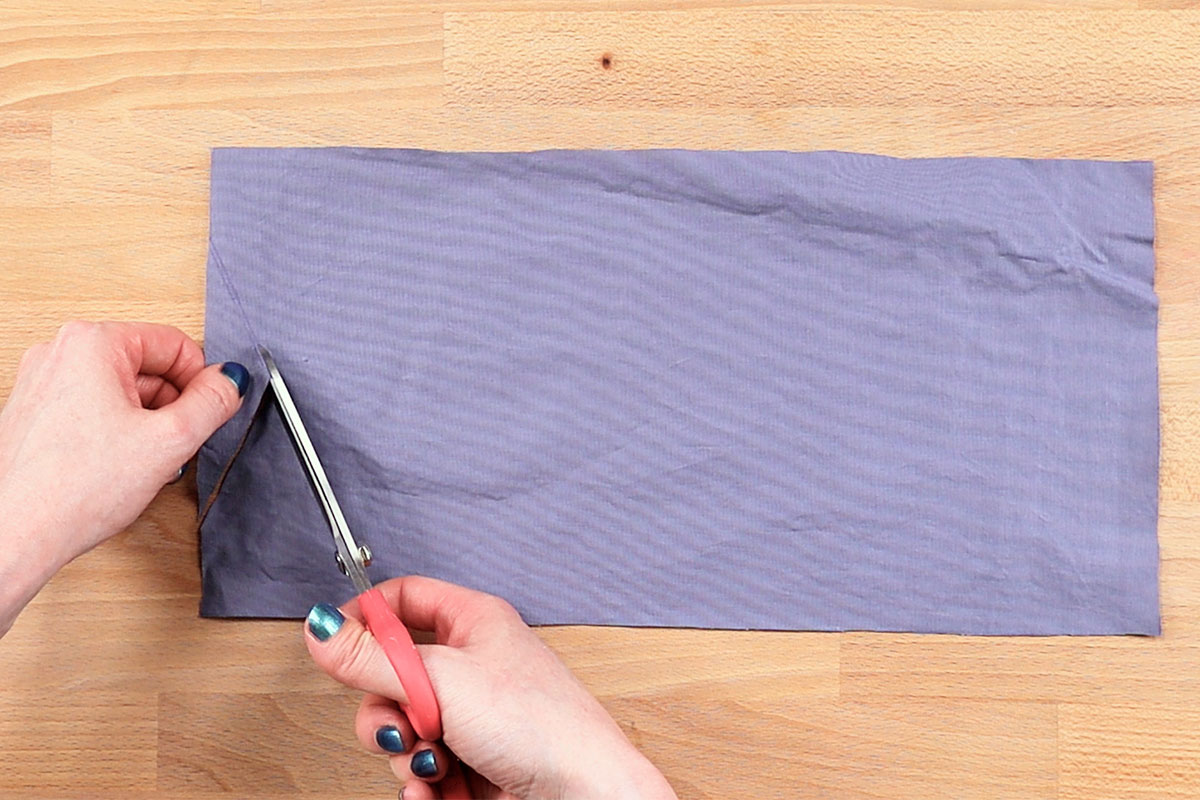
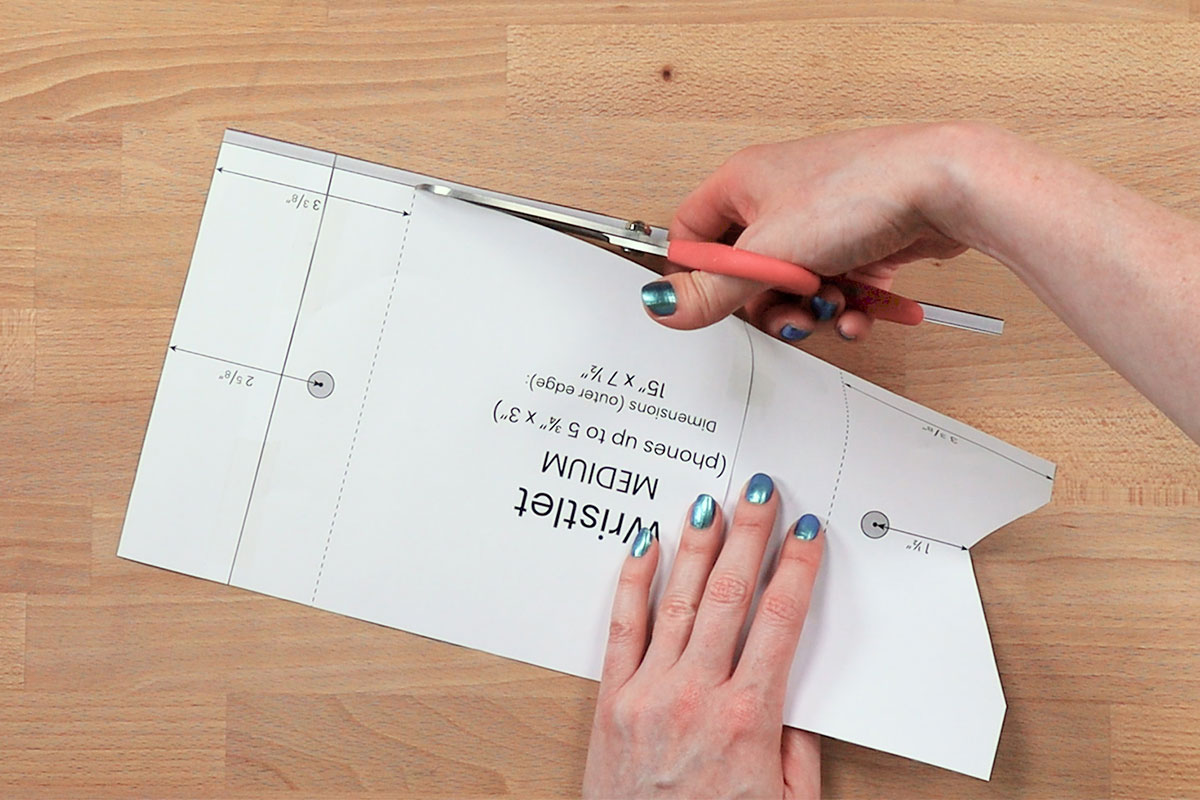
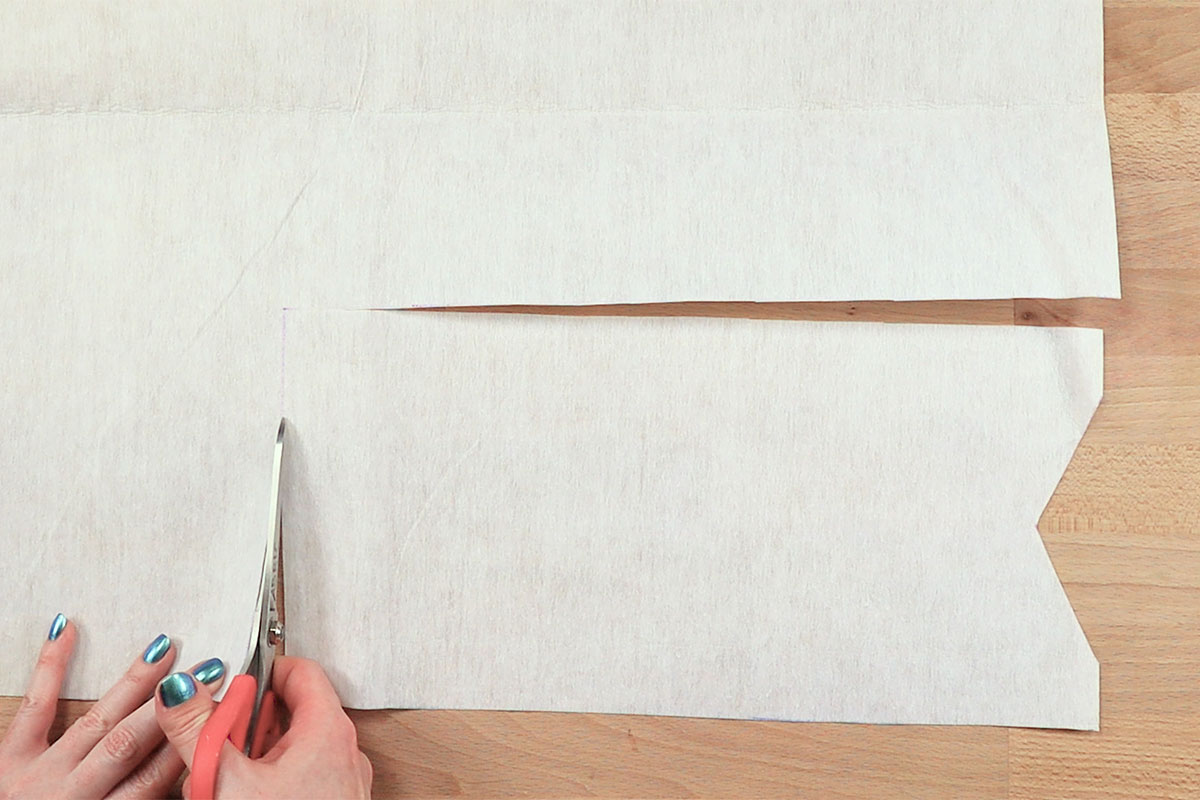
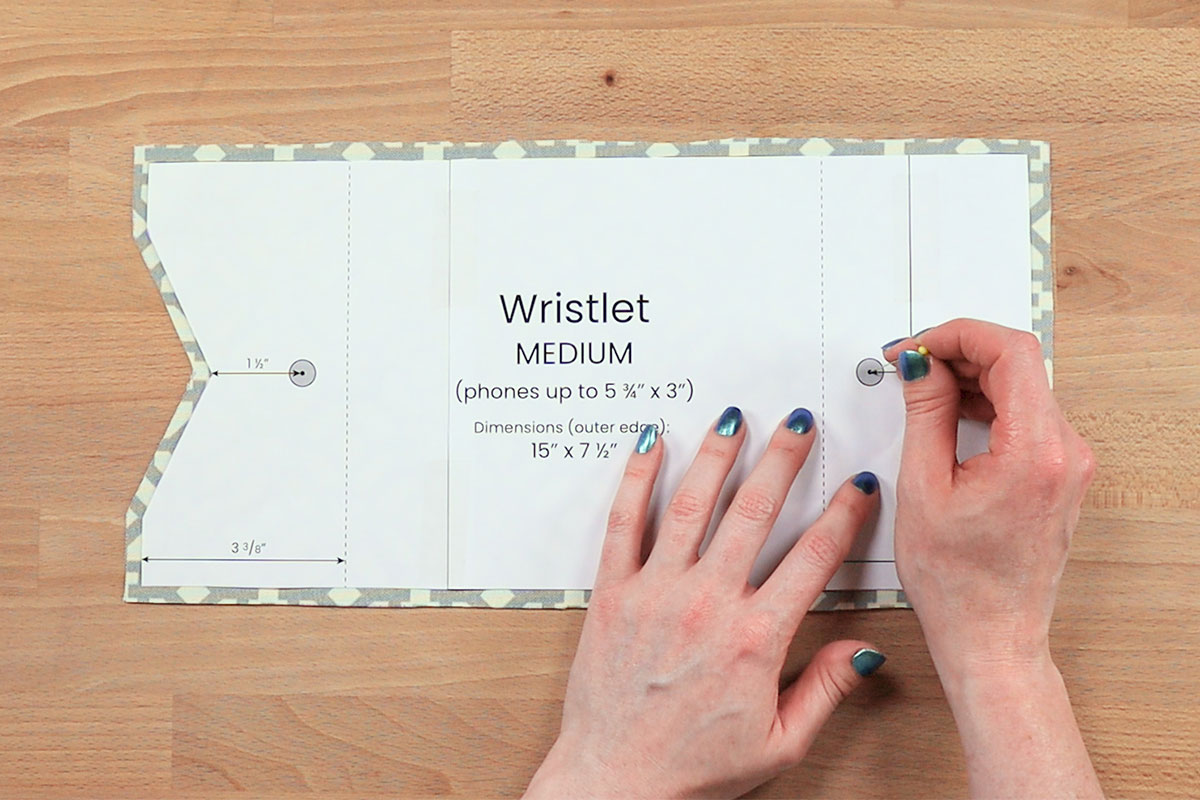
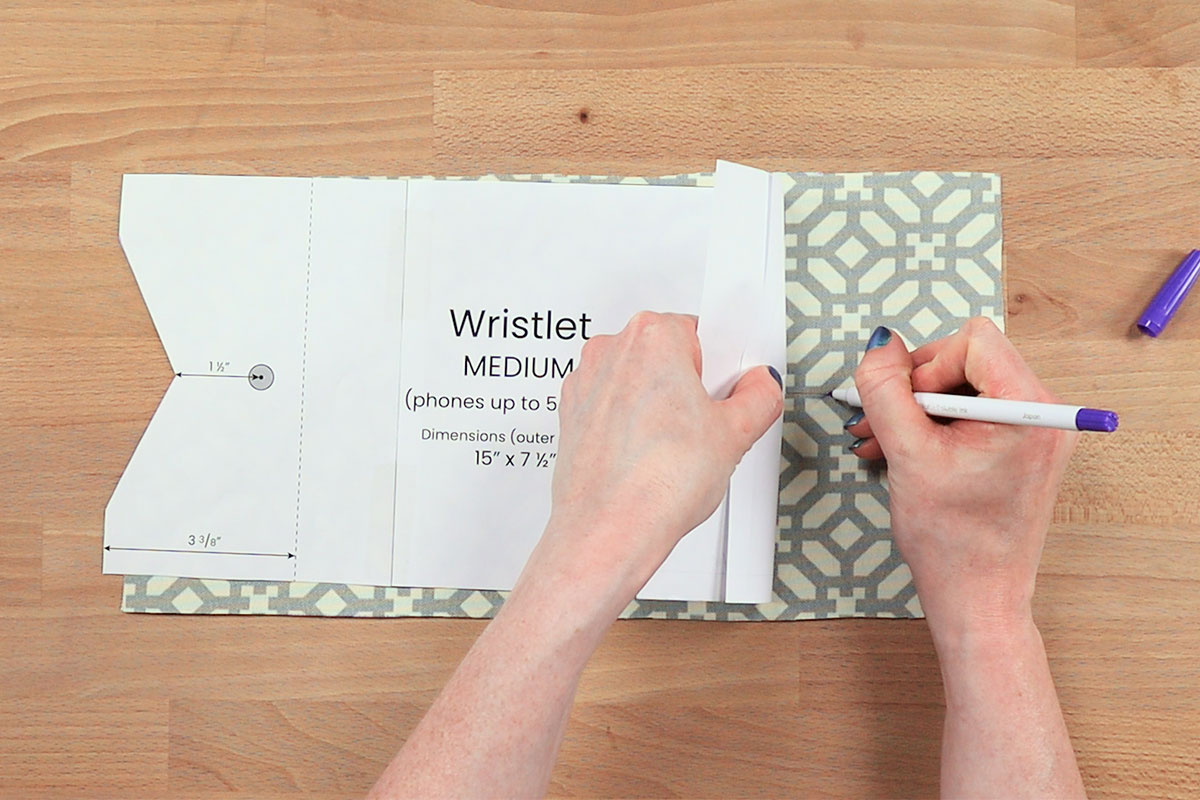
Step 1: Cut the fabric
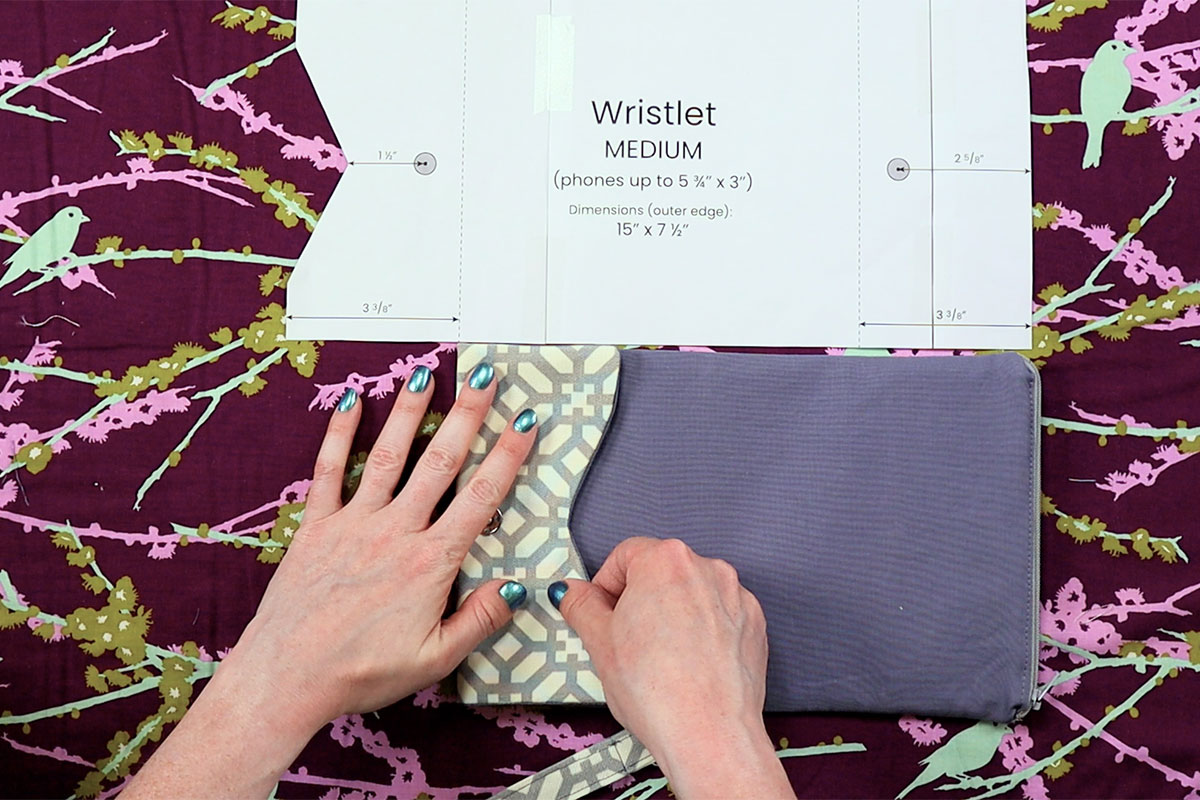
Tape and cut out the pattern piece that will fit your phone.

Cut out a piece of your outer fabric.
I’m using an outdoor fabric for the outer fabric. You can use any décor fabric but the outdoor fabric will wear really well.
Also cut out the two strap pieces from the outer fabric.
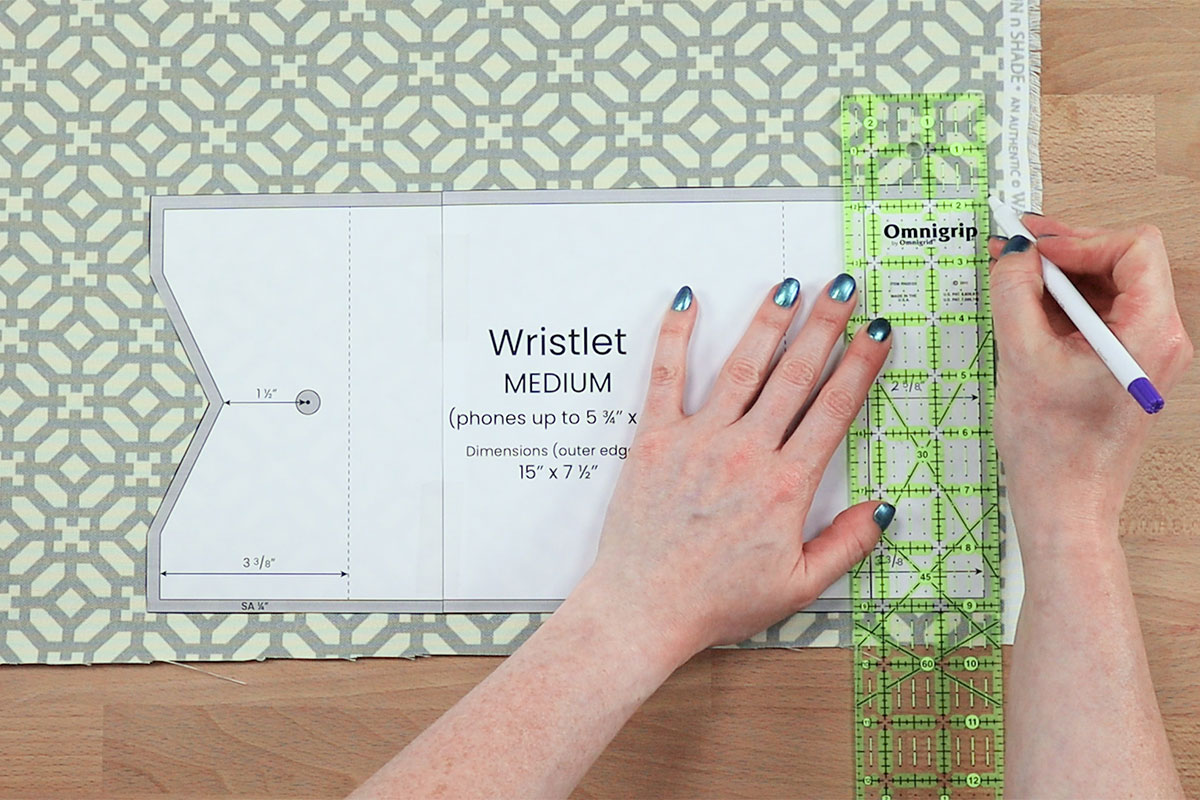
From the lining fabric, cut out the main pattern piece, and 2 pocket lining pieces. I’m using broadcloth for the lining.
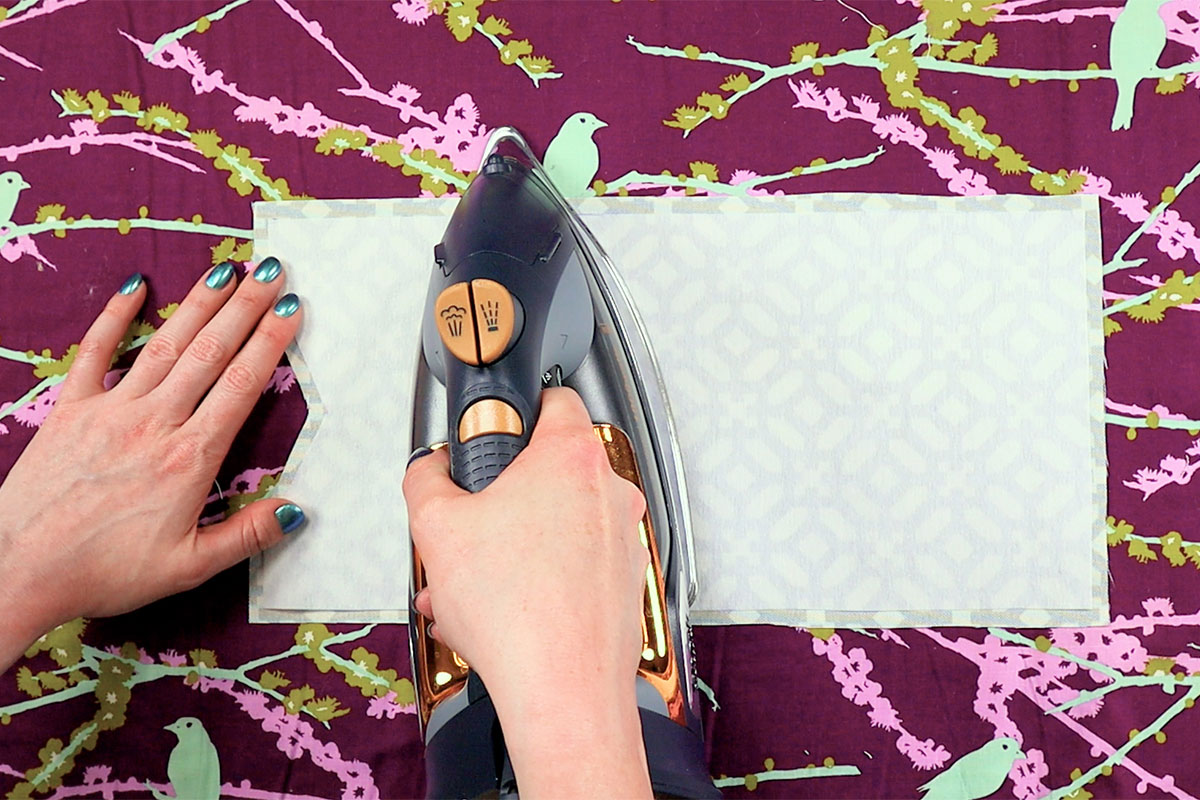
Cut off the seam allowance on the pattern and cut out one piece of the interfacing.
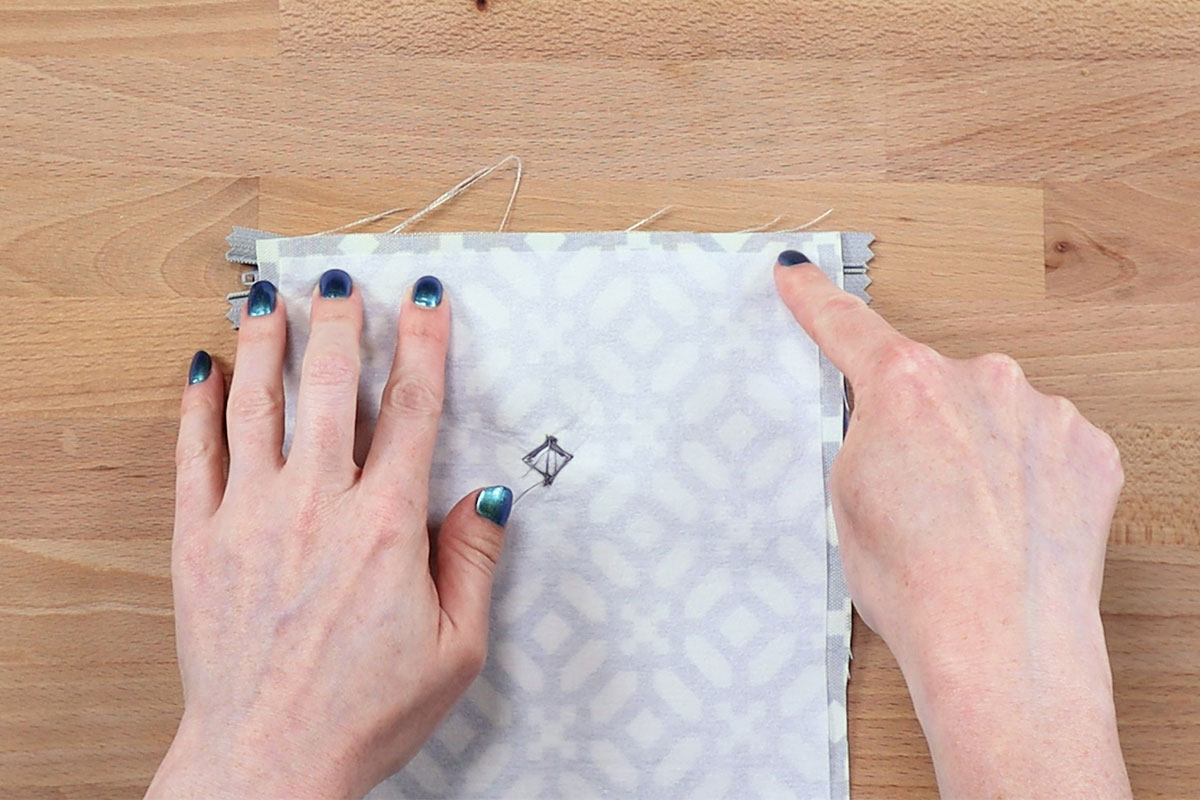
Center the interfacing on the back of the piece that has the snaps marked. Make sure the fusible side is facing down and iron to attach the interfacing.
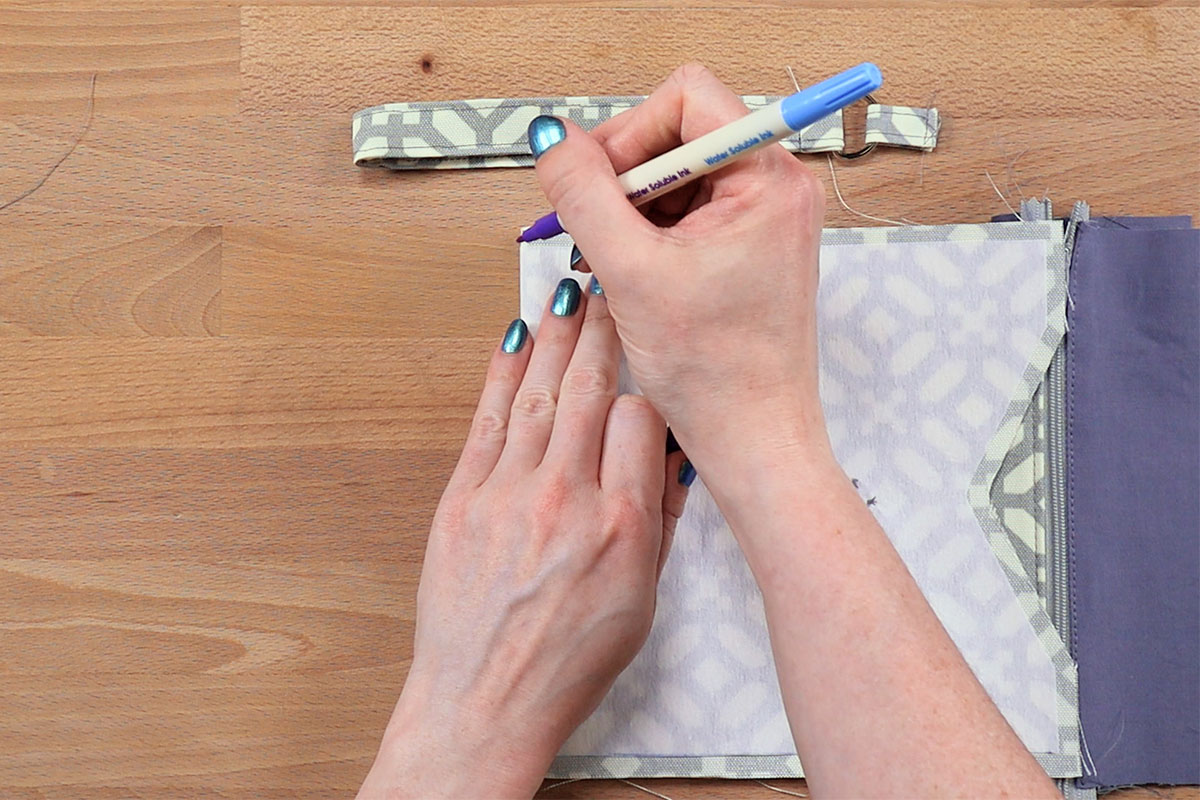
On the piece that will be on the outside, poke a pin through the center of the snap marking on the pattern. Mark where the pin comes out on the right side of the fabric. Repeat for the other snap marking.
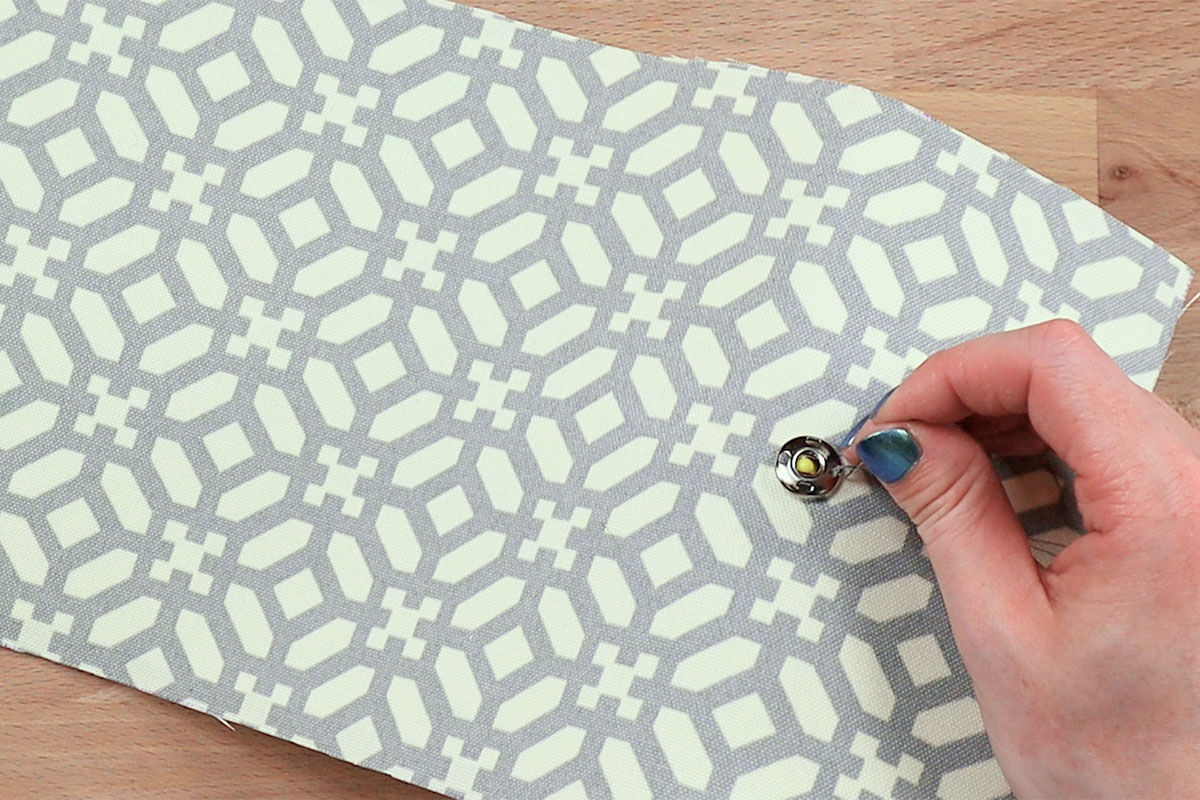
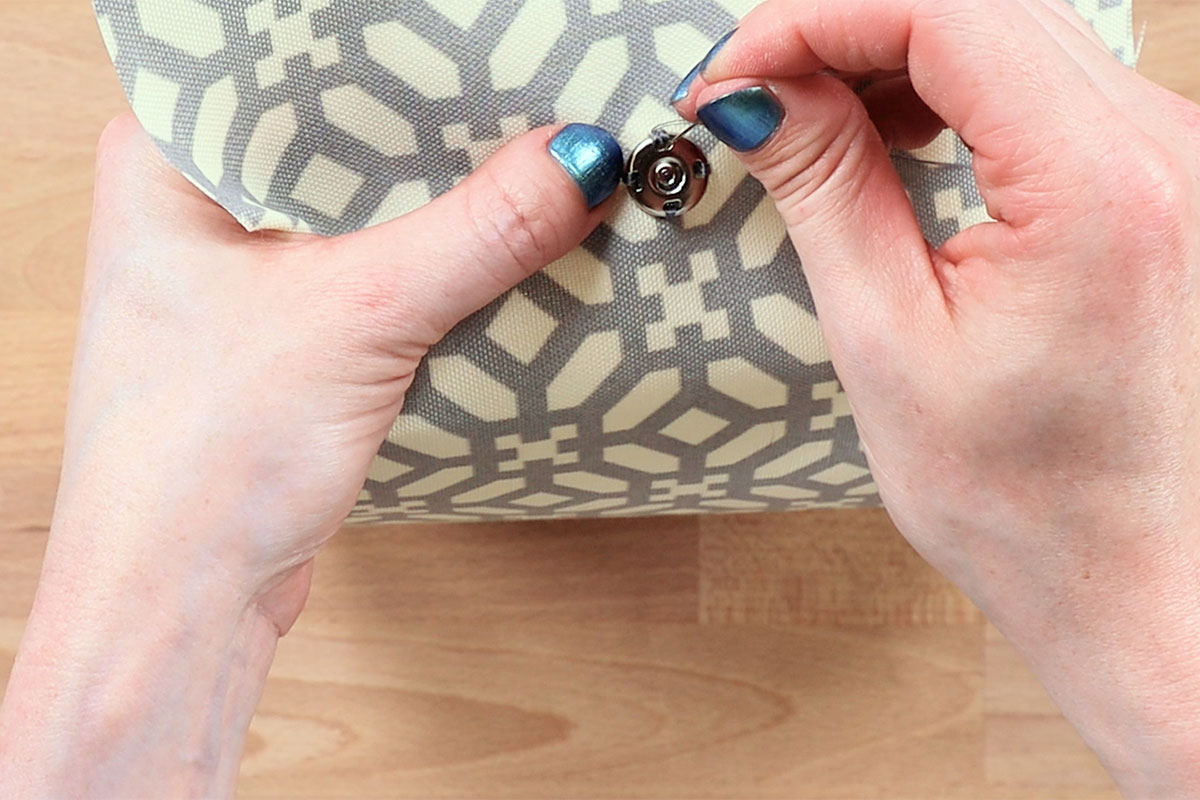
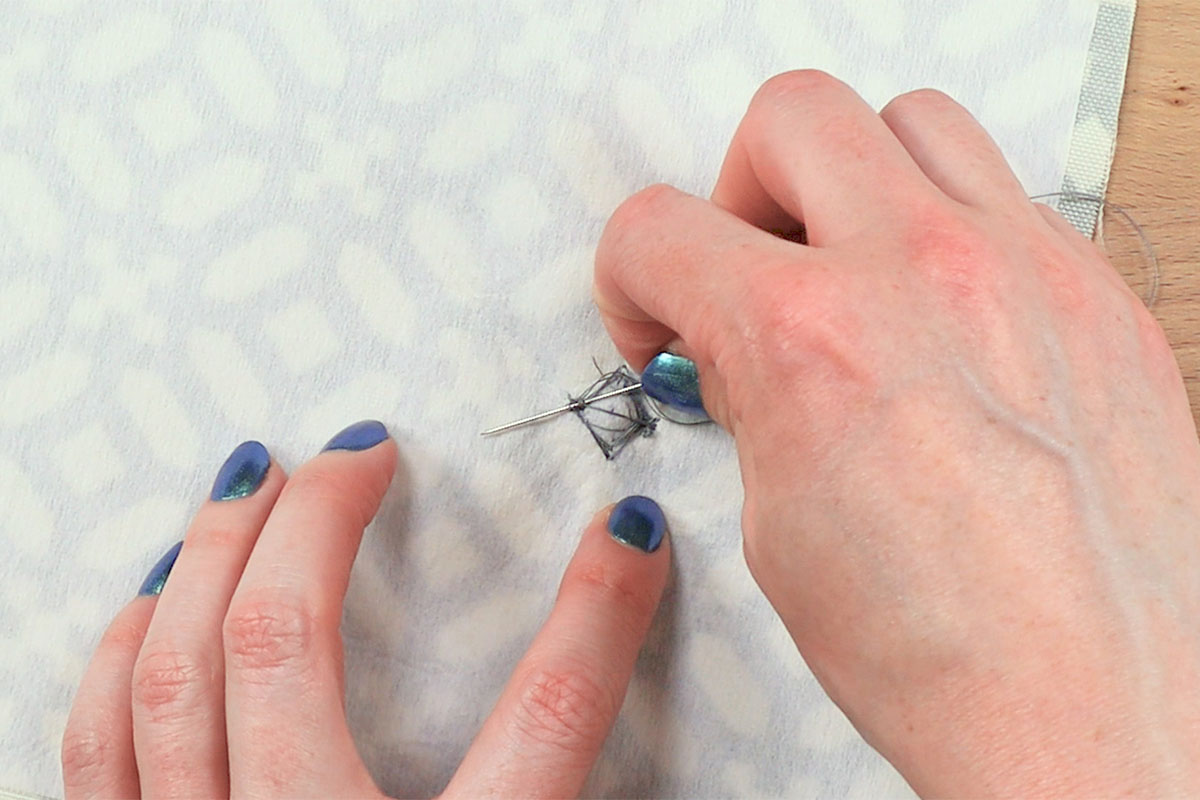
Step 2: Sew the snaps
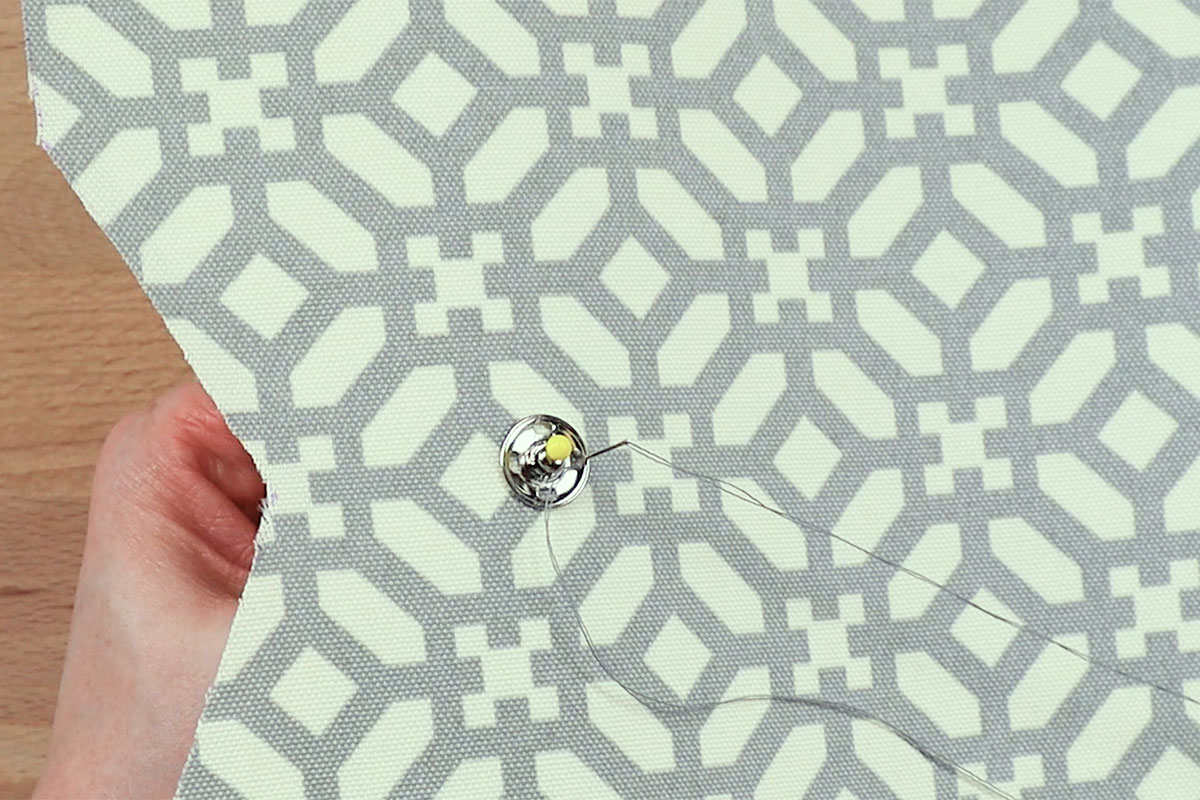
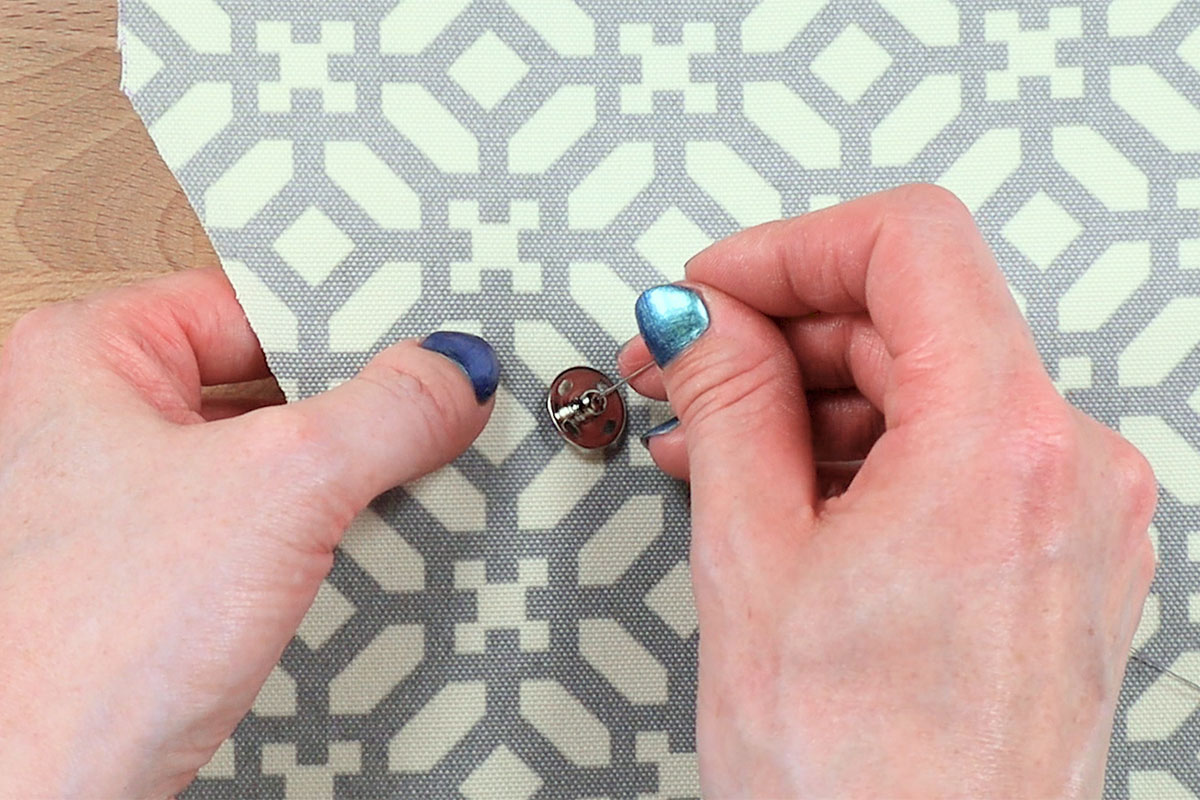
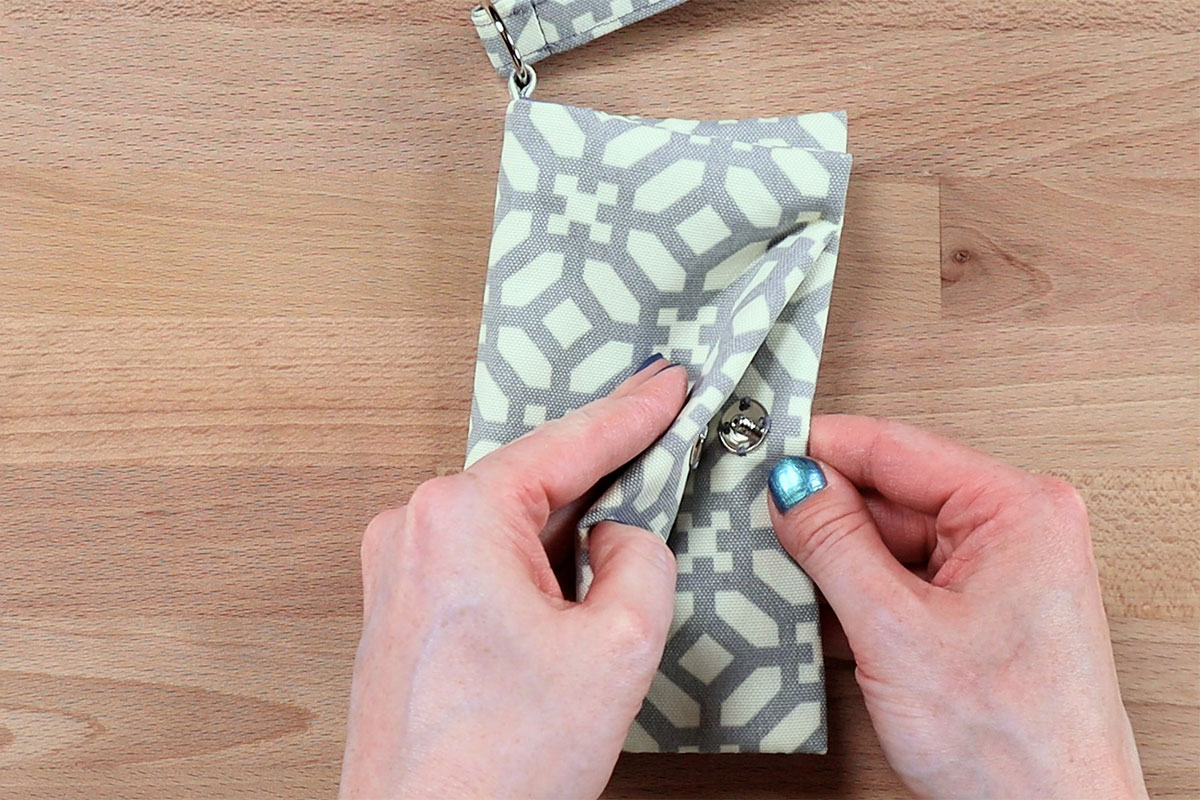
Center one side of the snap on a mark and stick a pin through to hold it in place. From the back, push a threaded needle through so it comes out of one of the 4 holes on the edges of the snap. Go in and out of the fabric several times to wrap the thread around that that side of the snap.
Then move on to the next hole and continue until the snap is attached on all 4 sides. Once the snap is secure, remove the pin. Continue to sew until the snap’s on there really well. Knot the thread on the back. Repeat for the other half of the snap.
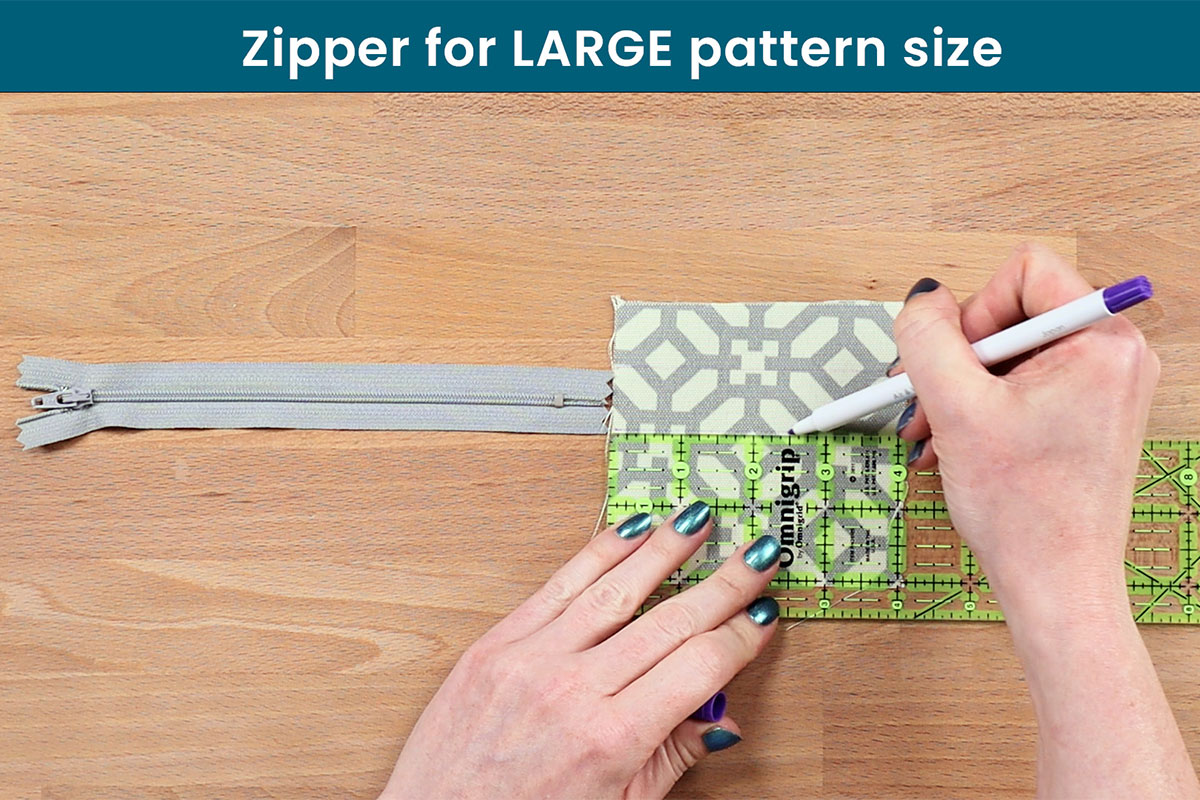
Step 3: Sew the zipper
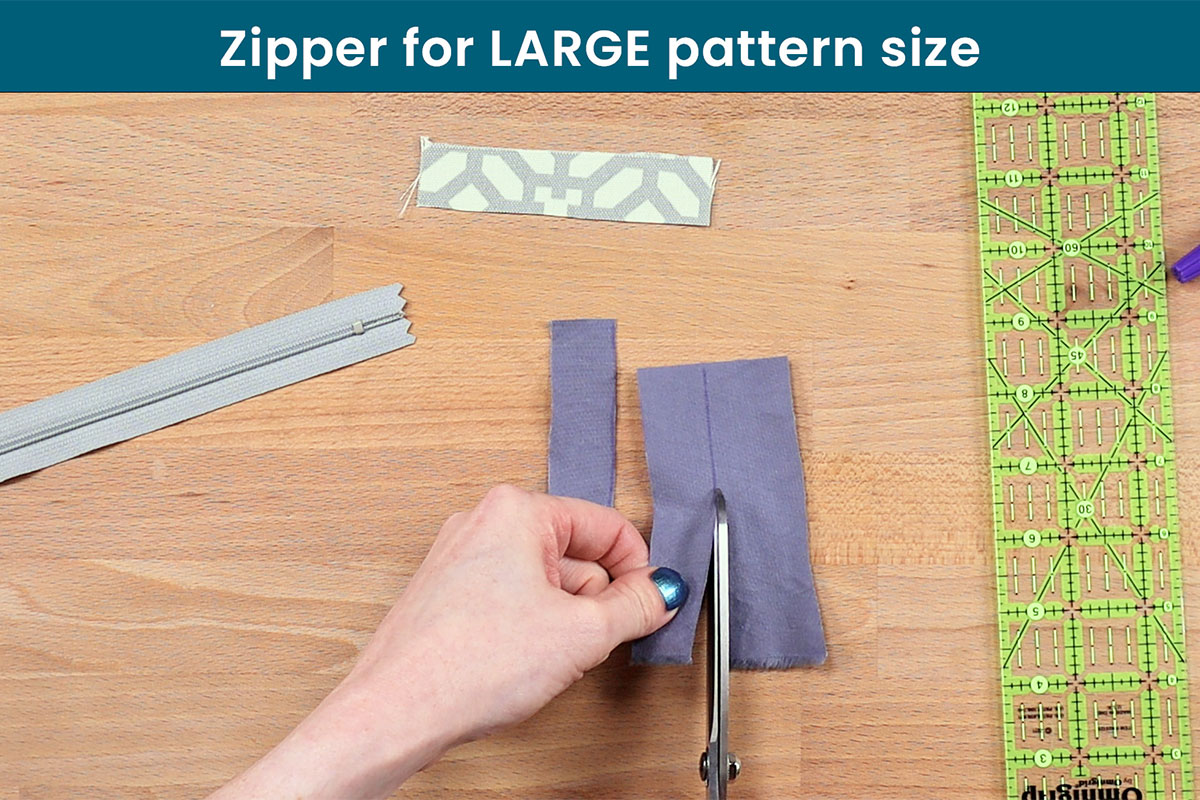
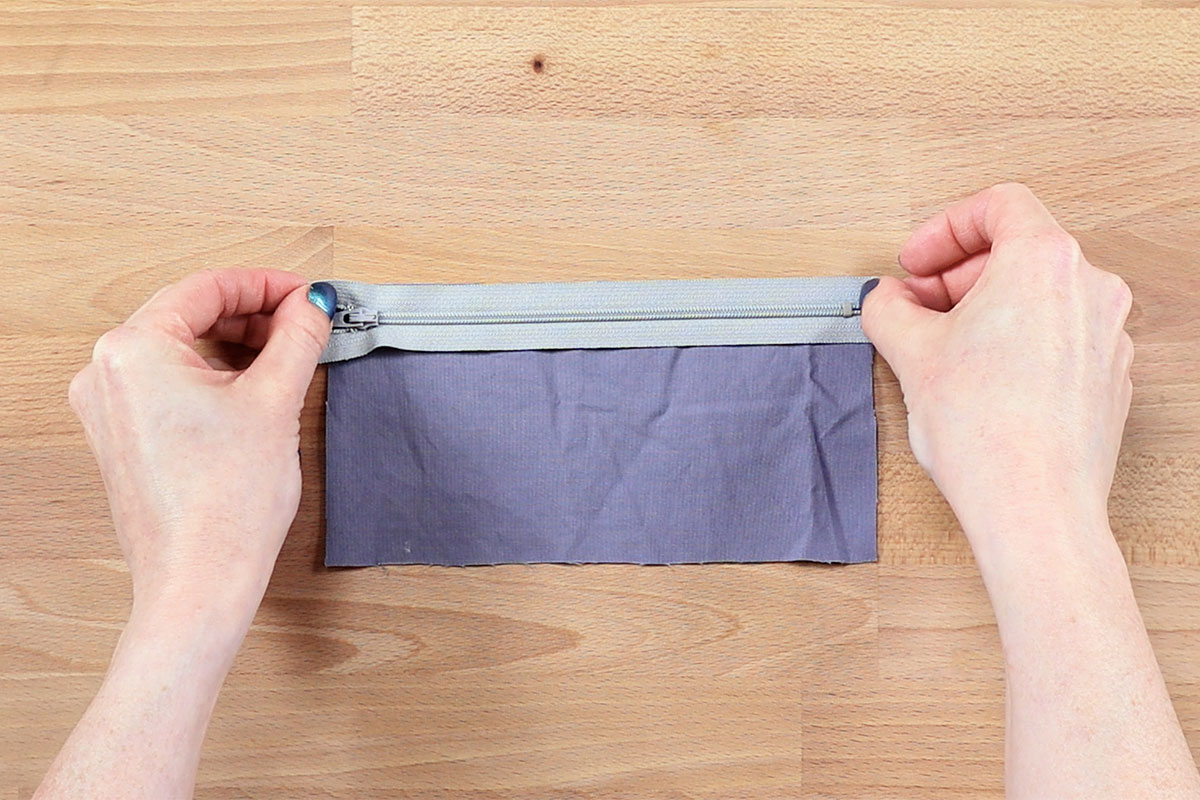
For the medium size, we don’t need to do anything to the zipper, but for the large size, you’ll have to added some fabric to extend the zipper to the right length. Cut 2 pieces of the outer and lining fabrics that are the same width as the zipper. Don’t worry about the length right now. Fold the edges under for both pieces and sew across. Trim so it’s the same width as the outer and lining pieces.
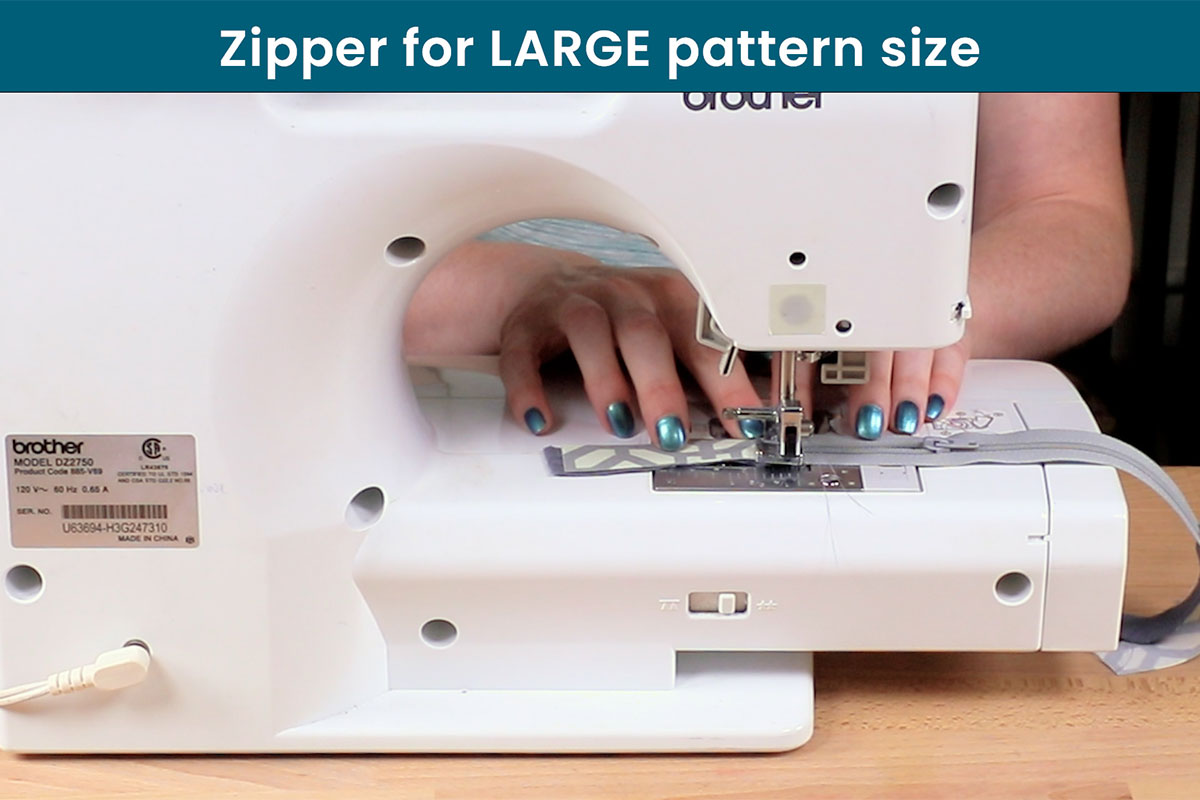
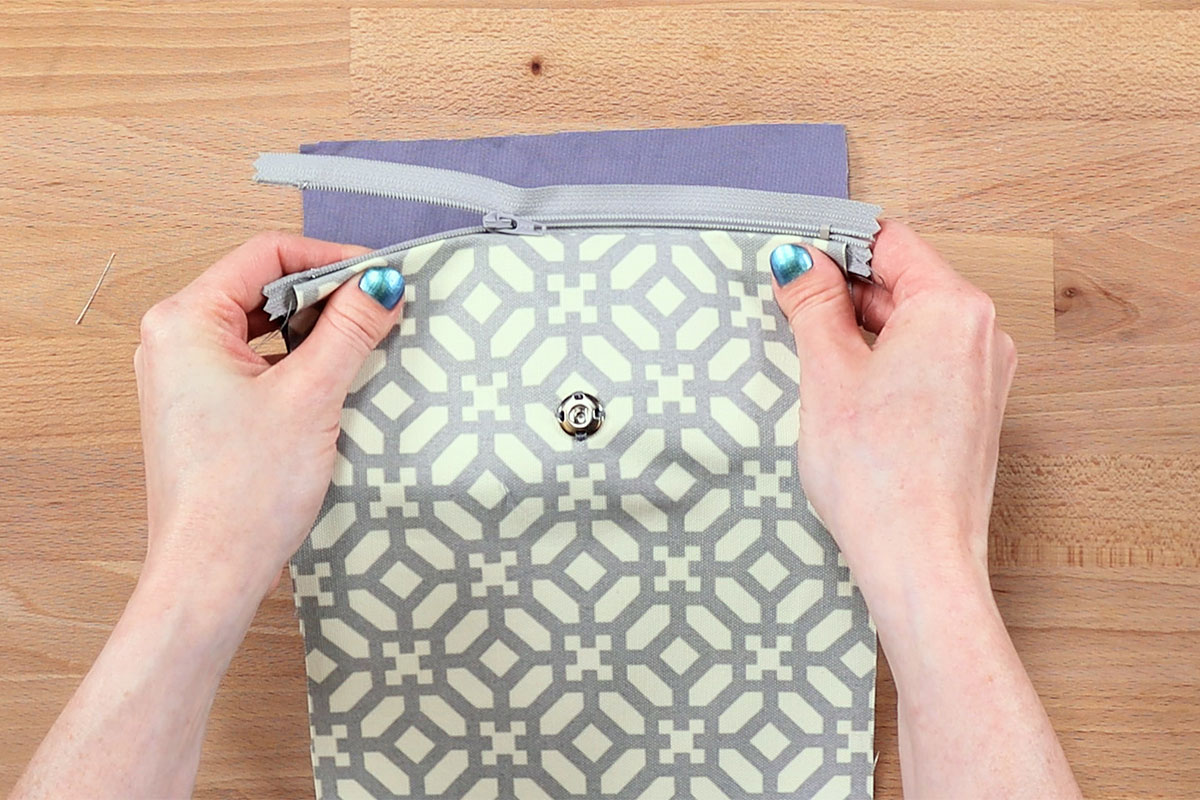
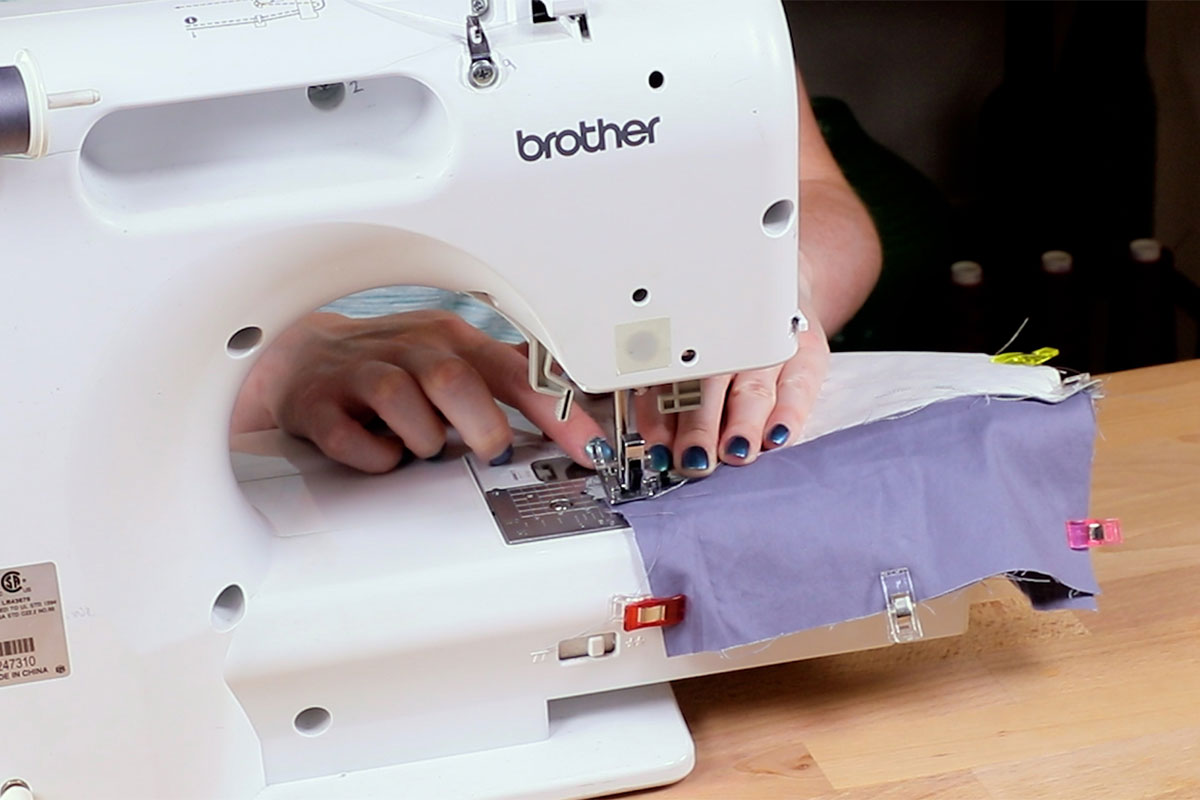
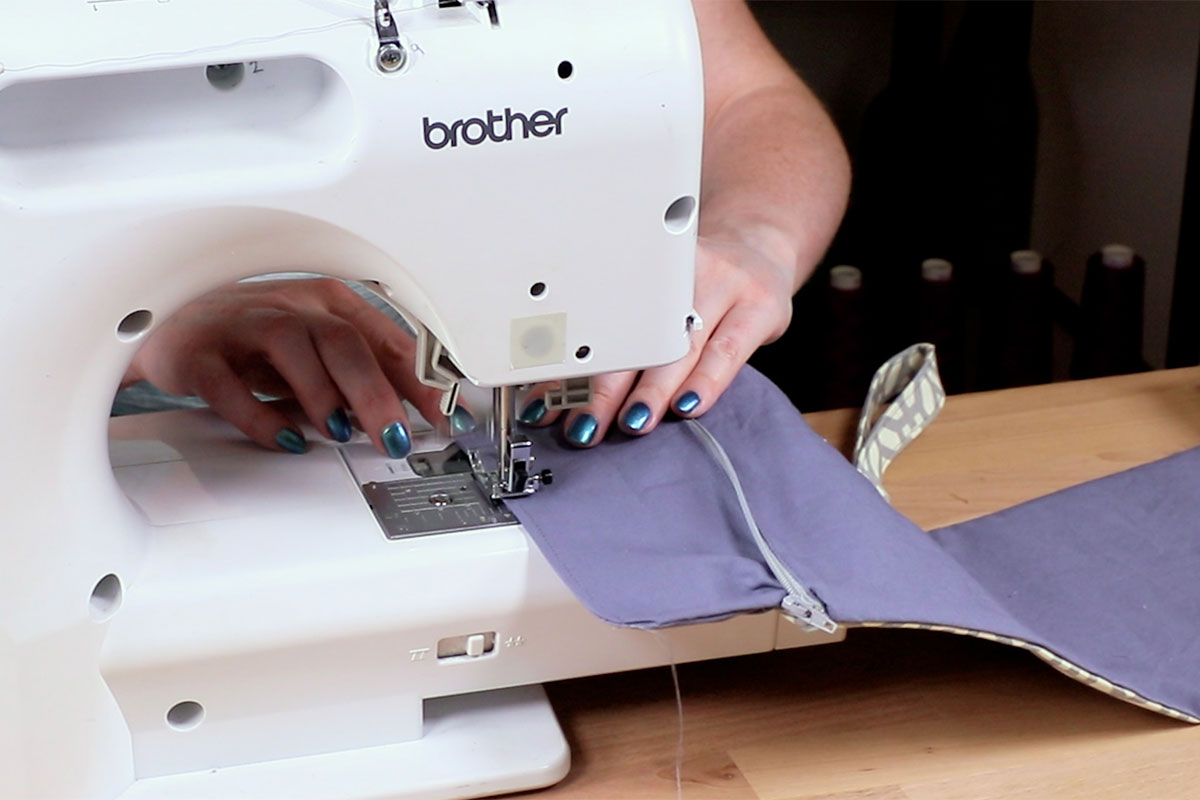
With the pocket lining fabric facing up (if it has a right and wrong side), place the zipper face up along the top edge of the lining. Place the outer fabric on top, facing down.
With the zipper foot on your sewing machine, sew down the edge with a ¼” seam allowance. Make sure the edges of the fabrics and zippers are lined up as you go.
When you get close to the zipper pull, stop, lift the needle and presser foot, move the zipper pull up, then continue sewing to the end.

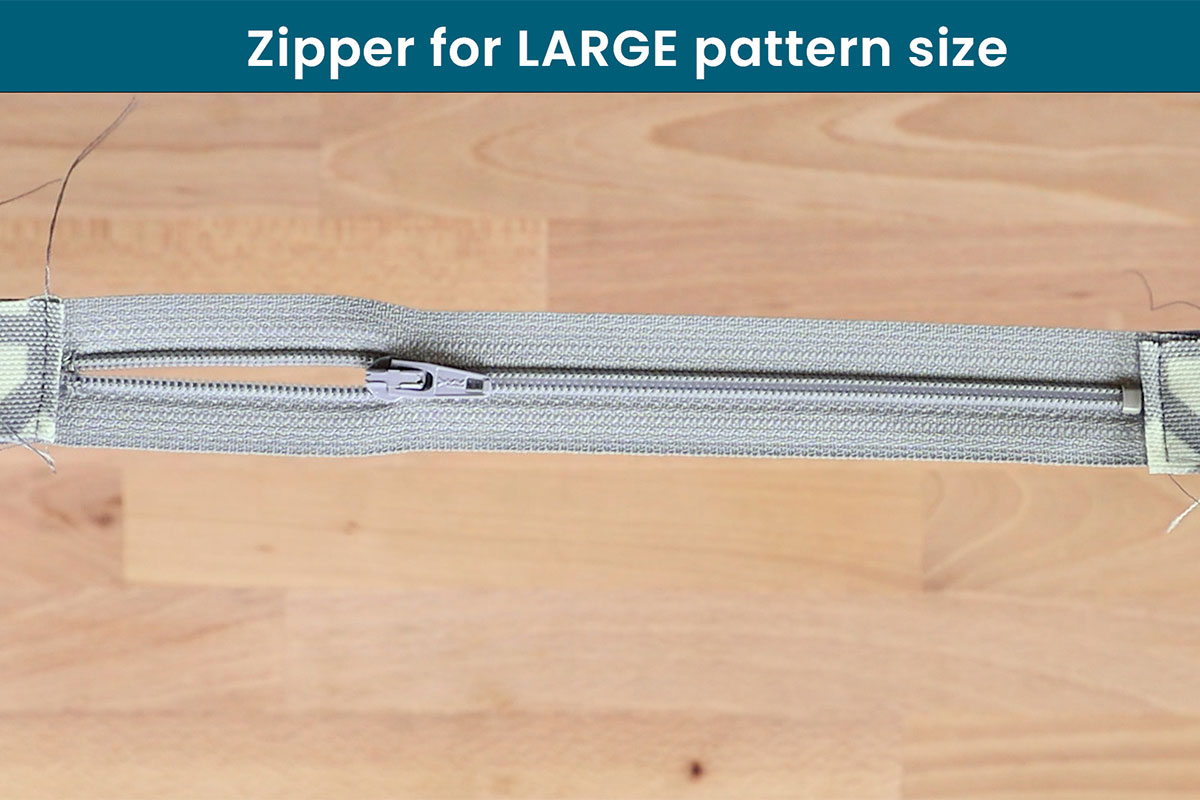
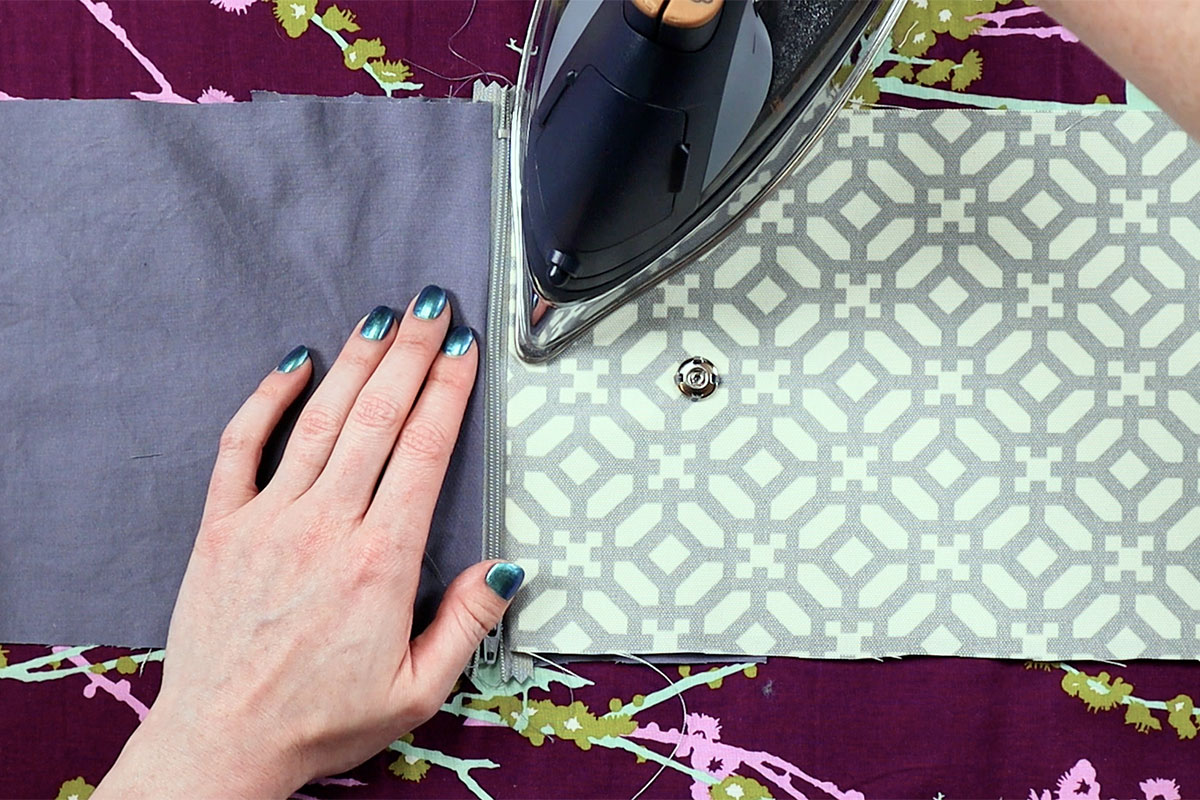
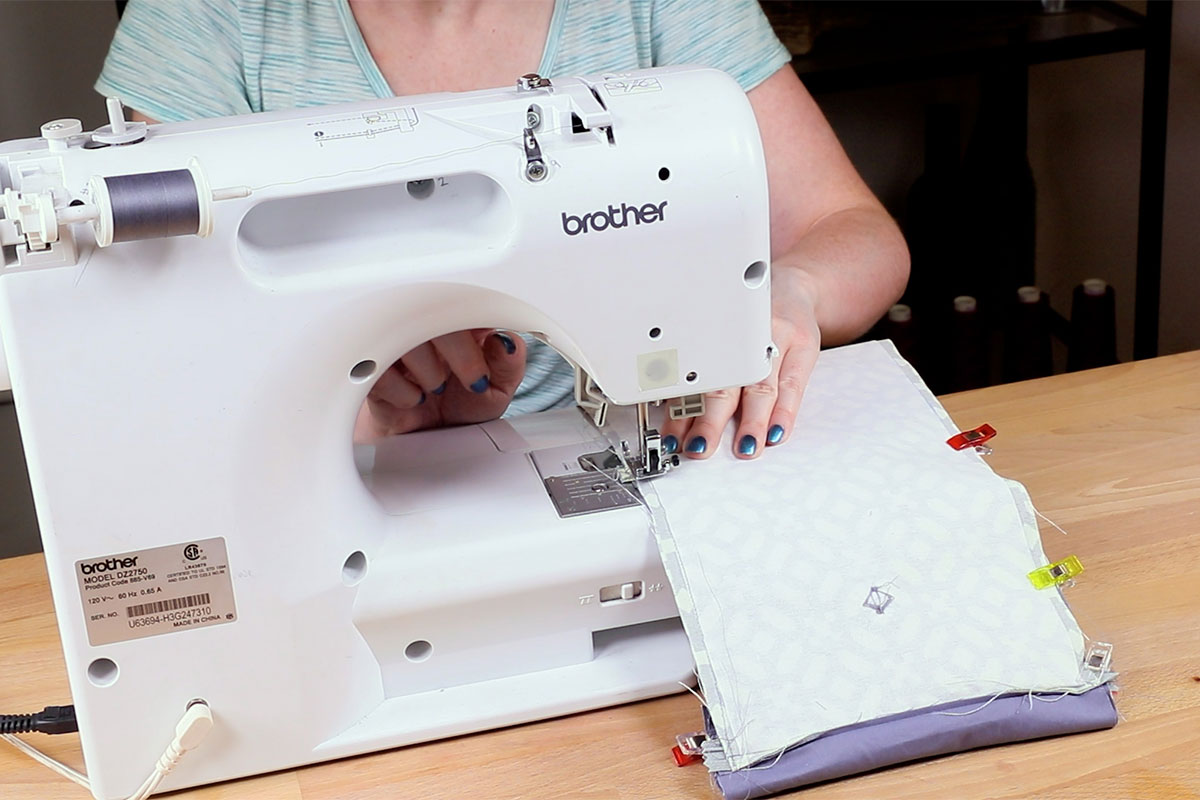
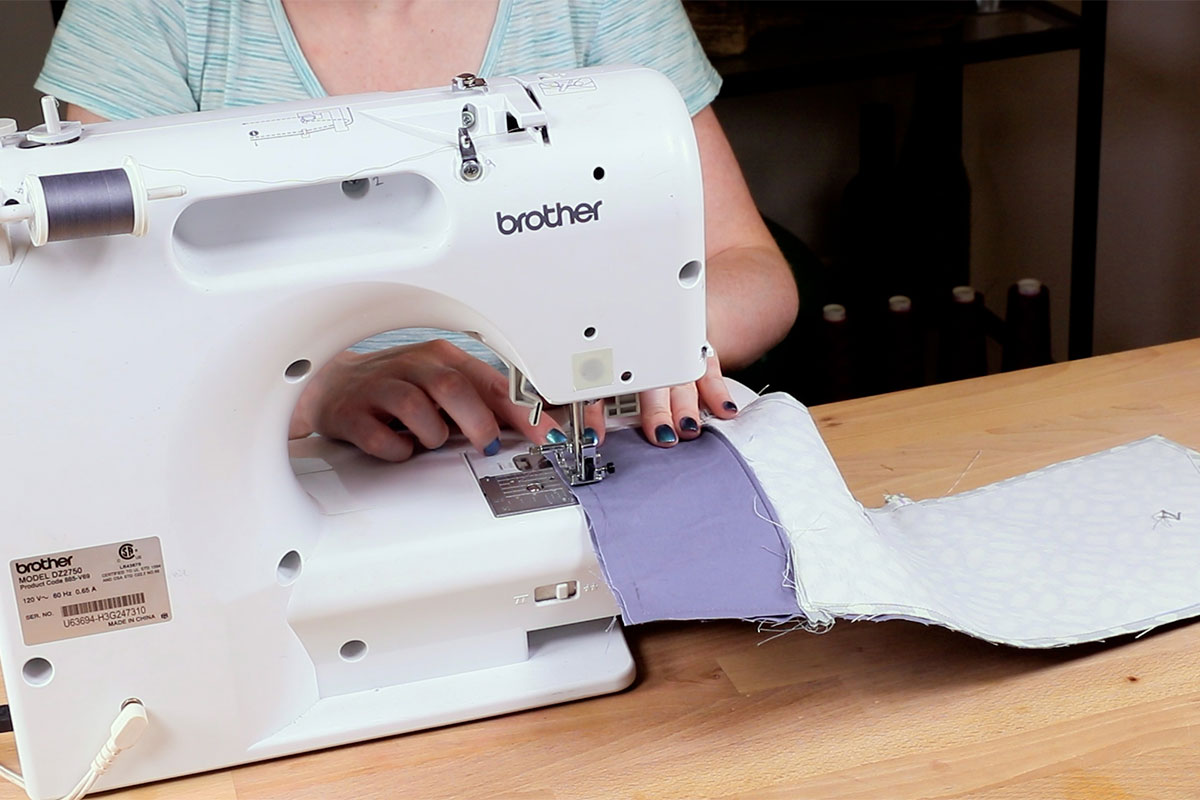
Open up the fabric to find the other side of the zipper and repeat, layering the fabric and zipper like before.
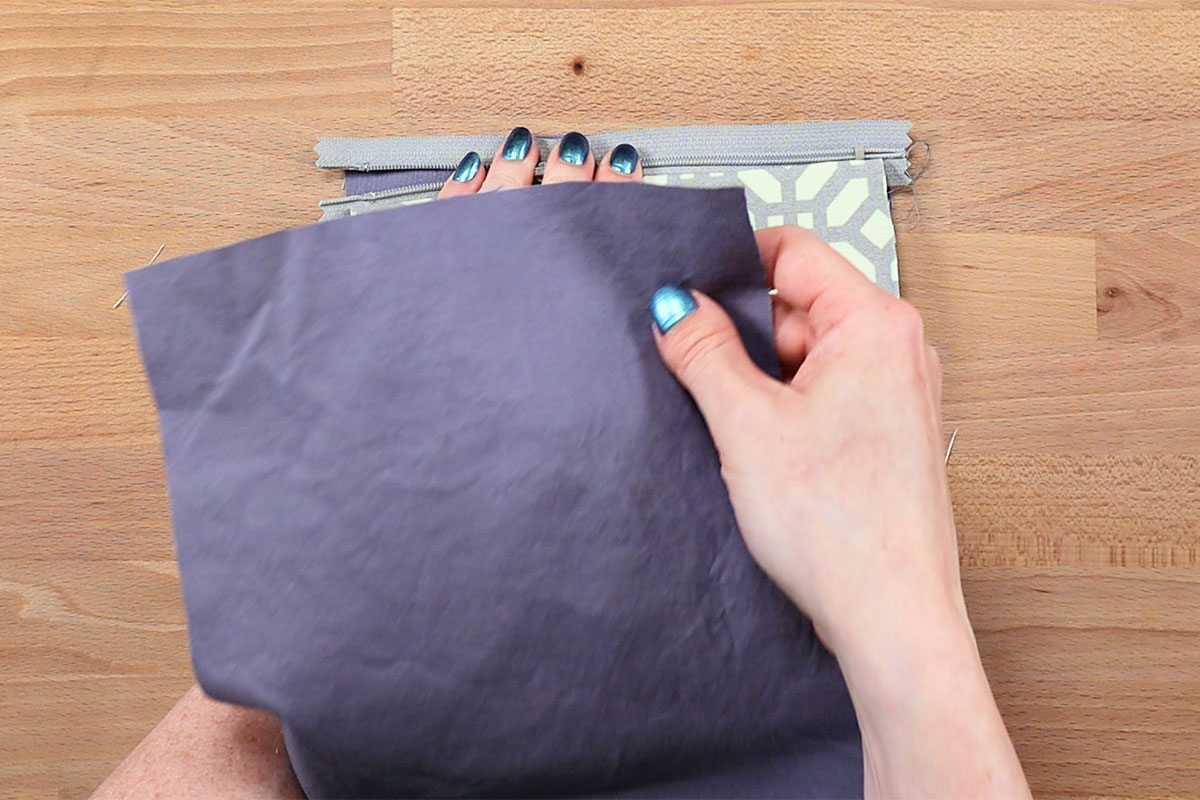
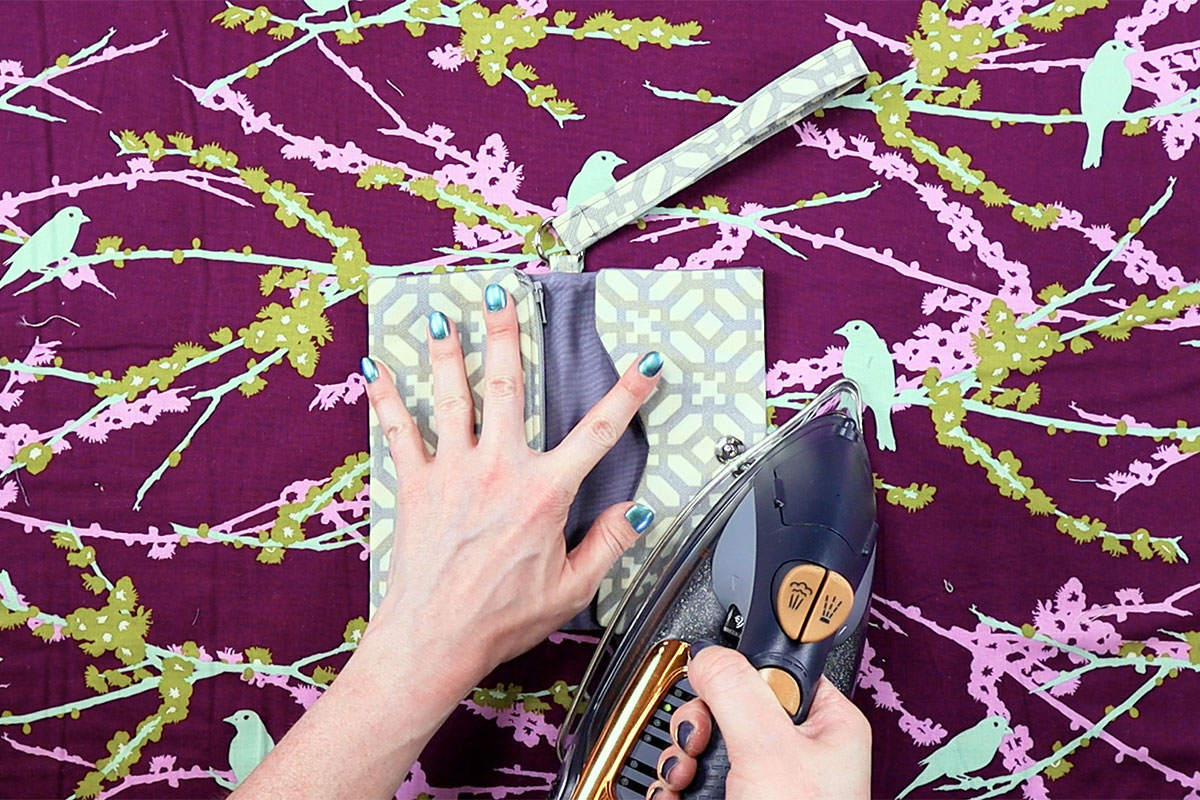
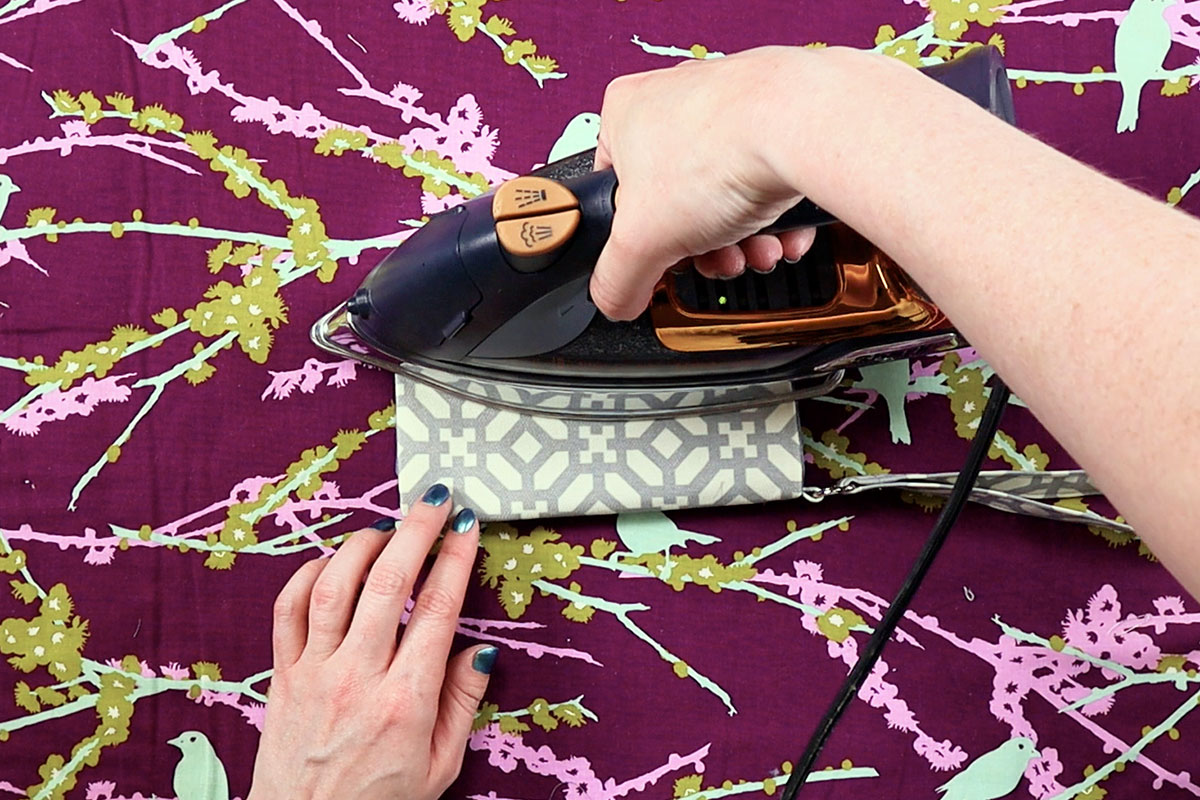
Iron the seams where the fabric attaches to the zipper.
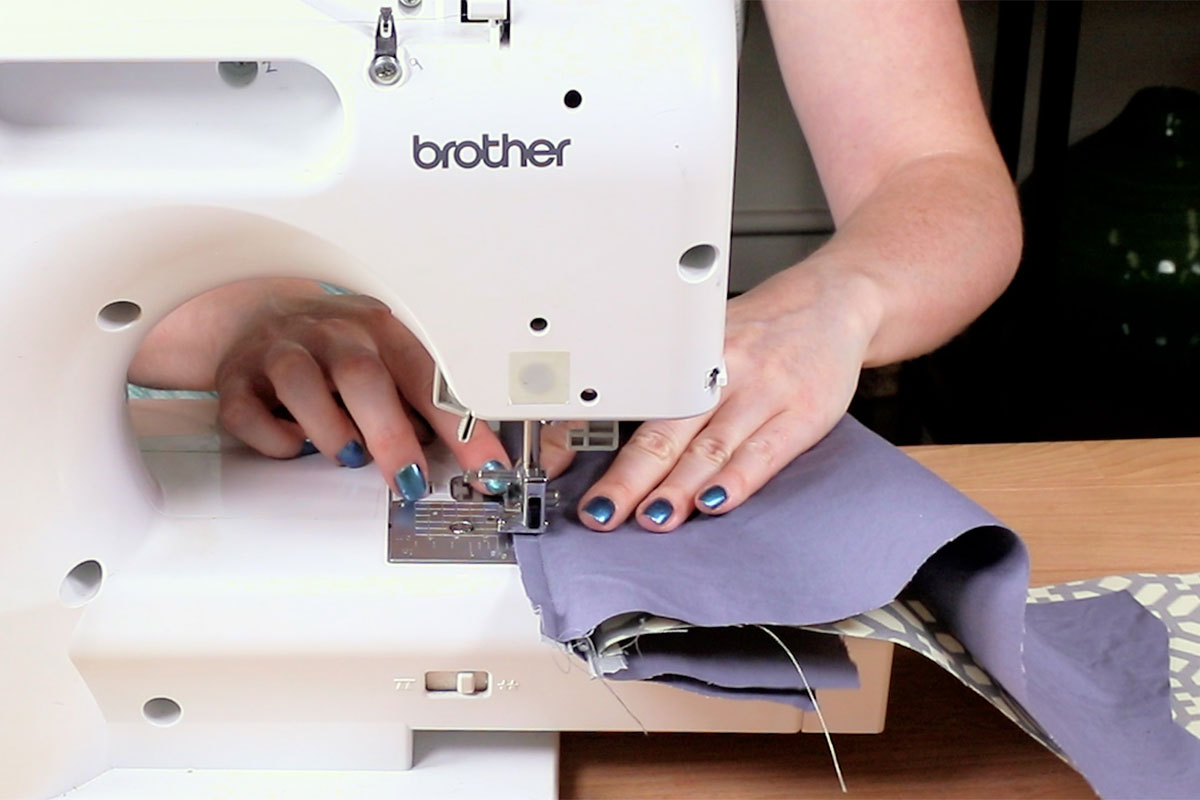
To create a nice finished look, I’m going to top stitch about 1/8” from the seam.

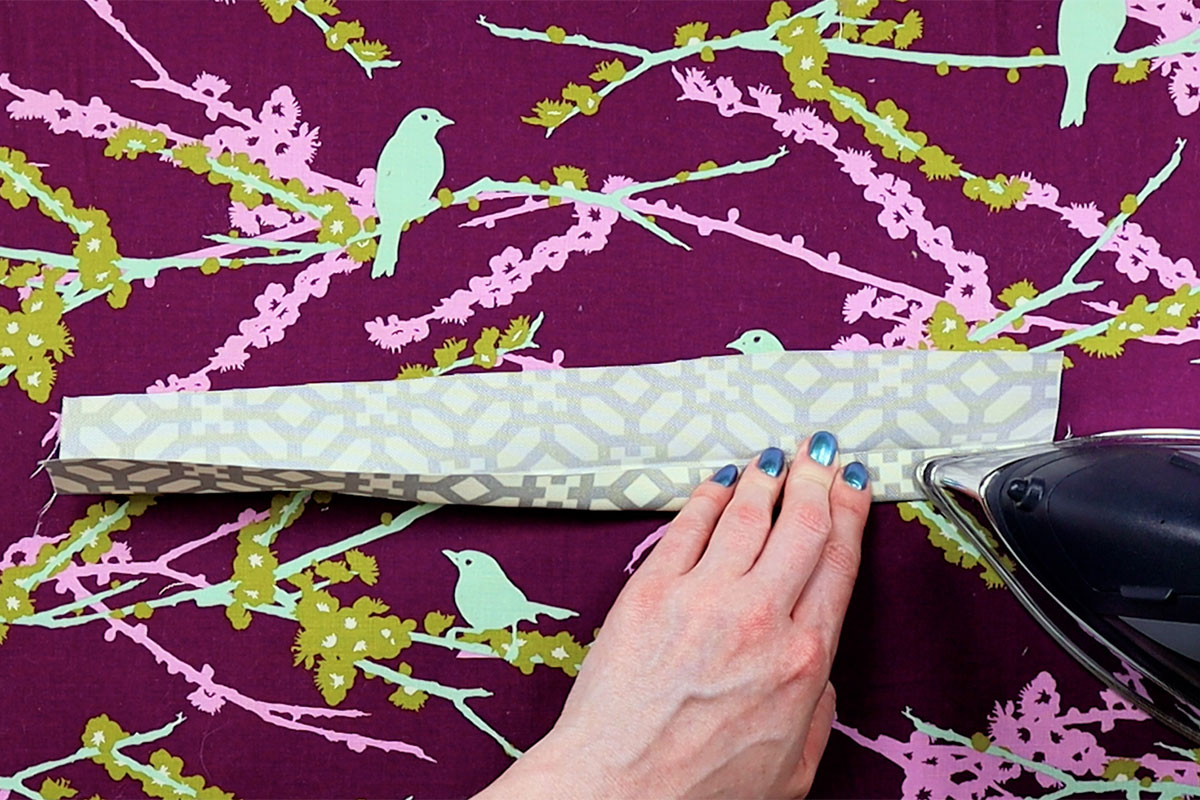
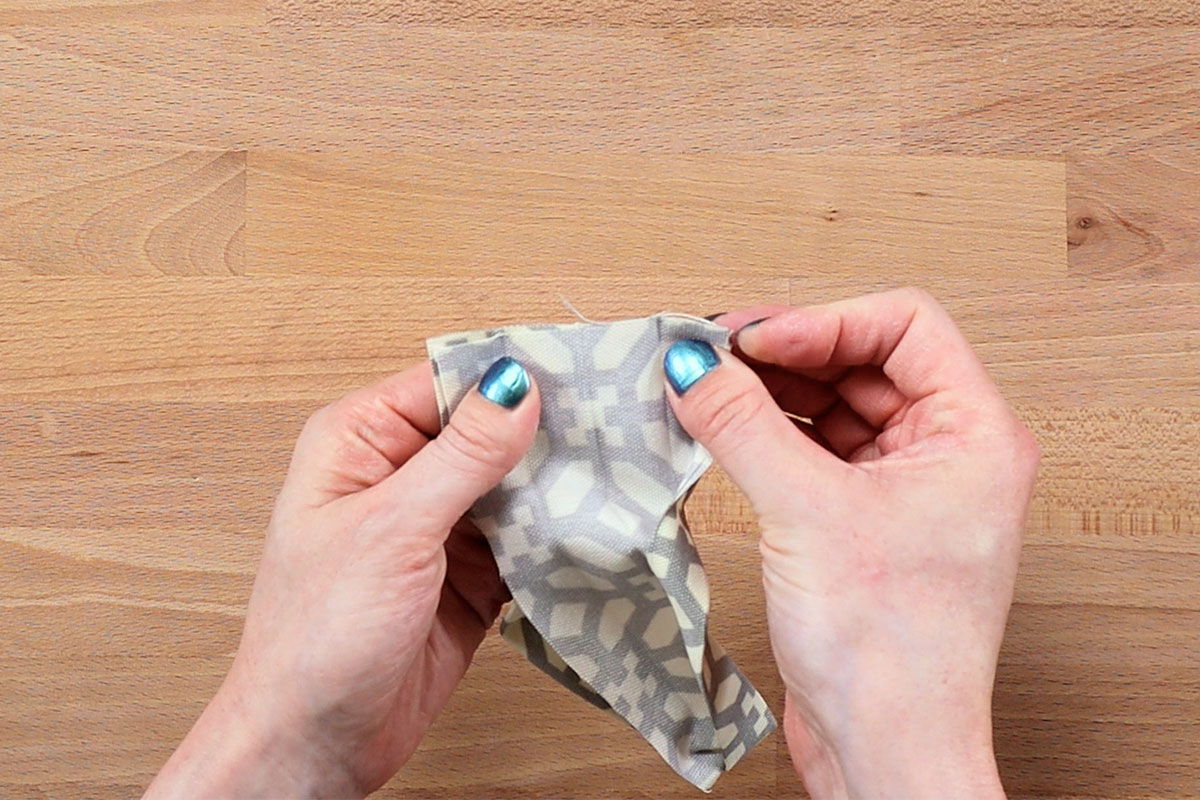
Step 4: Make the strap
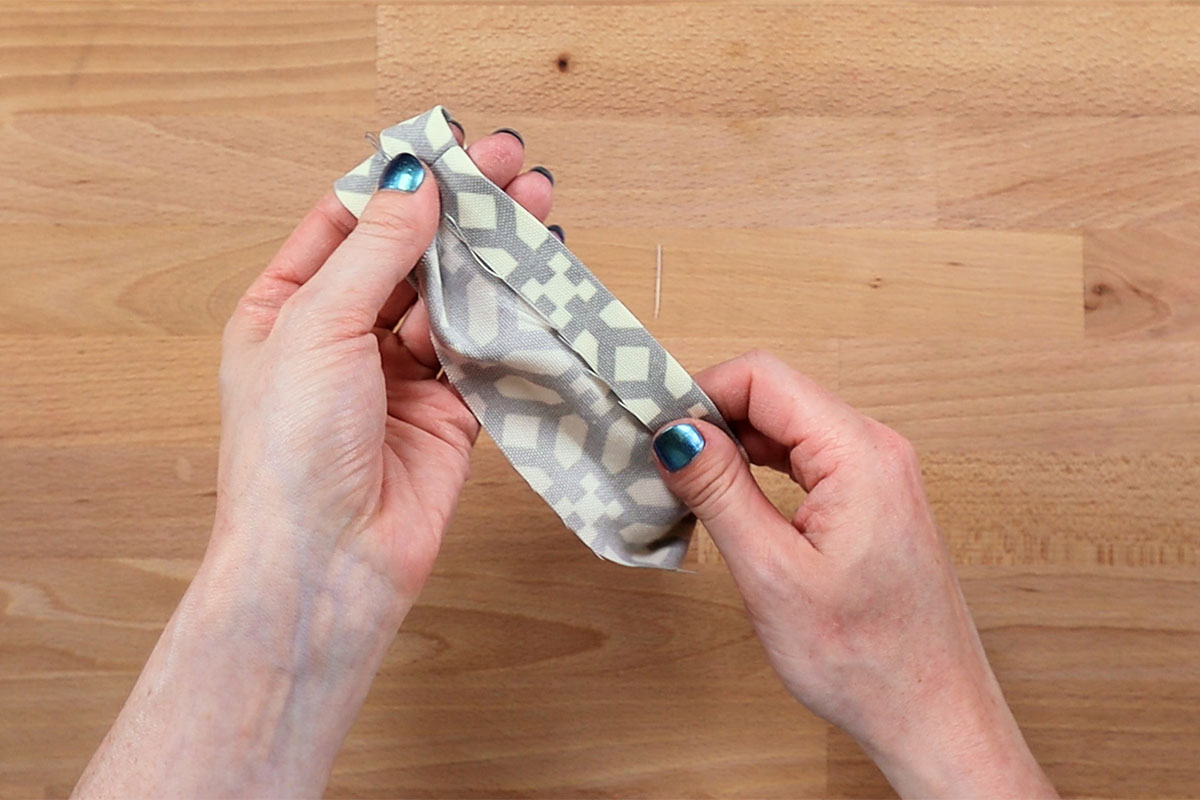
Iron the large strap piece in half. Then fold in one side, iron, and repeat for the other side. This strap will be 7” long when finished, but you can make it shorter or longer if you prefer. Do the same thing for the small strap piece.
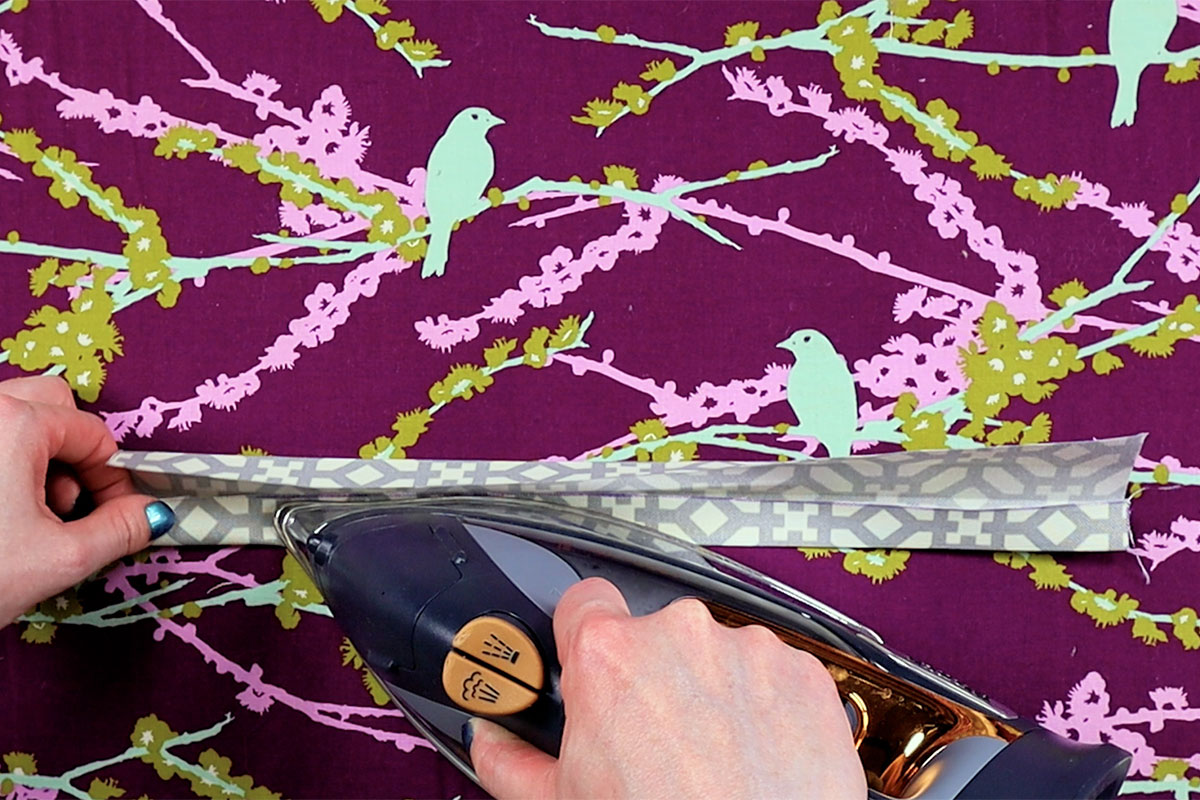
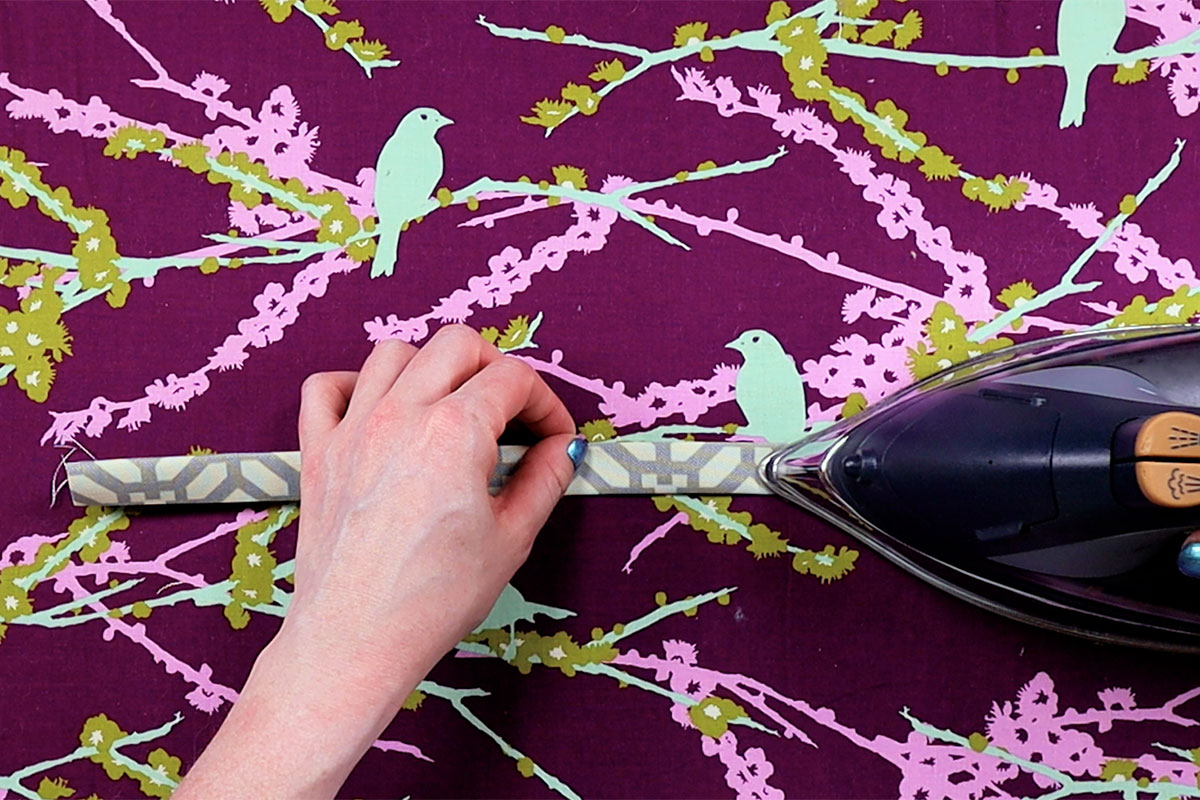
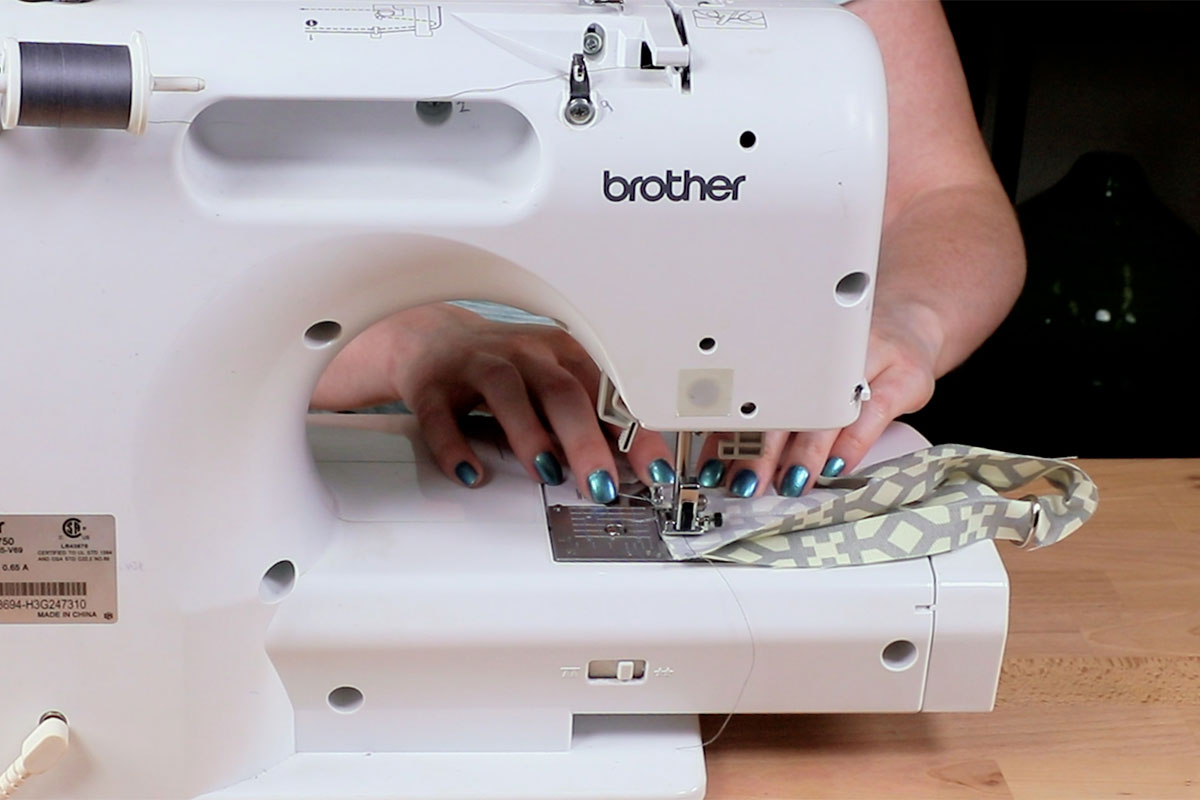
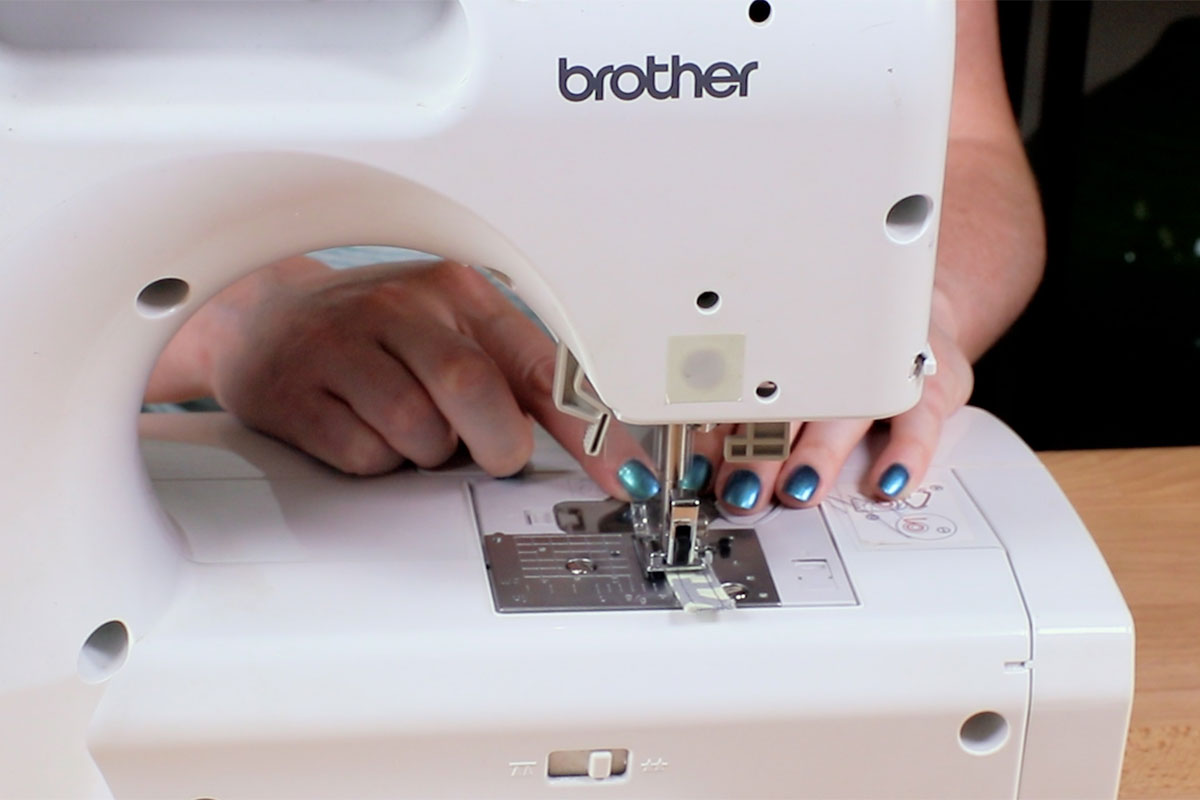
Sew along the edges of the small strap piece as well.
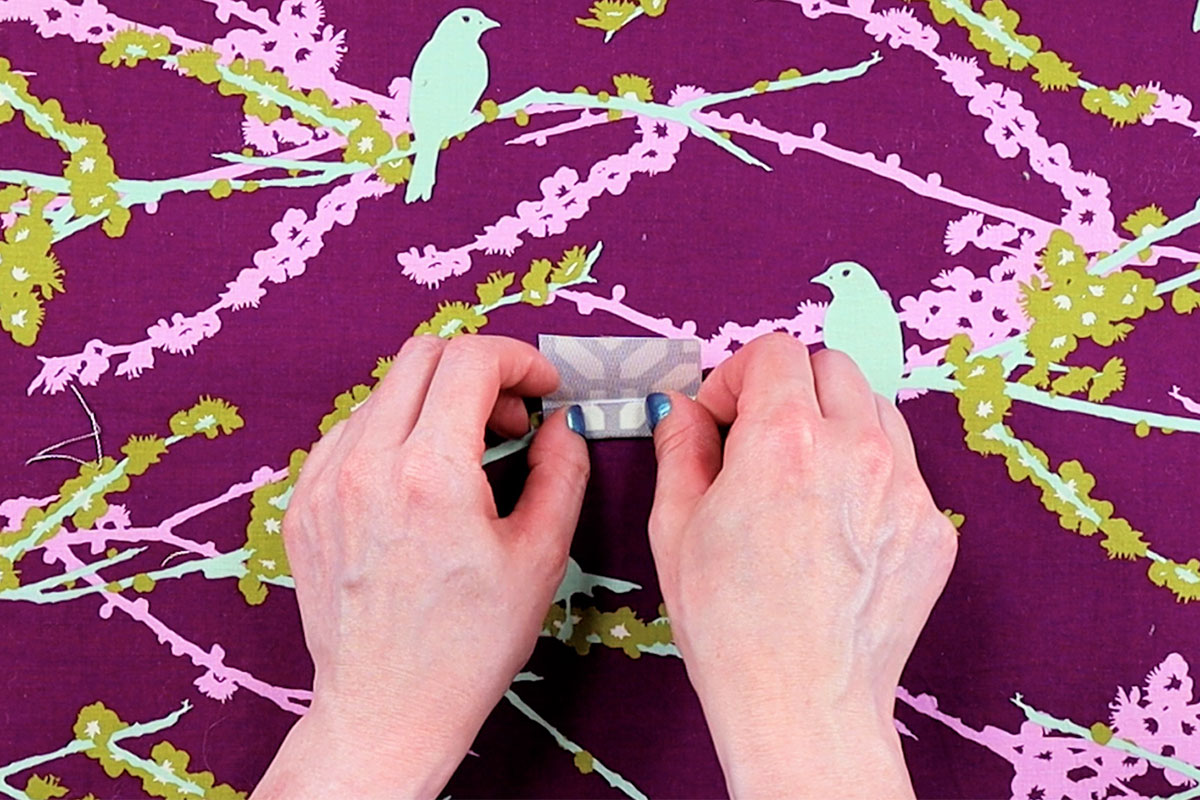
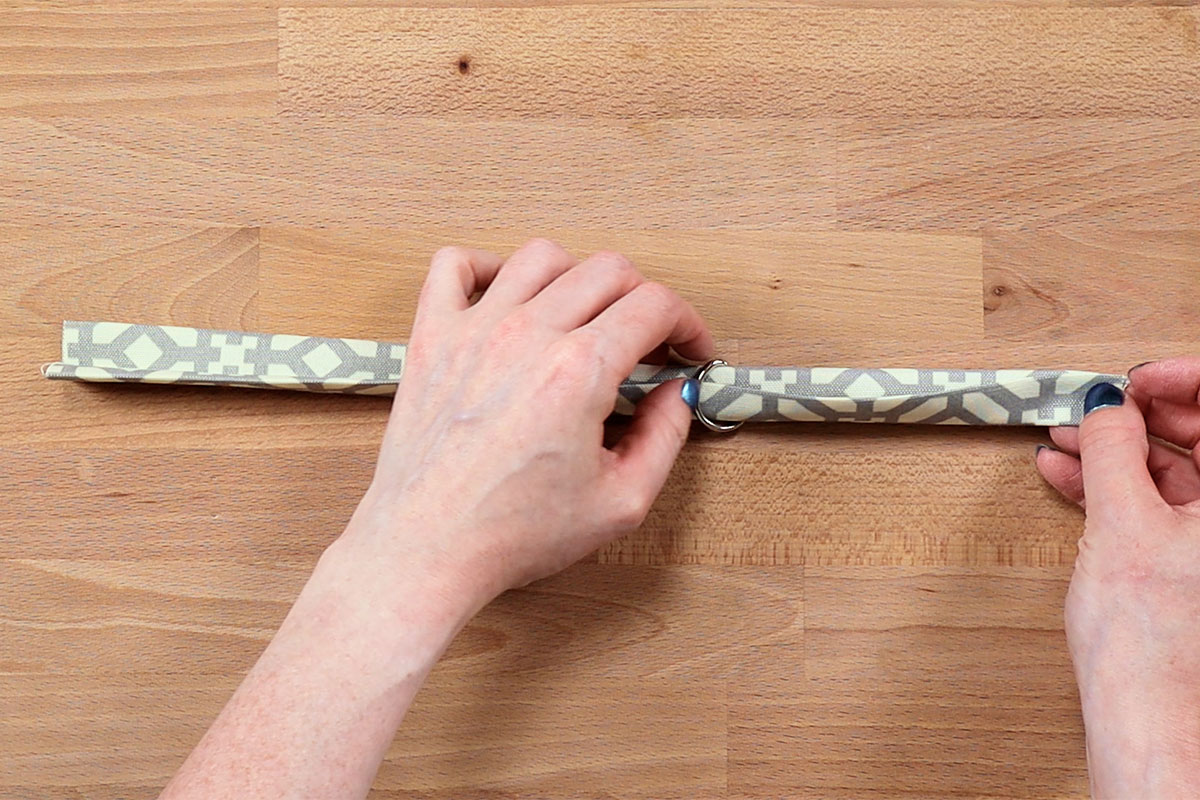
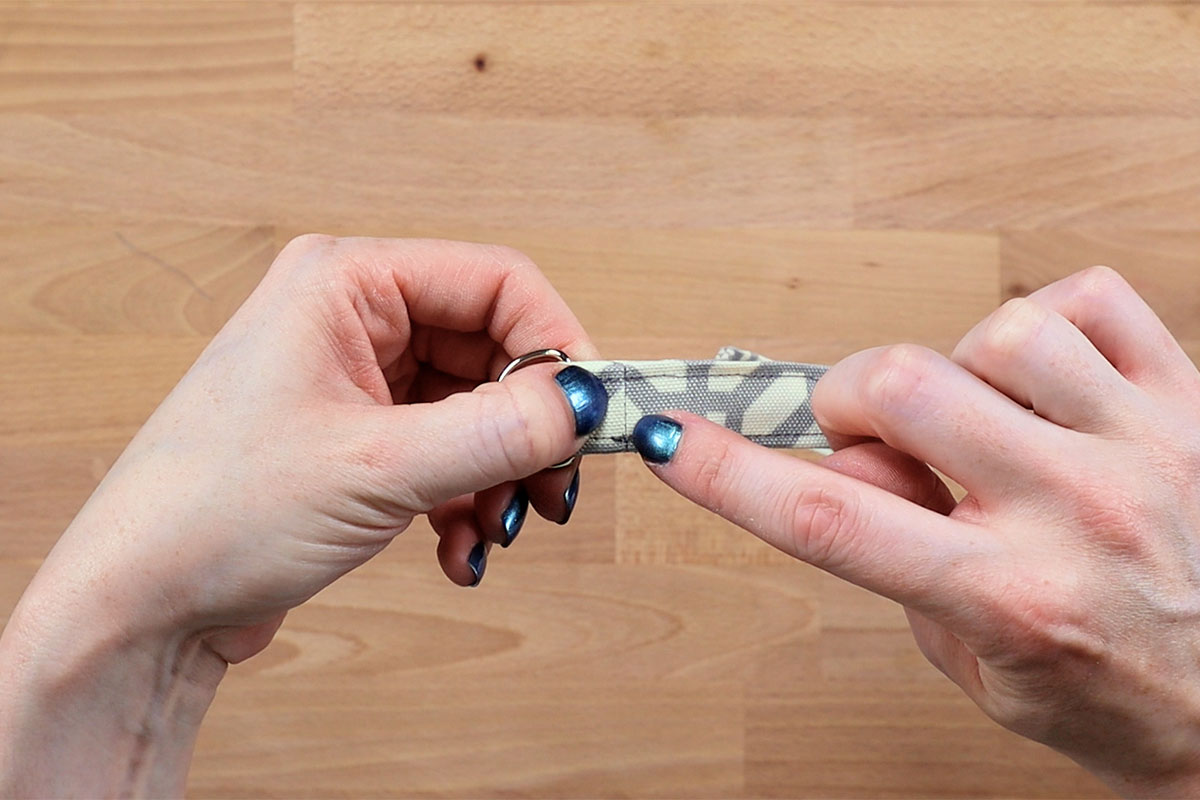
Loop the long piece through the D-ring.
Unfold the two ends and line them up with right sides facing. Sew them together with ¼” seam allowance.
Refold then stitch 1/8” from the edge on both sides of the strap.
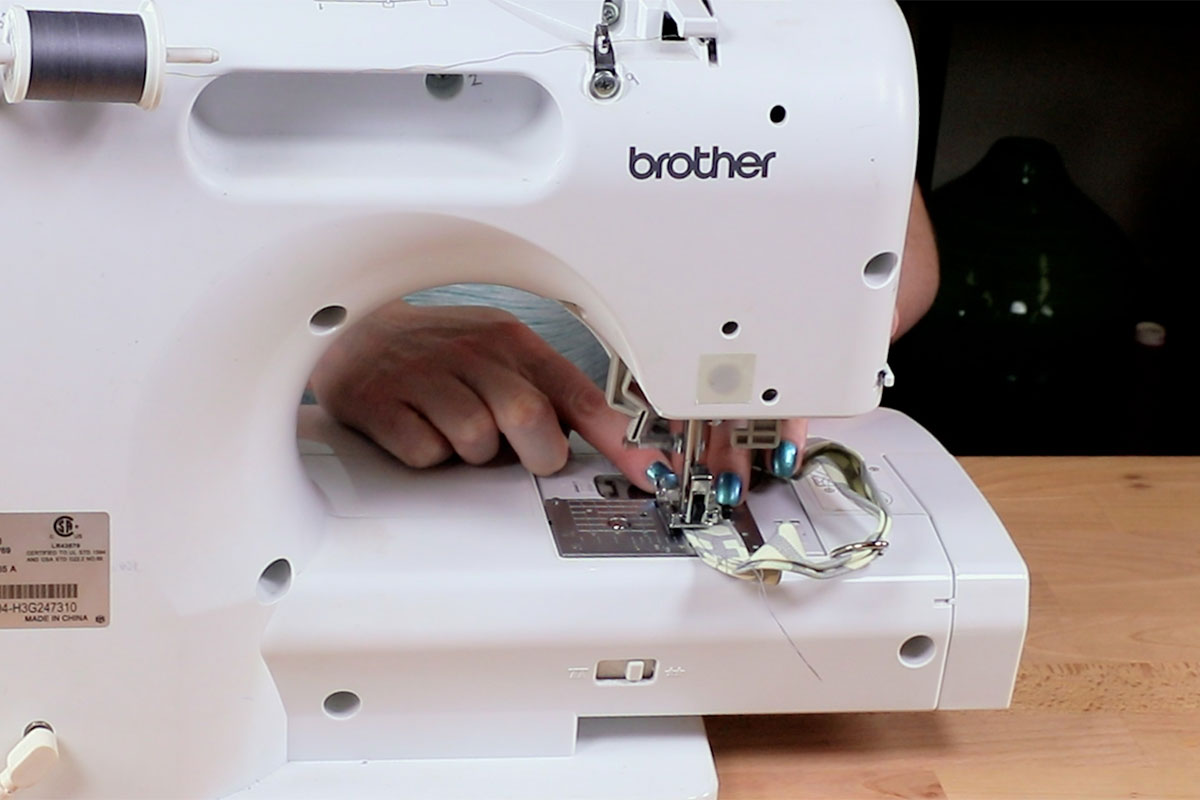
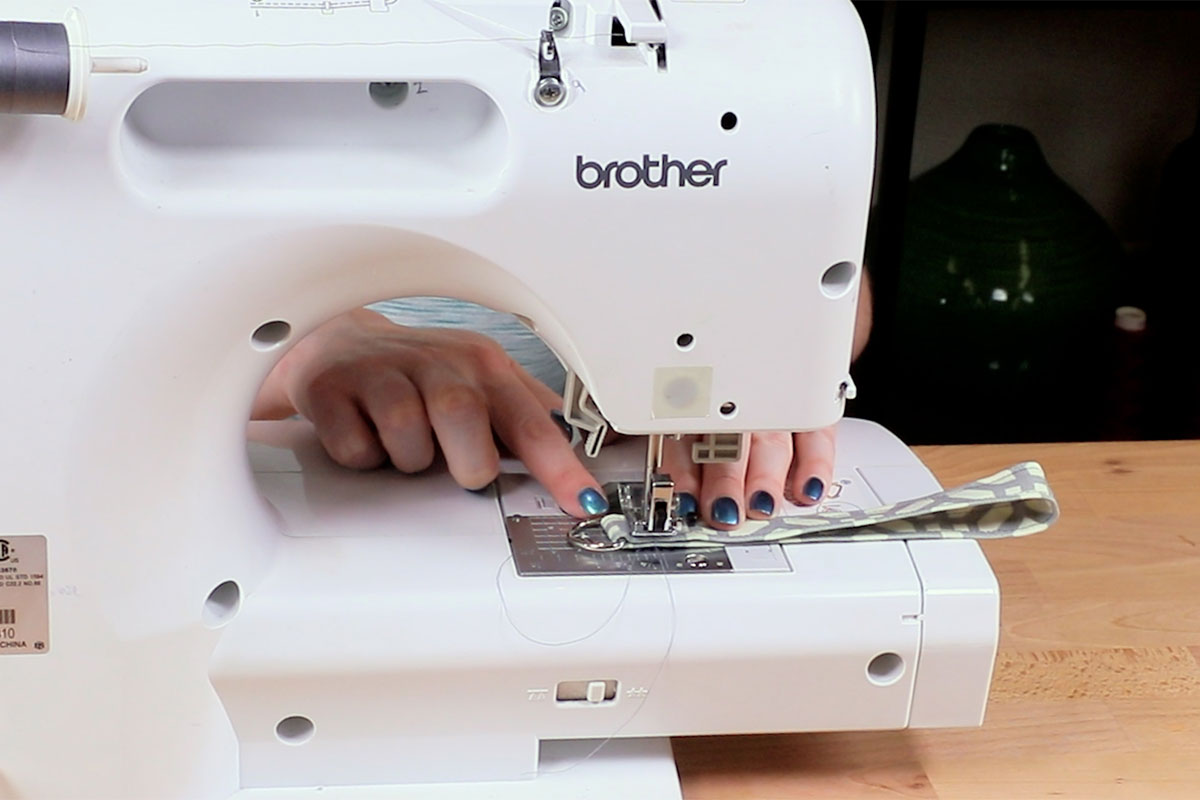
Position the seam about ½” above the ring and stitch the 2 sides together on the seam, backstitching at the ends.
Loop the small piece through the ring and sew the ends together just to hold it in place.

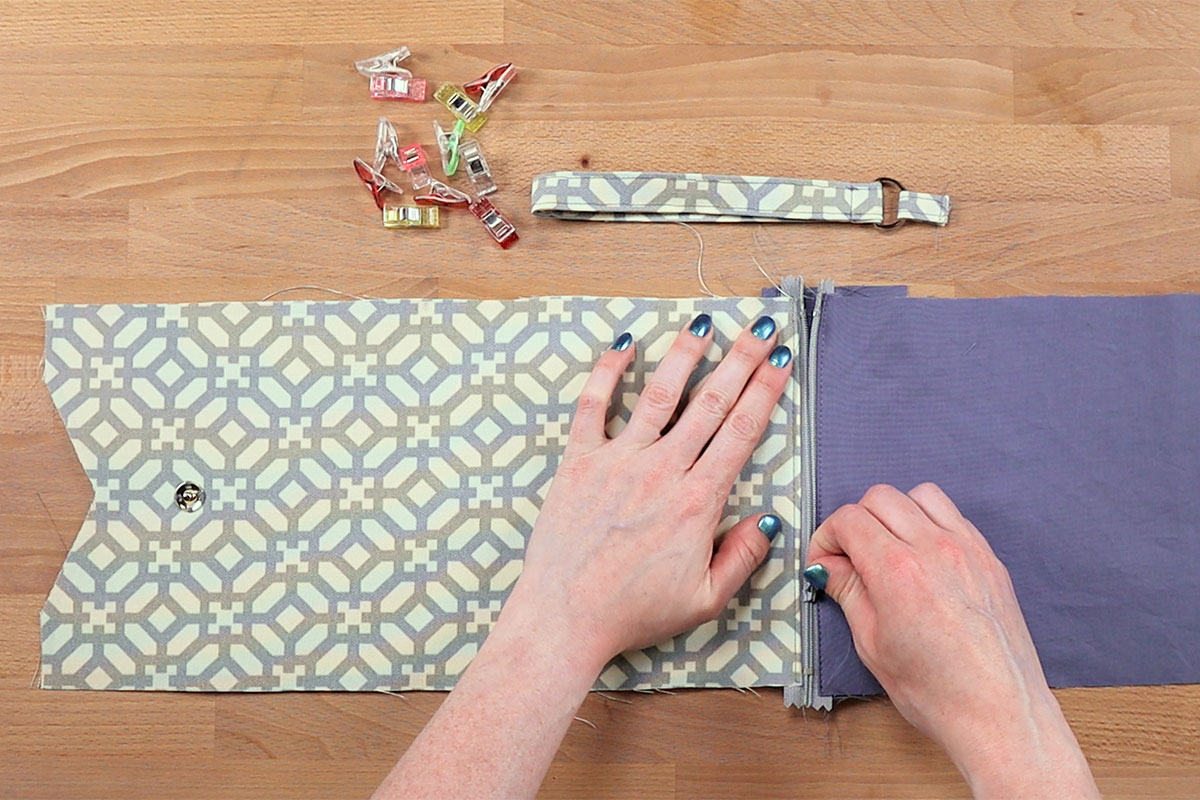
Snap the outer piece together and mark the center of the fabric. This is where the strap will go.
Step 5: Sew the wristlet together
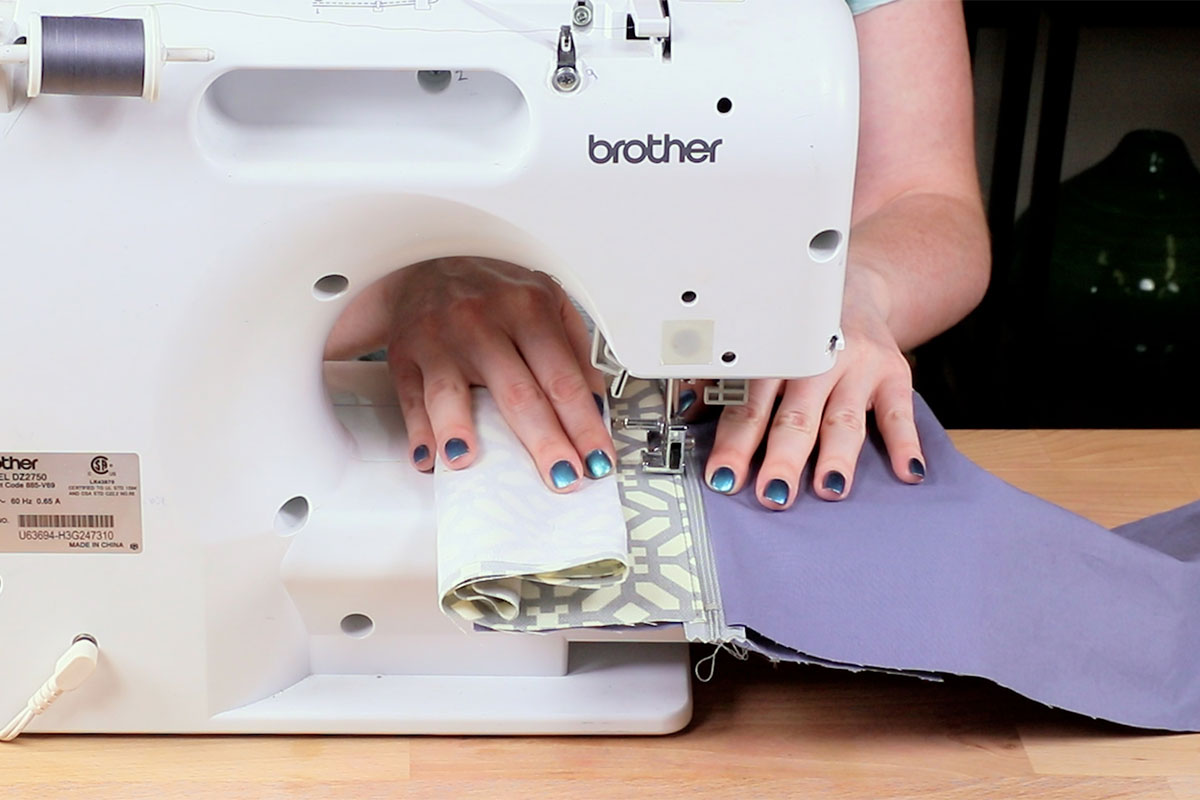
Open the zipper about ¾ of the way. Position the fabric so the right sides of the outer fabric and lining are facing each other and same for the pocket lining pieces.
Make sure the fabric is folded so the edges of the zipper are pointing toward the lining side. Also, take note of where the metal parts of the zipper are so you don’t hit them with the needle.
Pin or clip the pieces together. Insert the strap at the mark so it is sandwiched between the fabric.
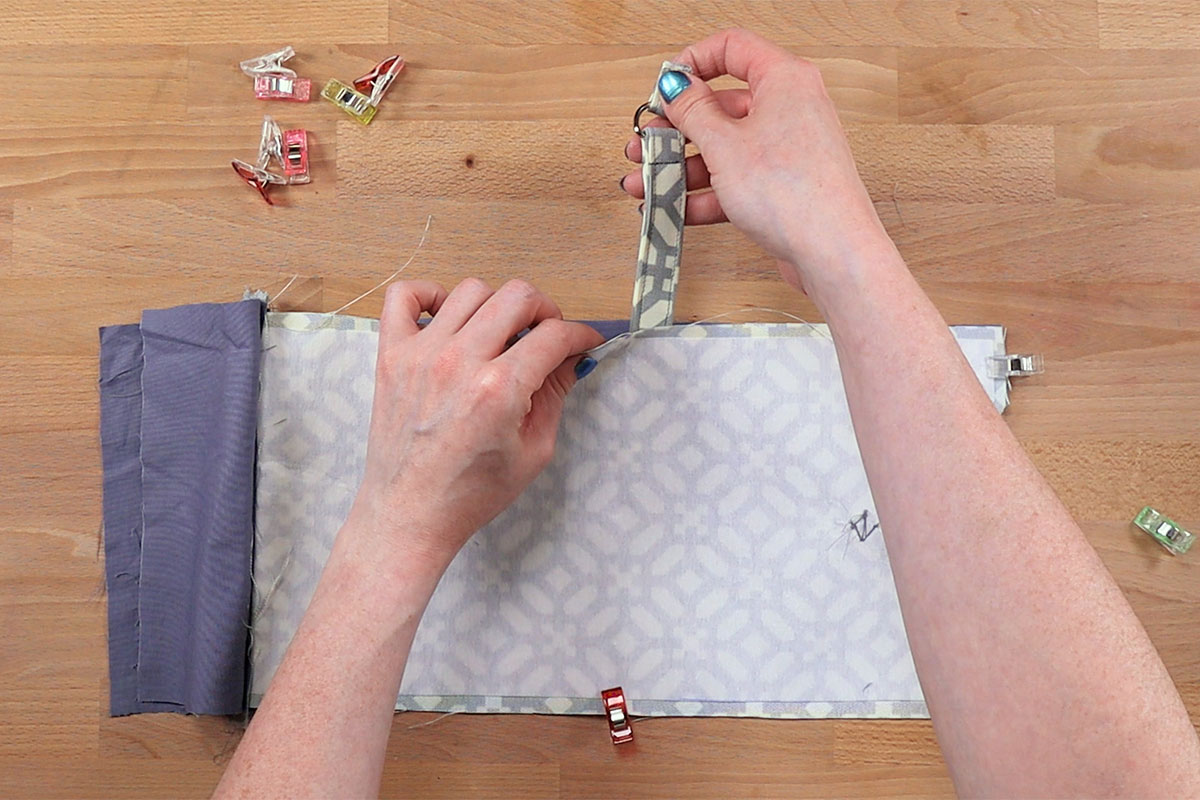

Sew around the edges with ¼” seam allowance. Leave a gap of about 5” at the bottom of the pocket lining. I like to start at one of the ends of the zippers since that’s the trickiest part.
Sew back and forth a couple of times at the strap to give it more strength.
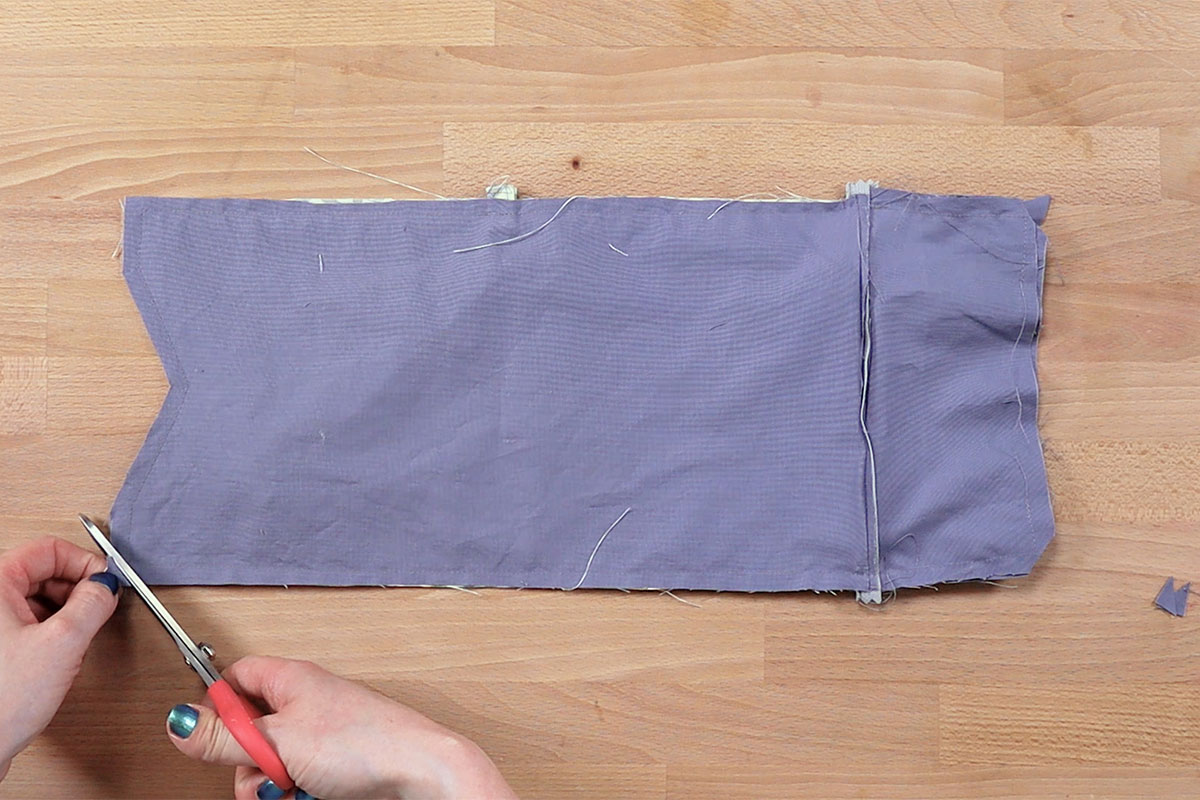
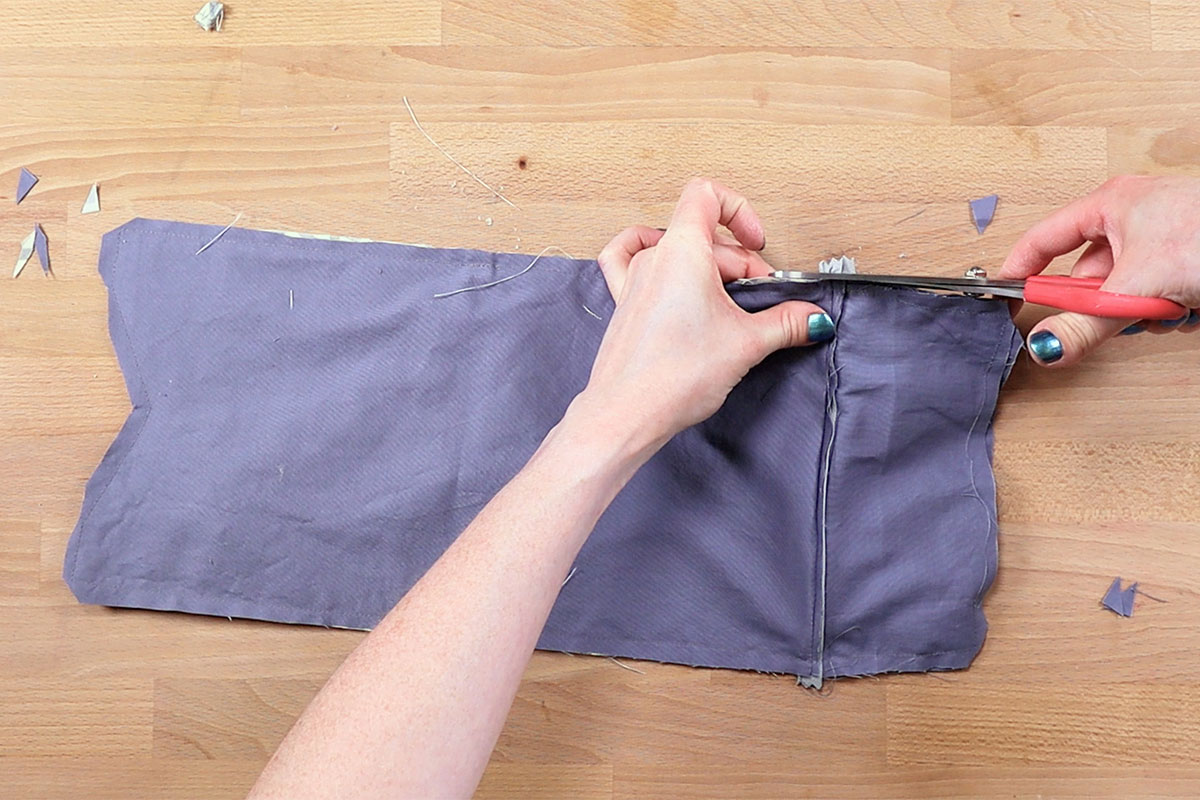
Clip the corners to remove extra fabric. Trim the zipper and strap if needed.
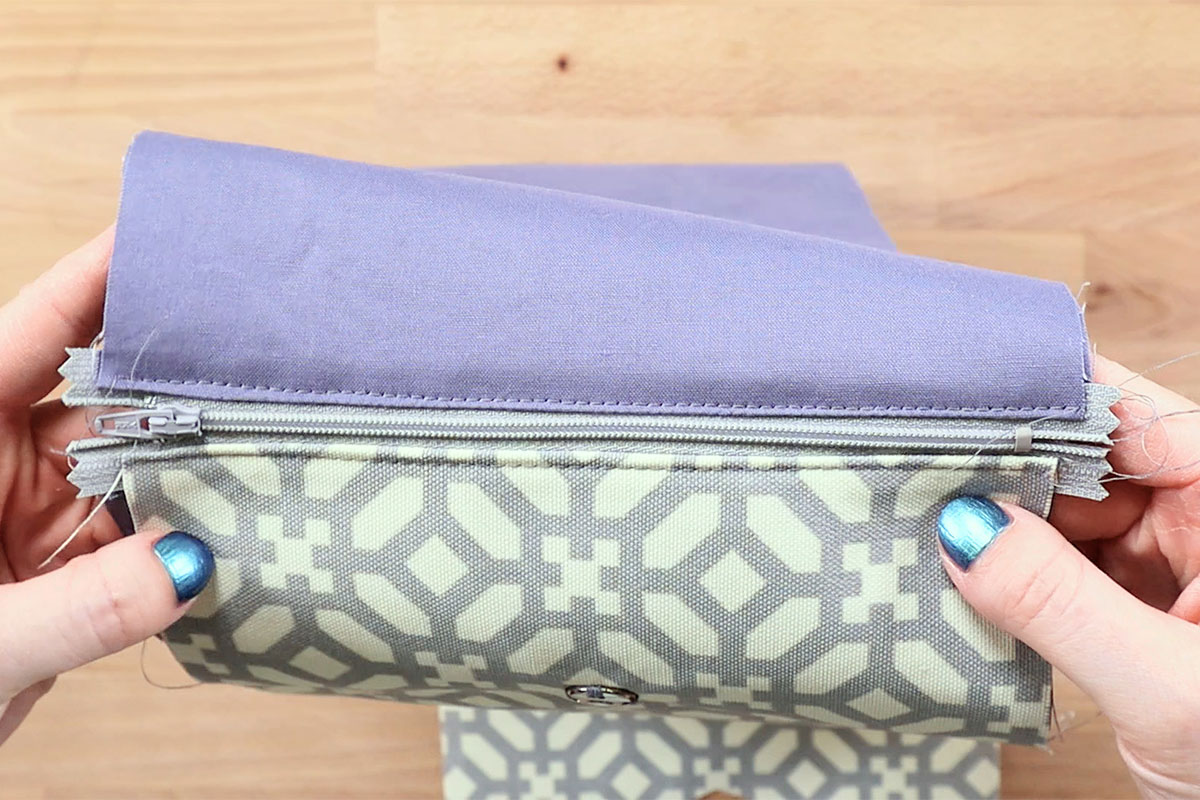
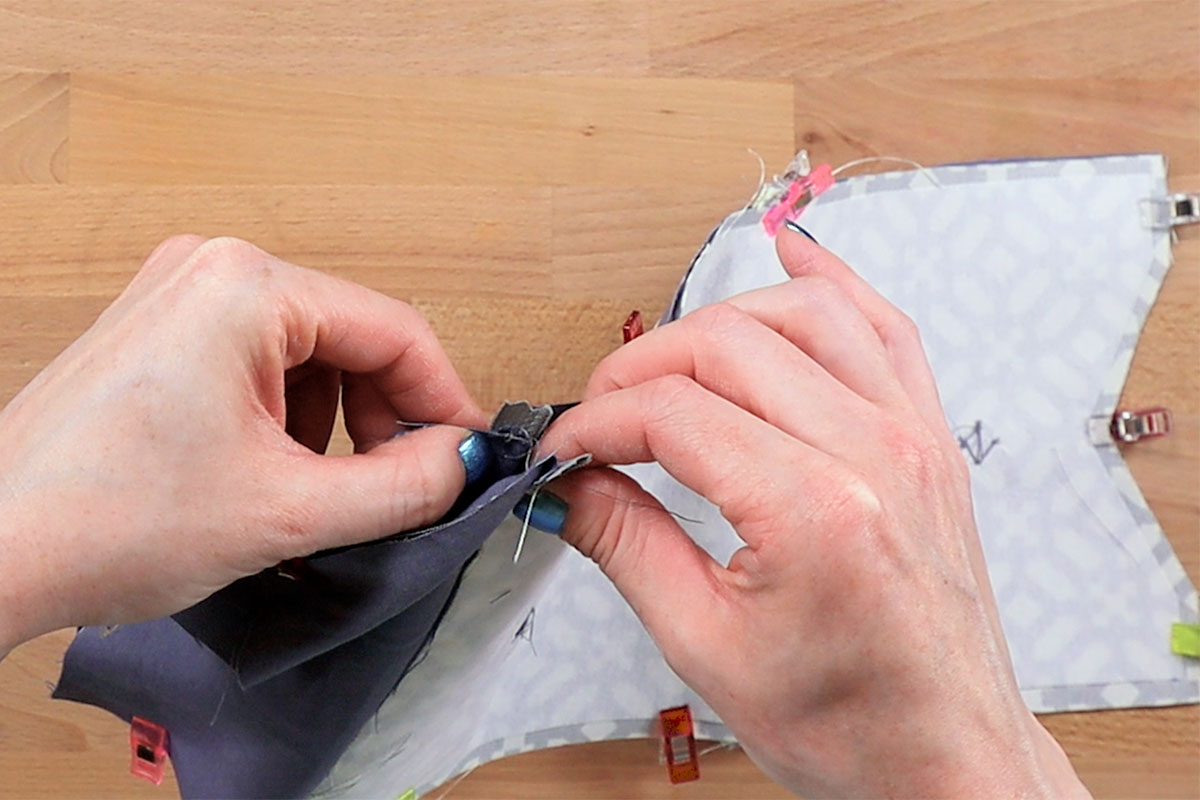
Turn the wristlet right side out and poke out the corners.
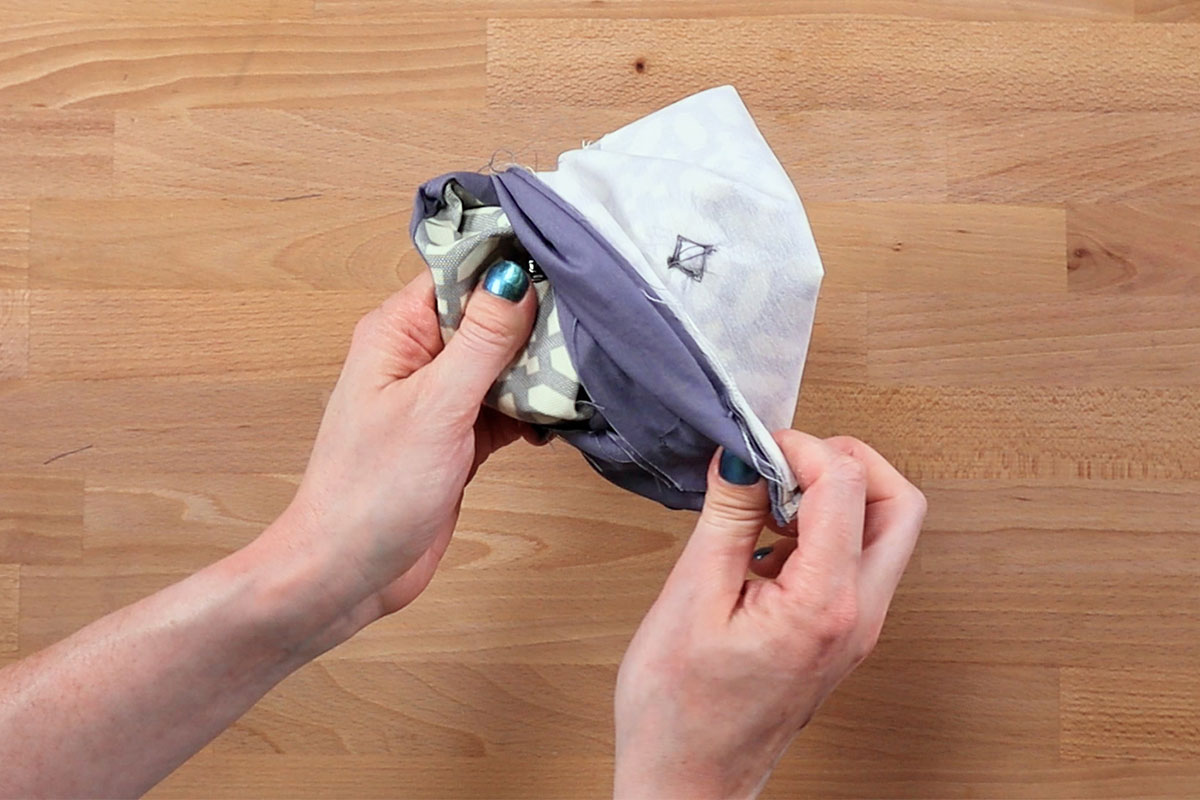
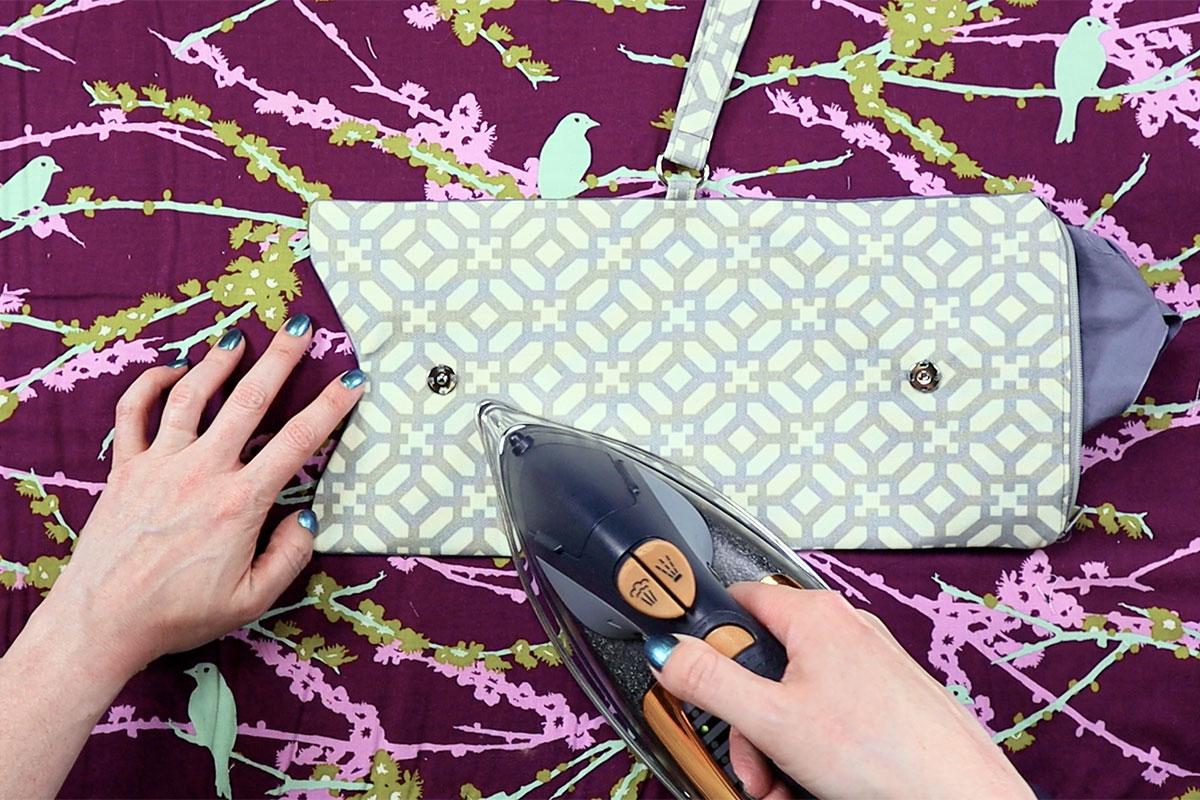
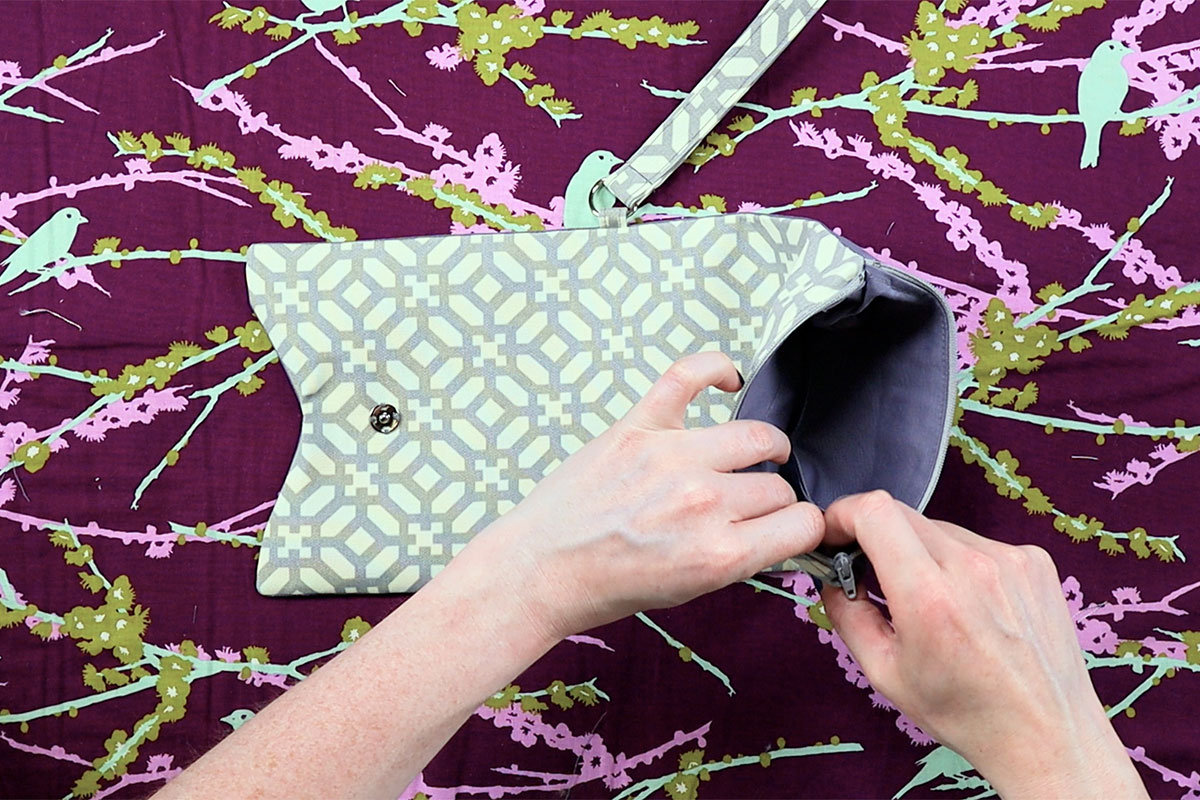
Iron the edges of the piece. At the lining gap, fold in the edges and press. Topstitch the opening closed. Push the pocket lining in and close the zipper.
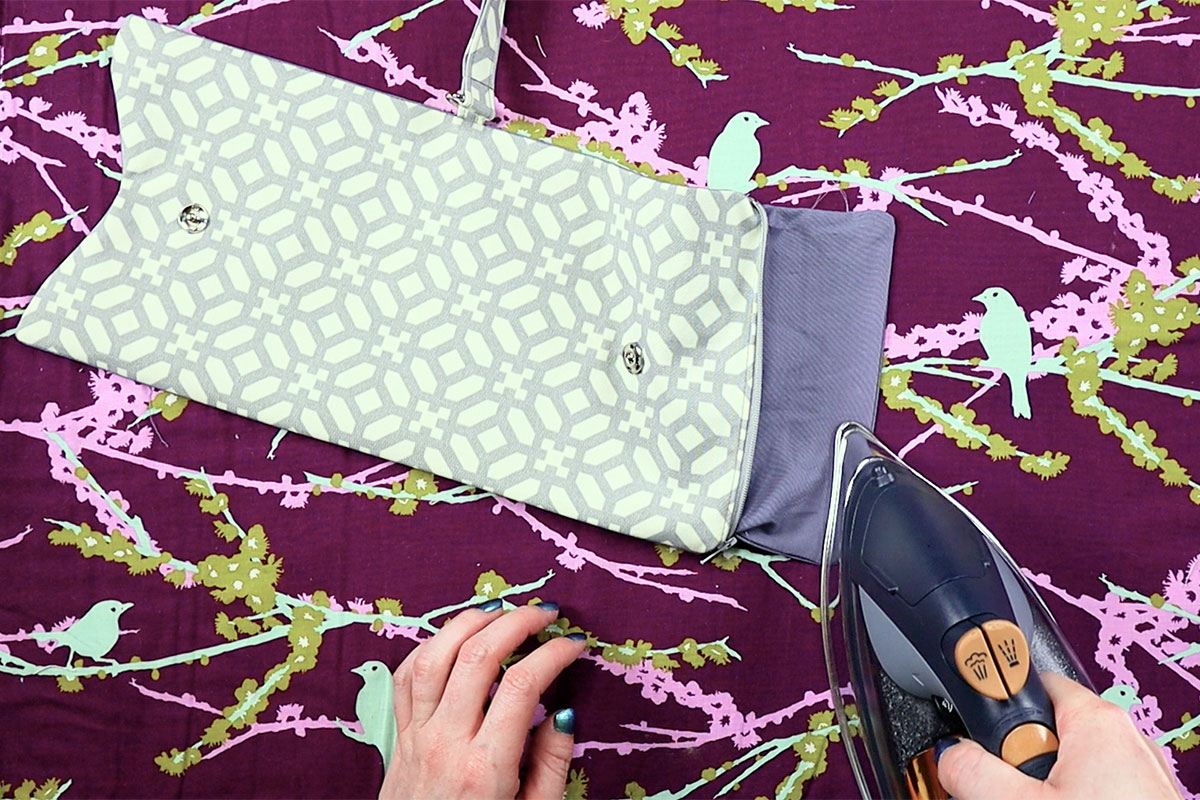
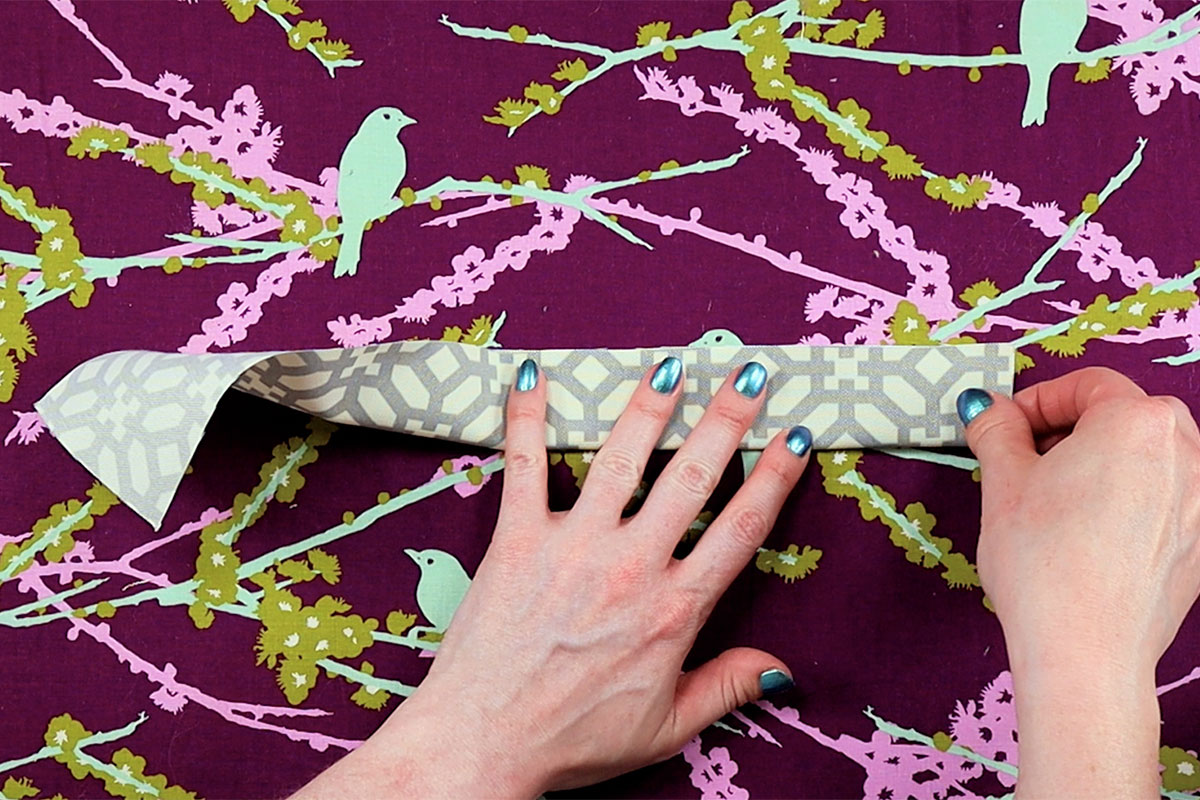
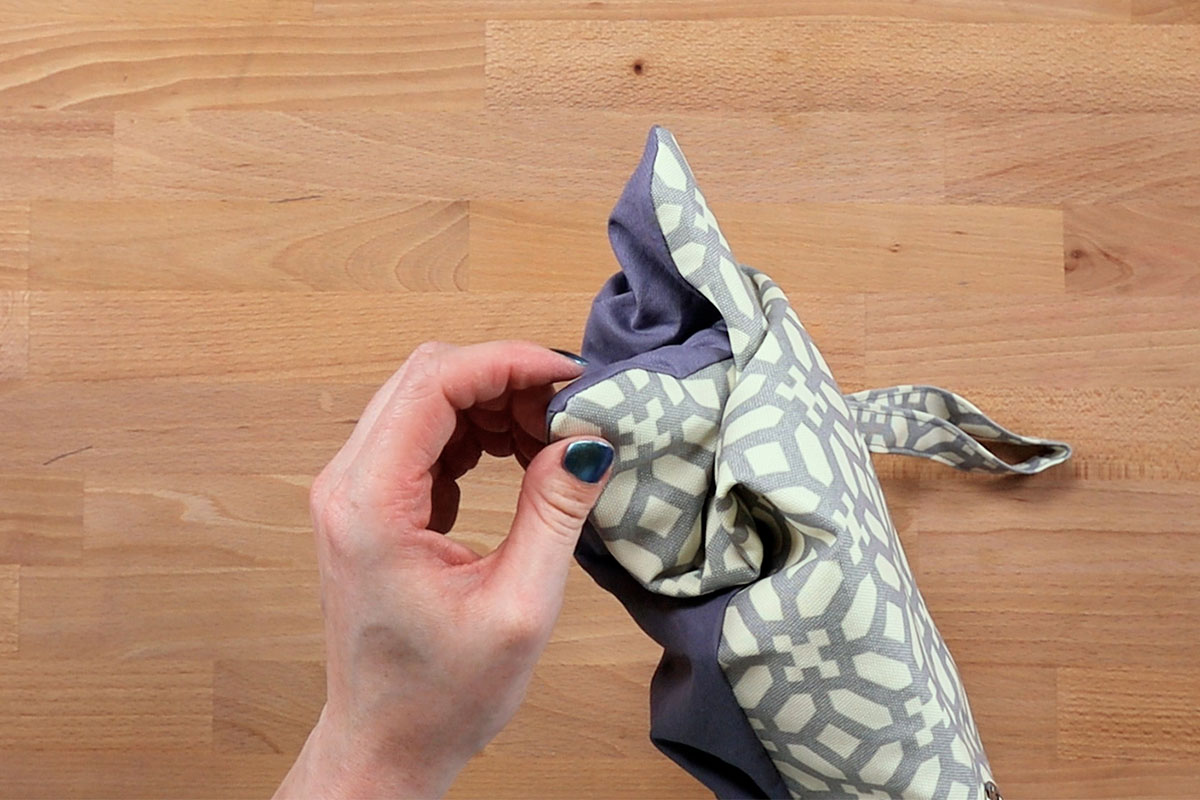
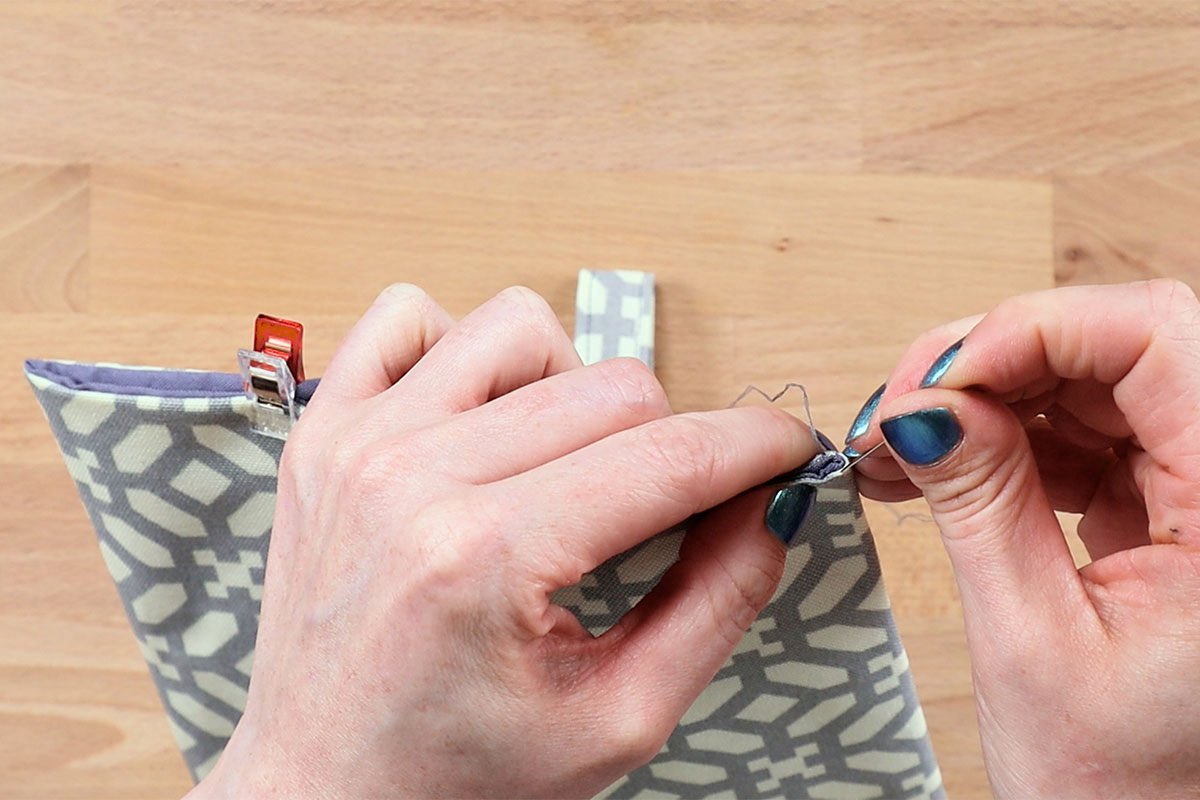
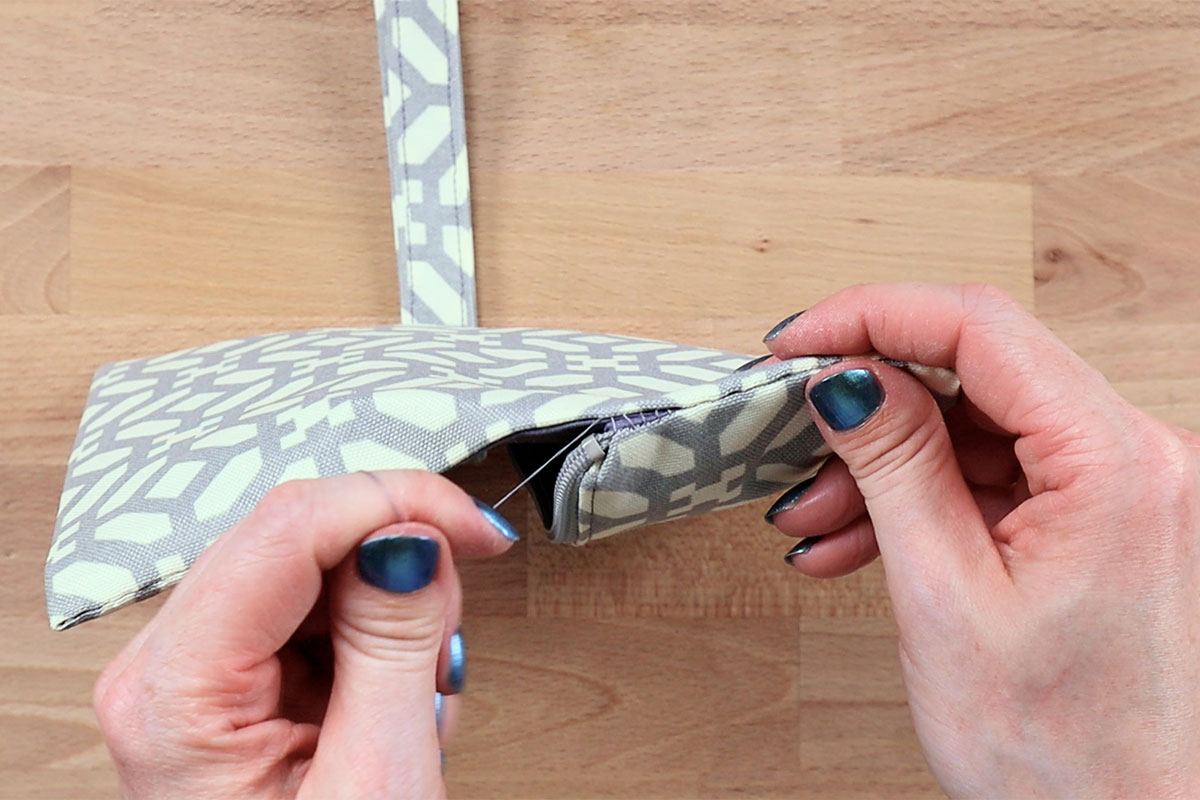
Fold the 2 ends over the amount indicated on the pattern and press flat.
See our invisible stitch tutorial for more information.
You can either topstitch the sides or hand sew. I prefer the look of hand sewing with an invisible stitch.
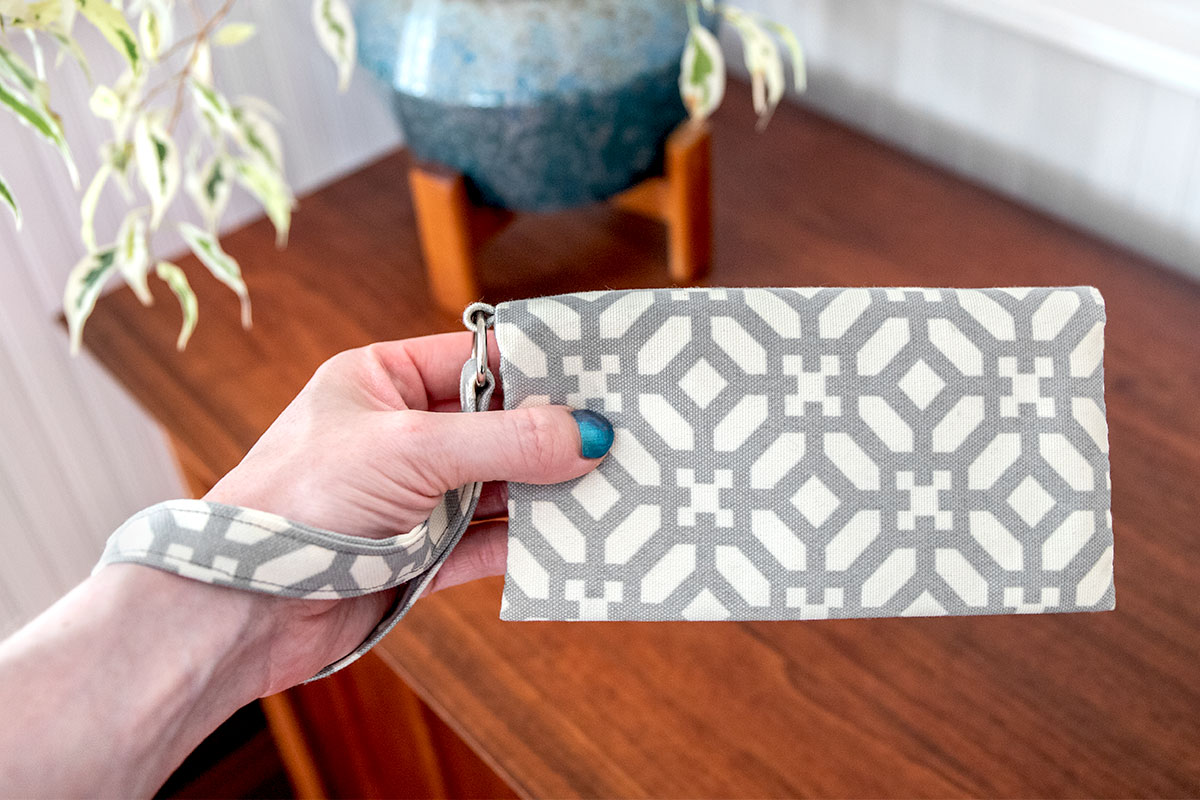
And that’s it, your wristlet is complete!
Check out our outdoor décor fabric
-
{{#each productSuggestedQueries.results}}
- {{query}} {{/each}}
-
{{#each categories.results}}
- {{html title}} {{/each}}
{{html attributes.description}}
{{/if}}-
{{#each queries.results}}
- {{query}} {{/each}}