How to Make a Shower Curtain
- By Clara
- Beginner
- 1 hour
If you can’t find the perfect look or size for your shower curtain, why not make your own? You can use just about any fabric for shower curtains but outdoor fabric works particularly well because it’s mold and mildew resistant, perfect for damp places like bathrooms.
Want to get the printable PDF instructions?
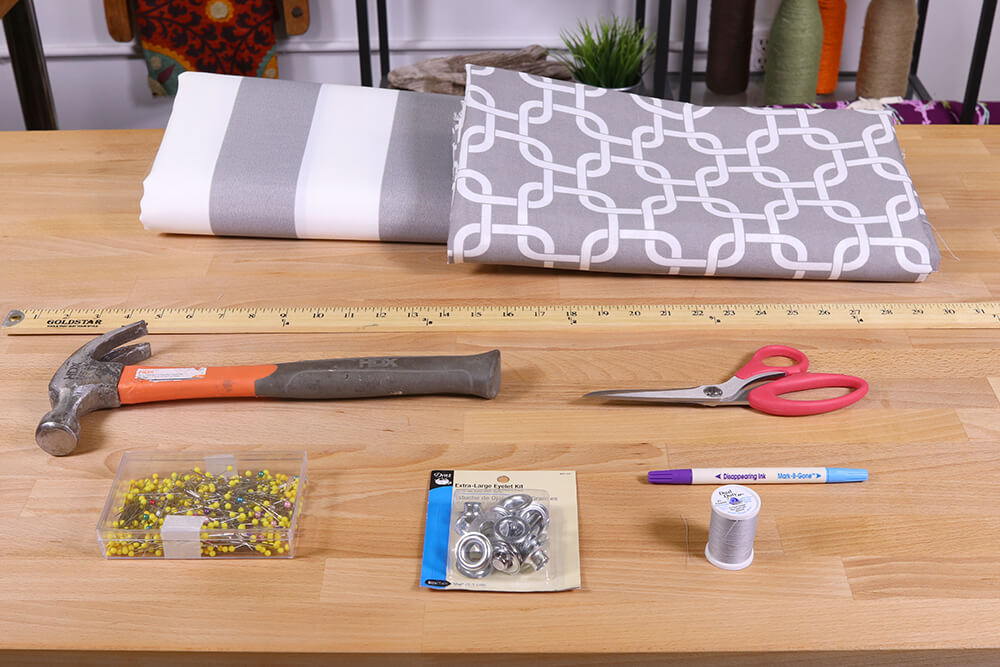
Materials
- 5 yards of fabric, or 2 and 1/2 yards of two coordinating fabrics
- Thread
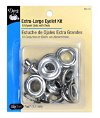
- Grommets or eyelets (optional)
- Hammer (if using grommets)
- Scissors
- Ruler
- Fabric marker
- Pins
- Iron
Related Products


Video
Instructions
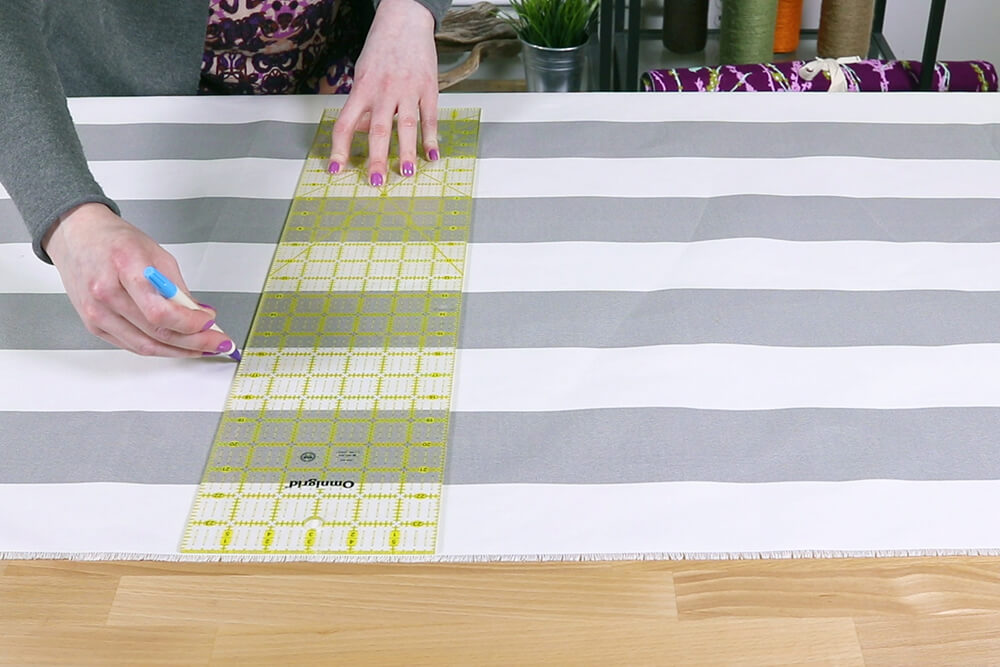
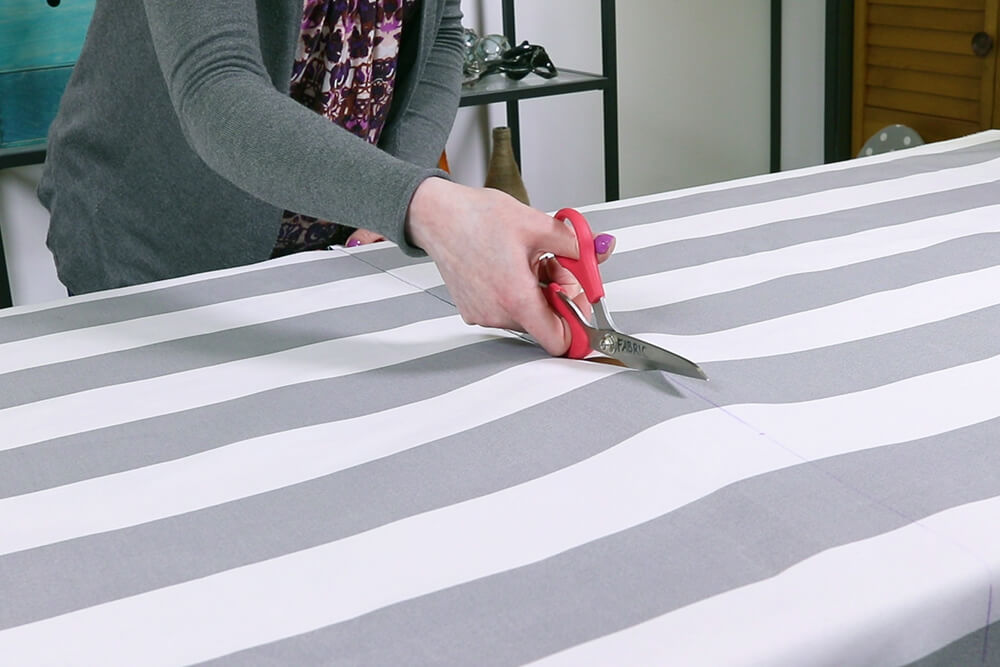
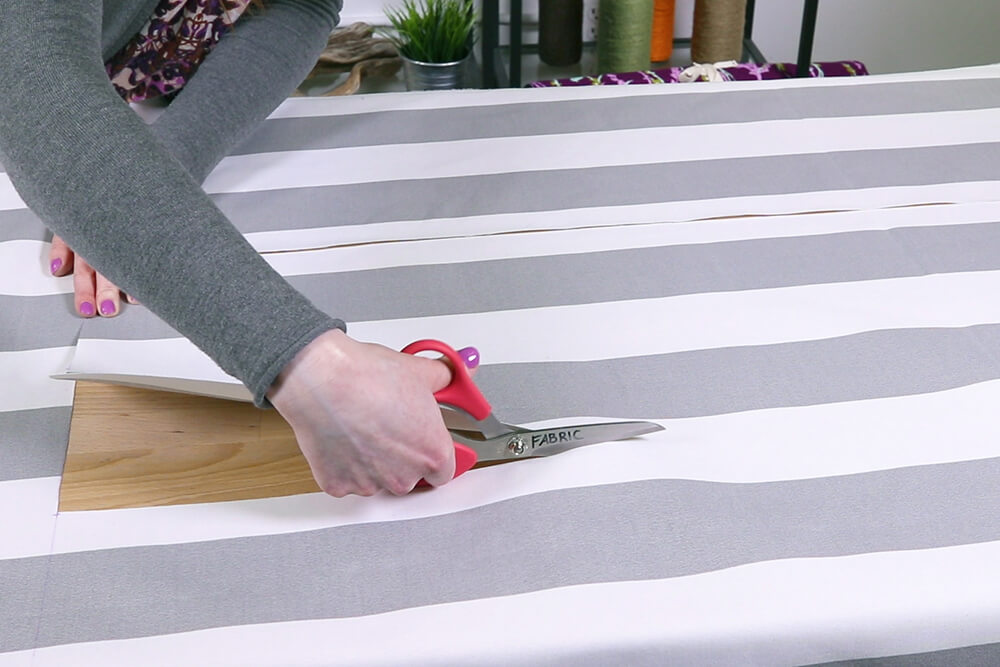
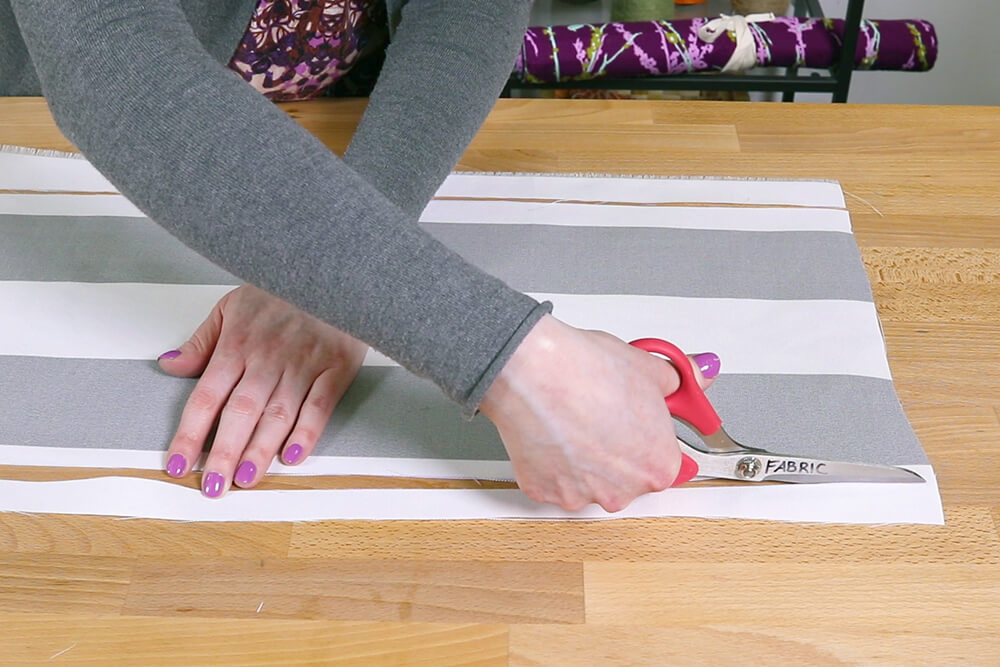
Step 1: Measure & cut the fabric
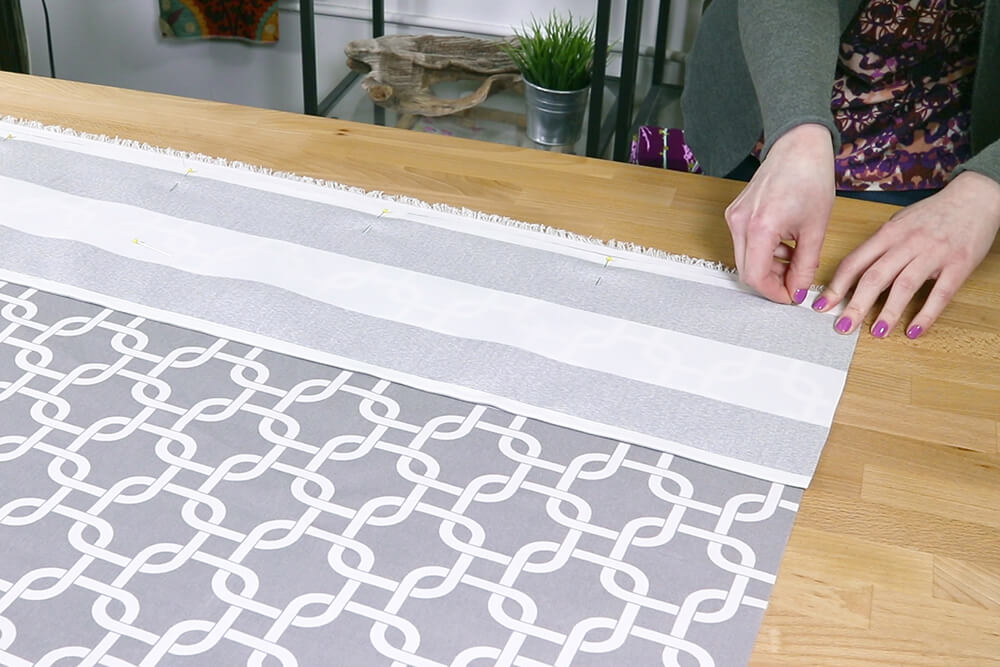
A standard shower curtain is 72 by 72 inches. Most fabric is narrower than that so you will probably have to seam two or more pieces together. I’m choosing to use a coordinating stripe to go on the sides of my main fabric.
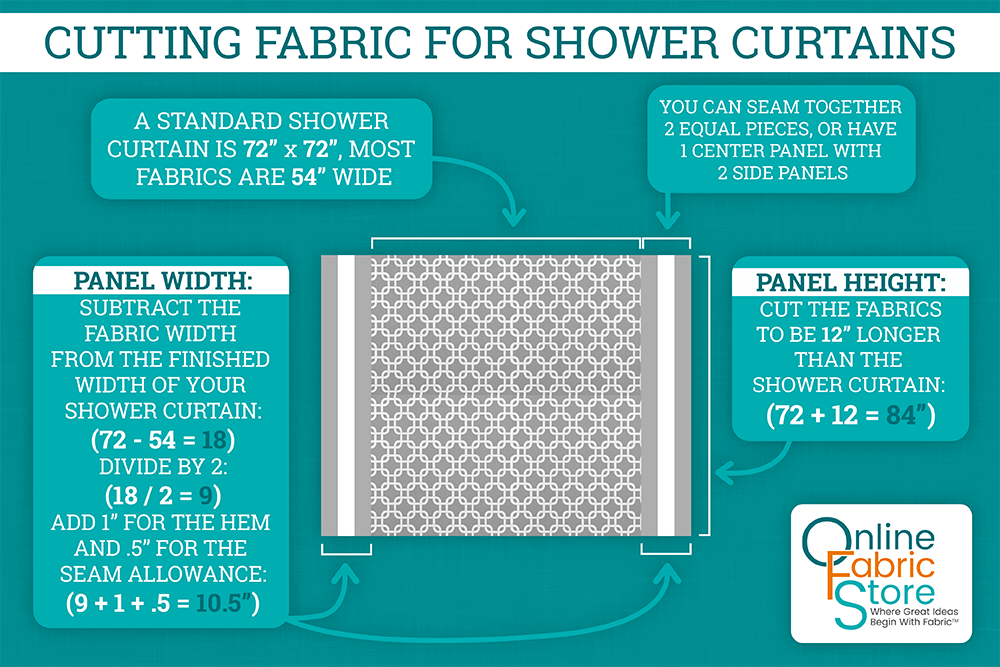
Cut the fabric to be 12 inches longer than the height of your shower curtain. For a standard curtain, that’s 84 inches. Mine’s a little shorter, so I’m cutting it to 81 inches.

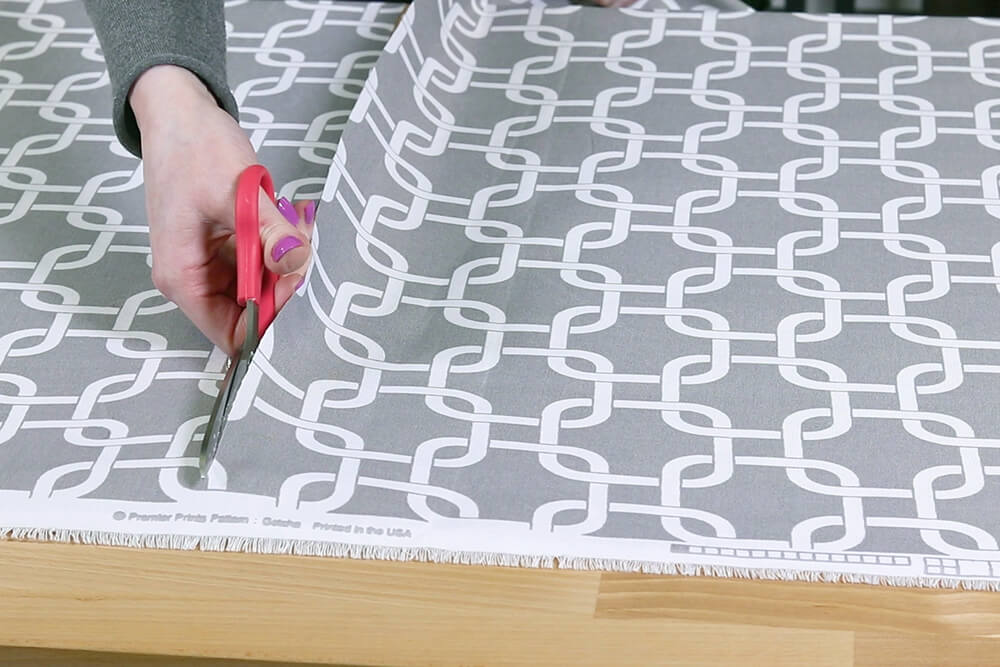
Cut all pieces to this length. If you’re matching up a pattern, match it before cutting.
If you’re seaming pieces together, you can either do 2 equal pieces or a center panel with 2 side panels, which is what I’m doing.
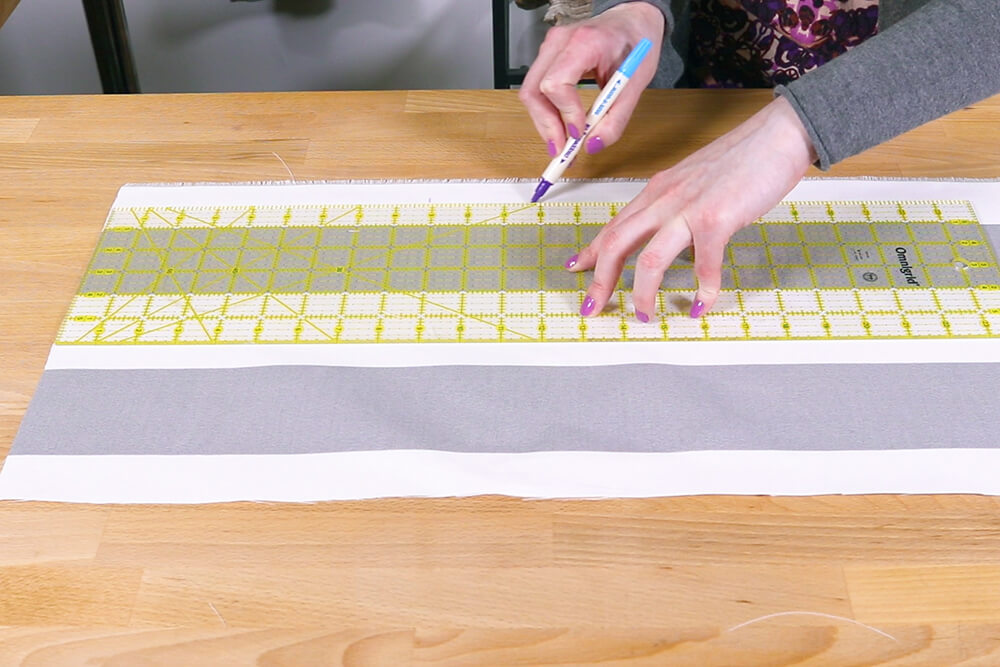
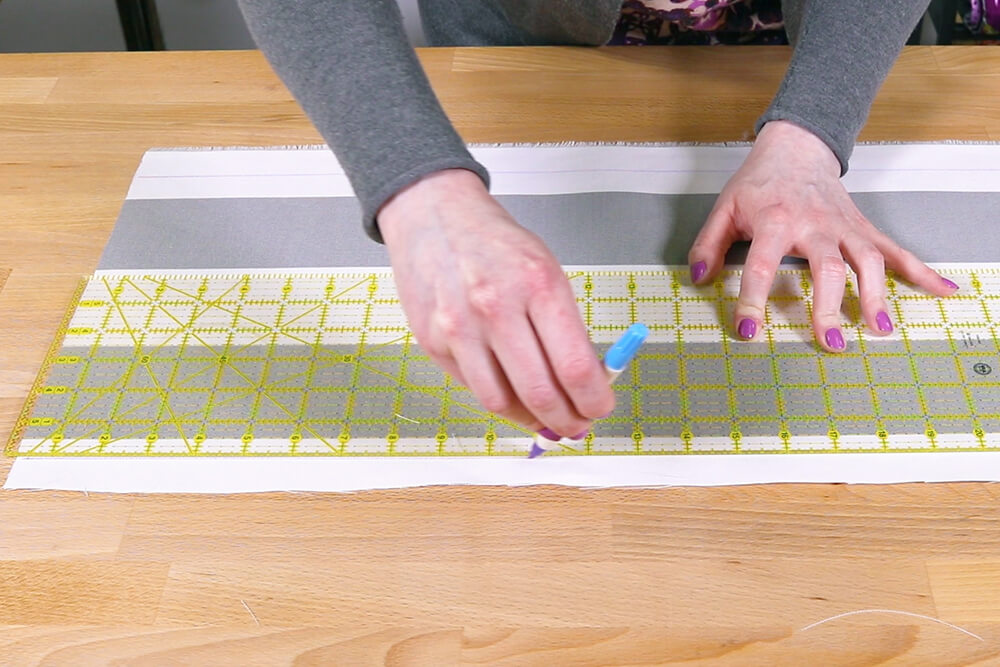
Take the width of your fabric and subtract it from the finished width. Add 1 inch for the hem and a 1/2 inch for the seam allowance. That’s a total width of 10 and 1/2 inches per panel.
I want the 3 stripes to be showing on this fabric, so I’m cutting an inch for the side hem on one edge and a 1/2 inch for the seam allowance on the other edge.
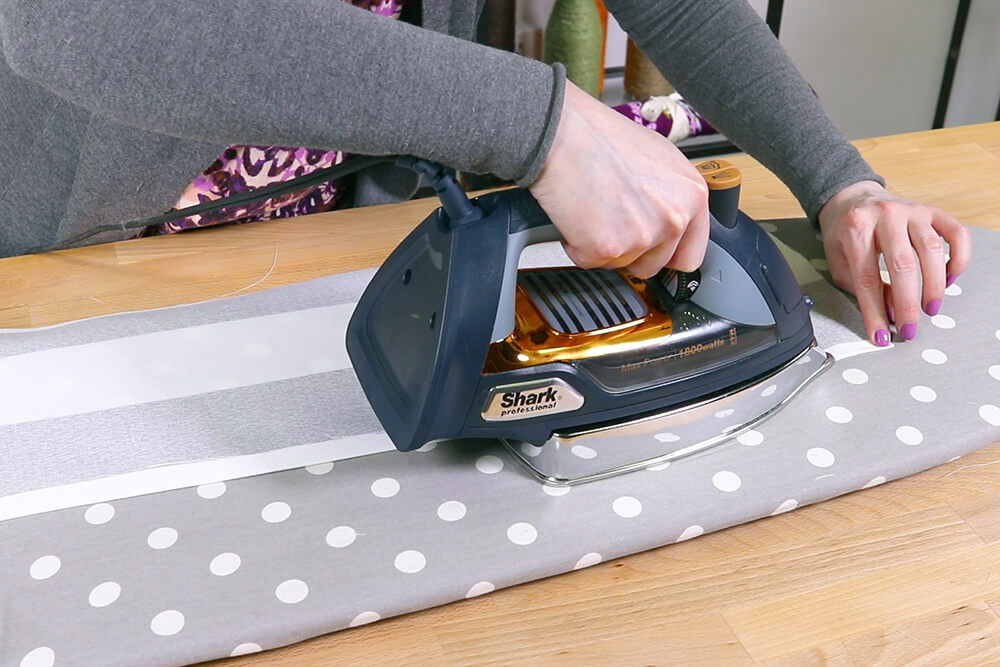
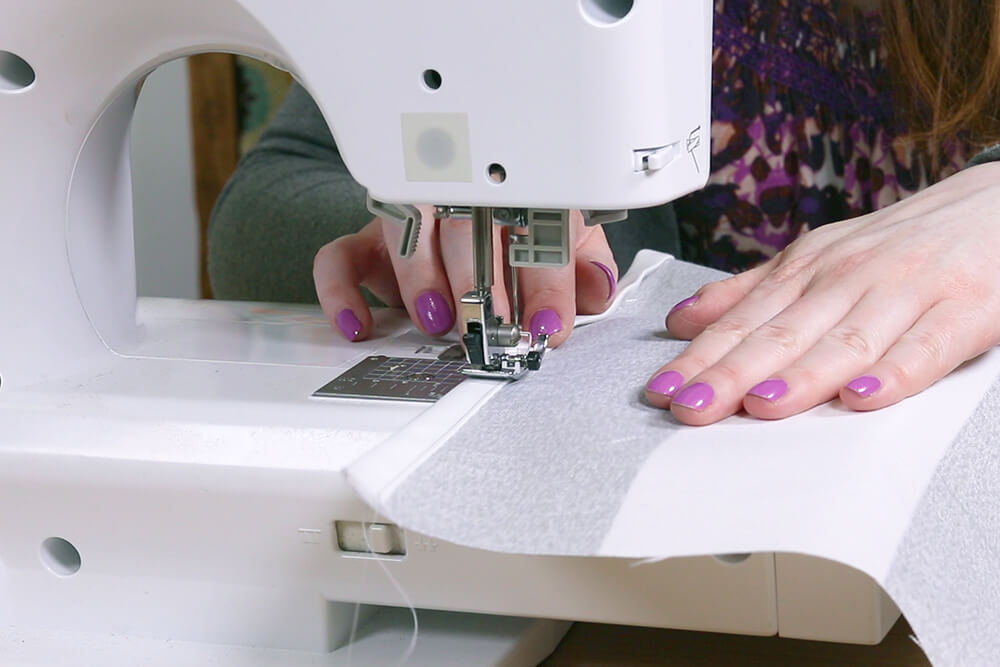
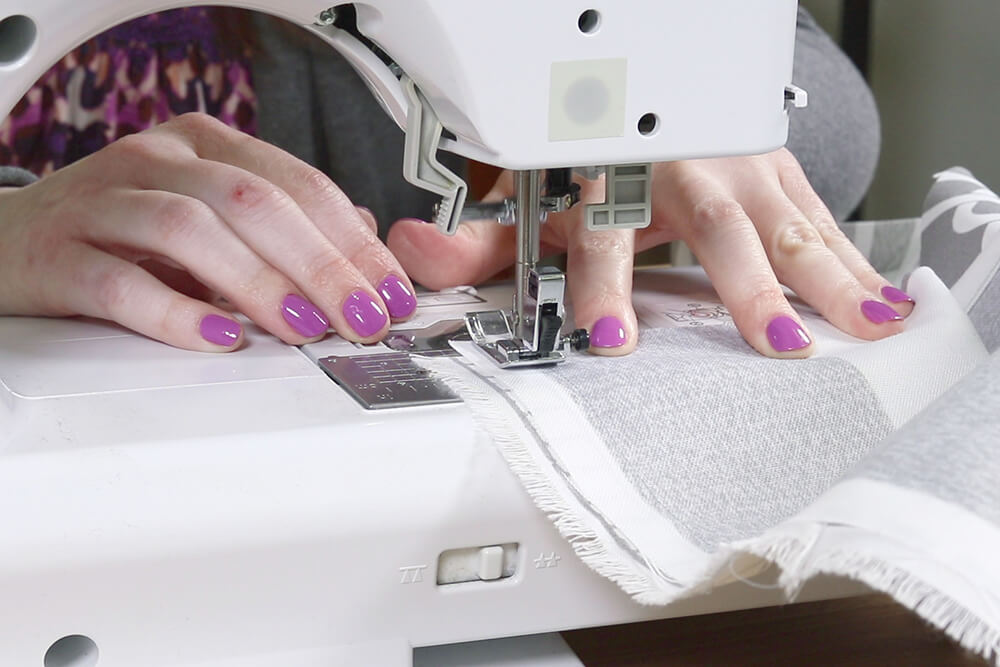
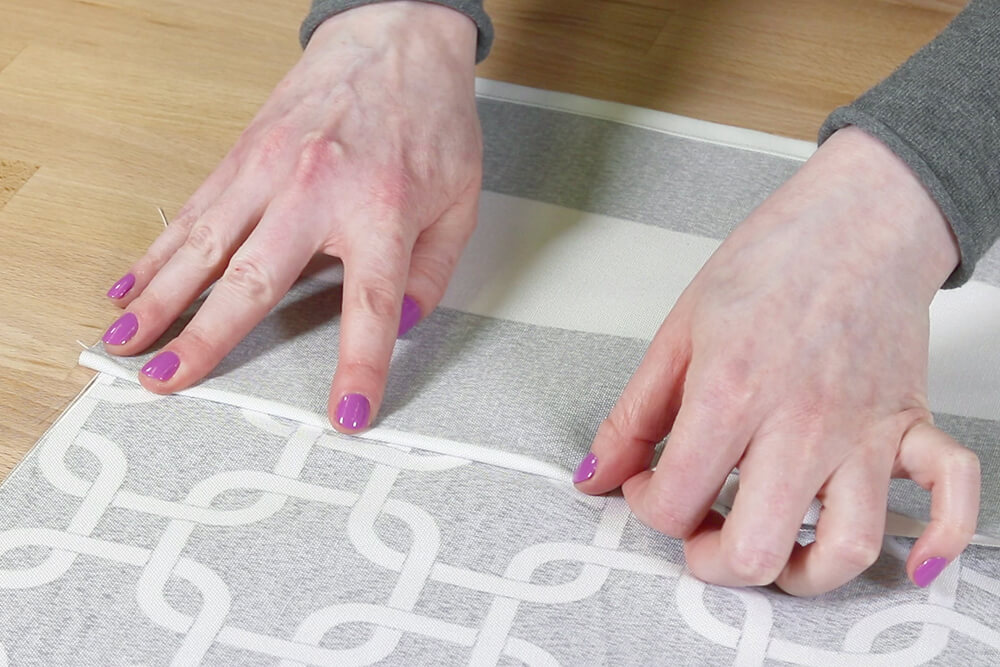
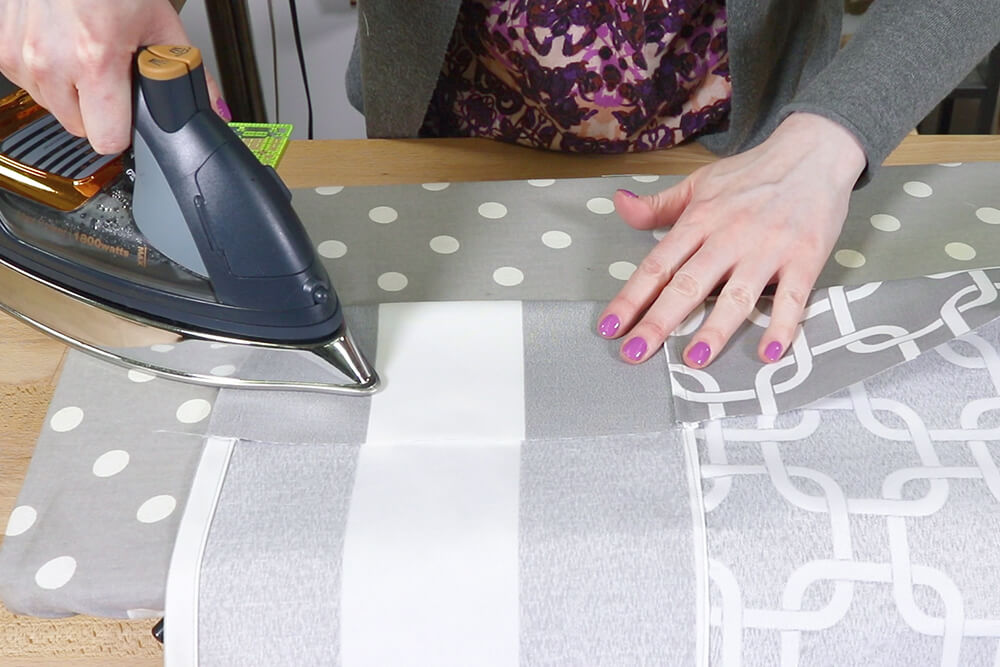
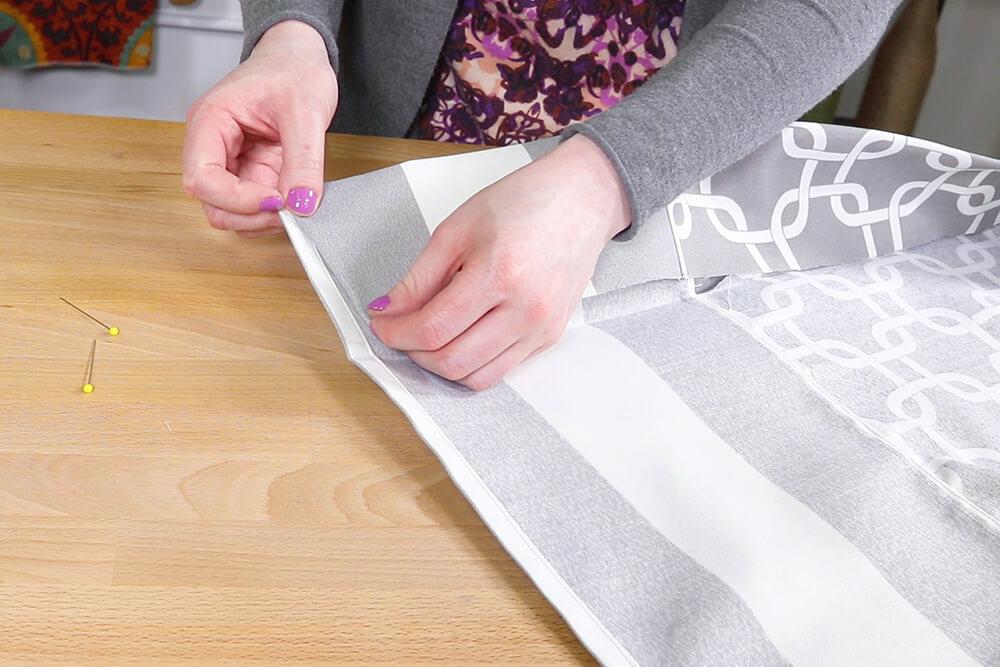
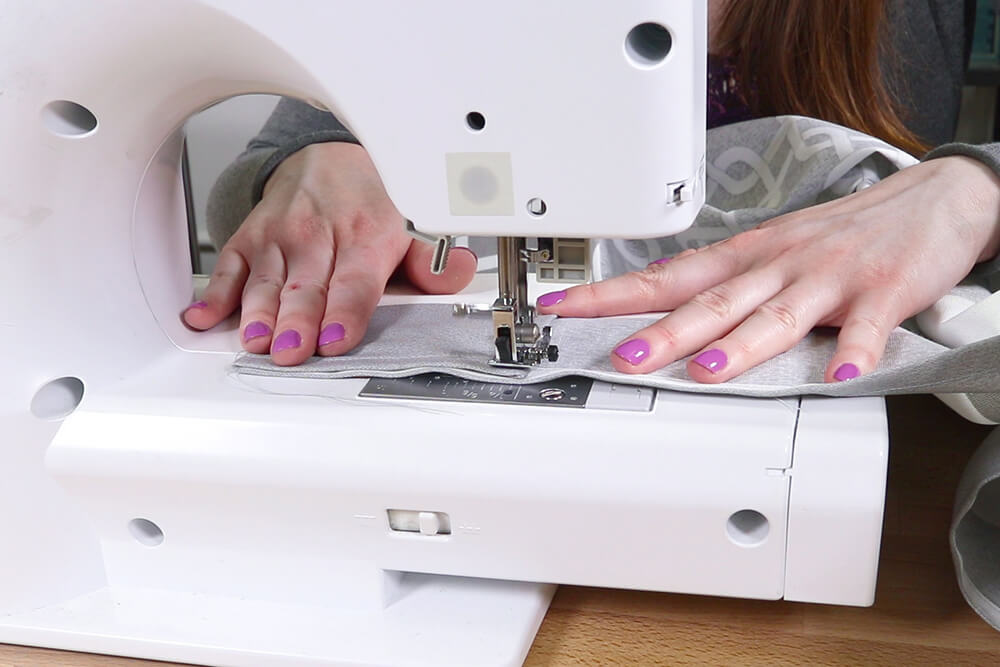
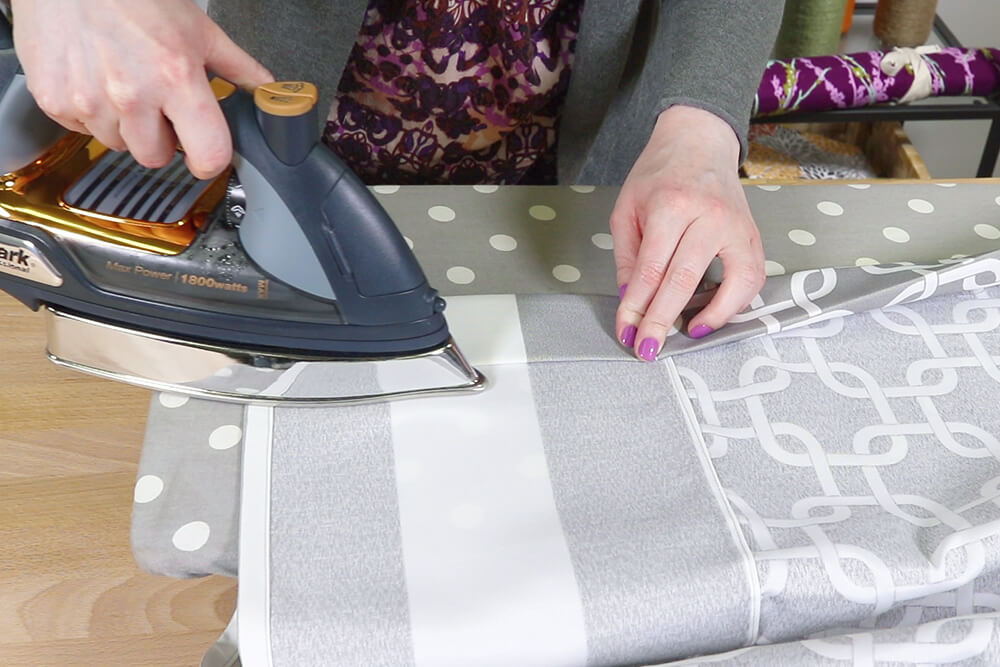
Step 2: Sew the side hems
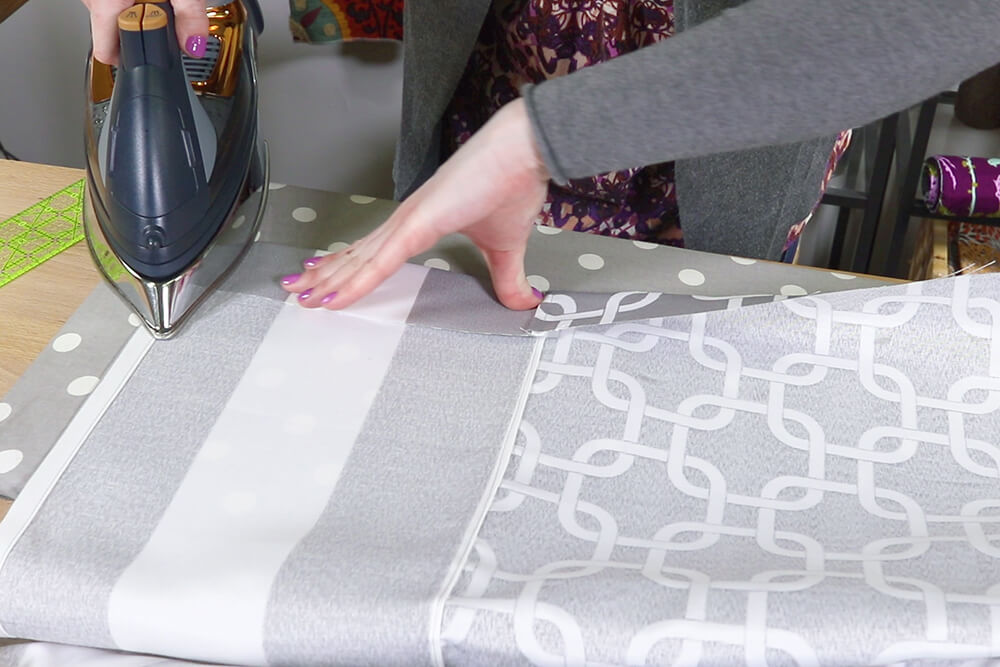
This outdoor fabric is polyester, so I’m using the polyester setting on the iron.
I’m sewing the sides of the shower curtain first just because it’s easier to work with less fabric.
Fold the fabric in a 1/2 inch and iron. Fold in another 1/2 inch and press again.
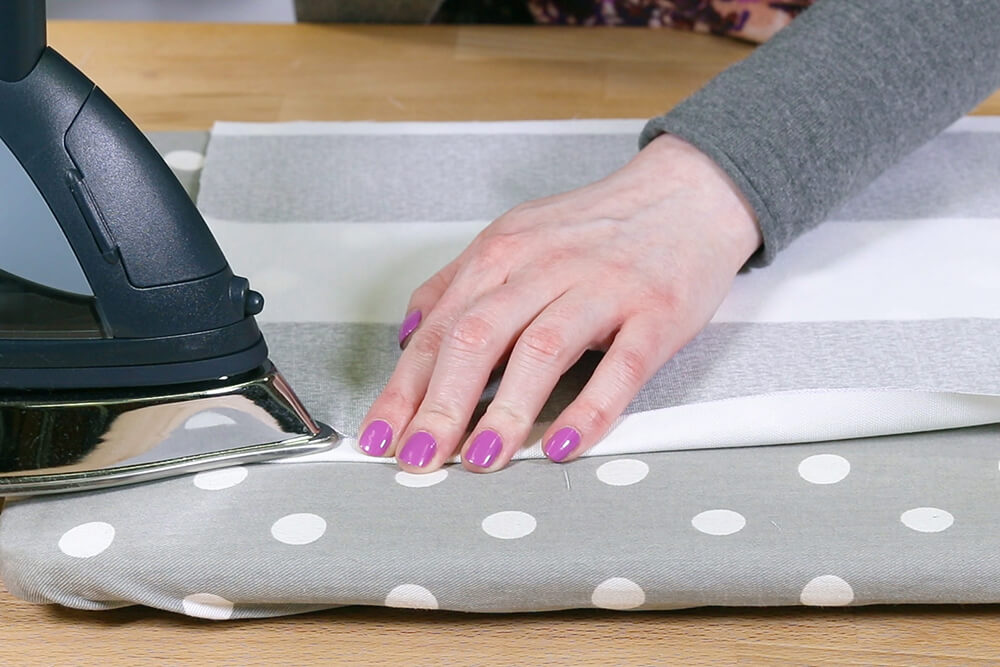
Sew 1/8″ or less from the inner fold all the way down the side.
Repeat for the other side panel.
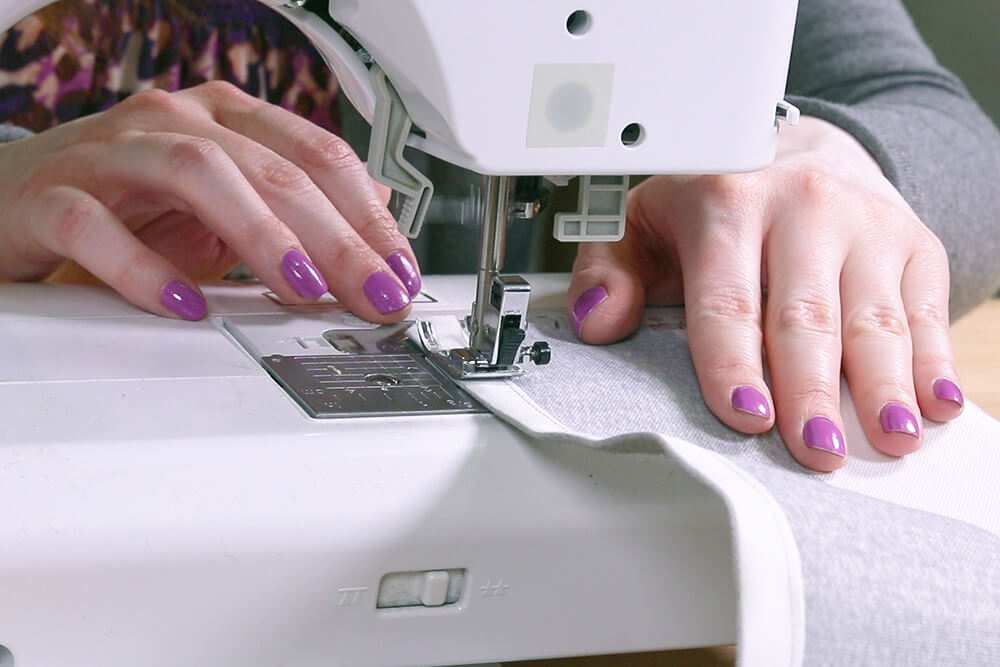
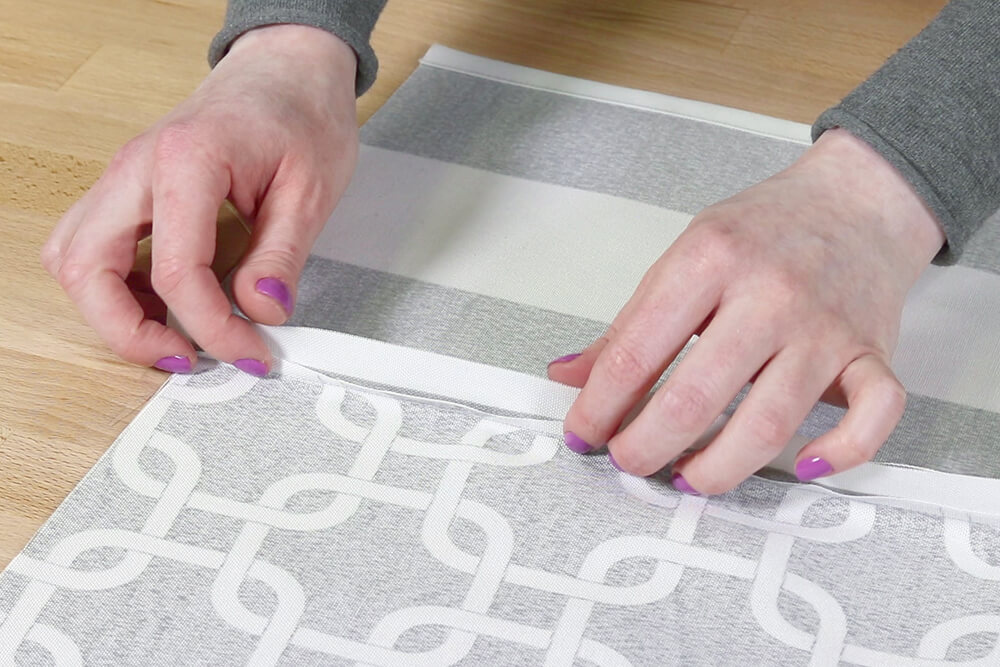
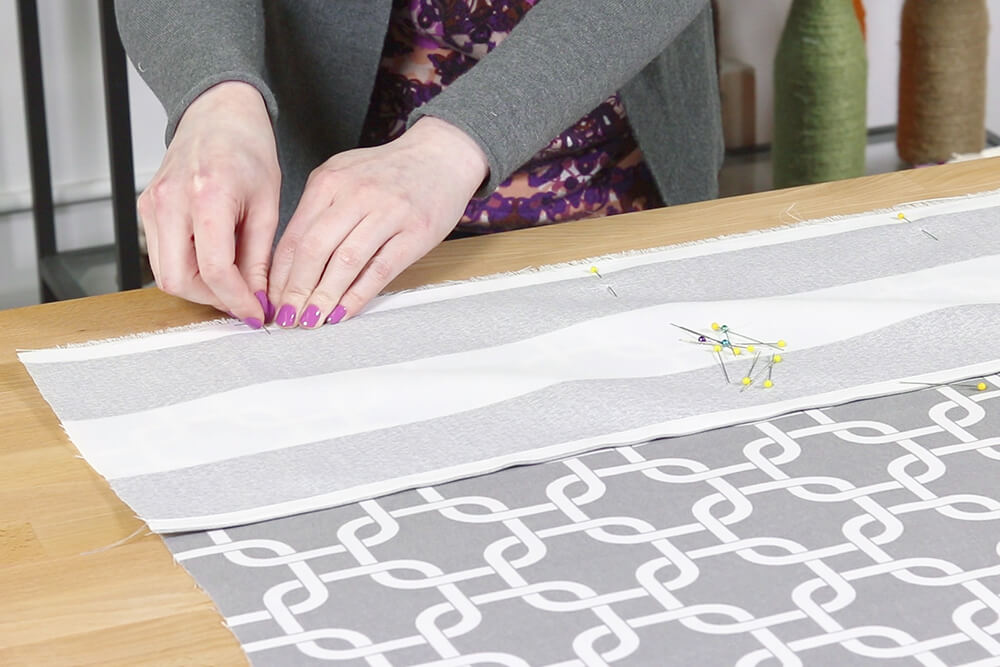
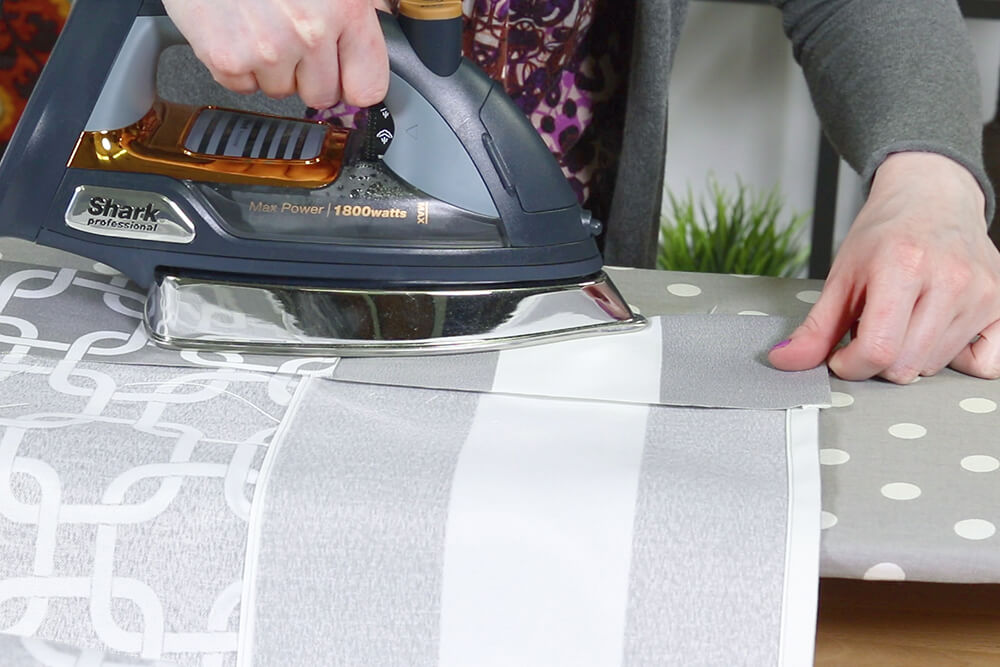
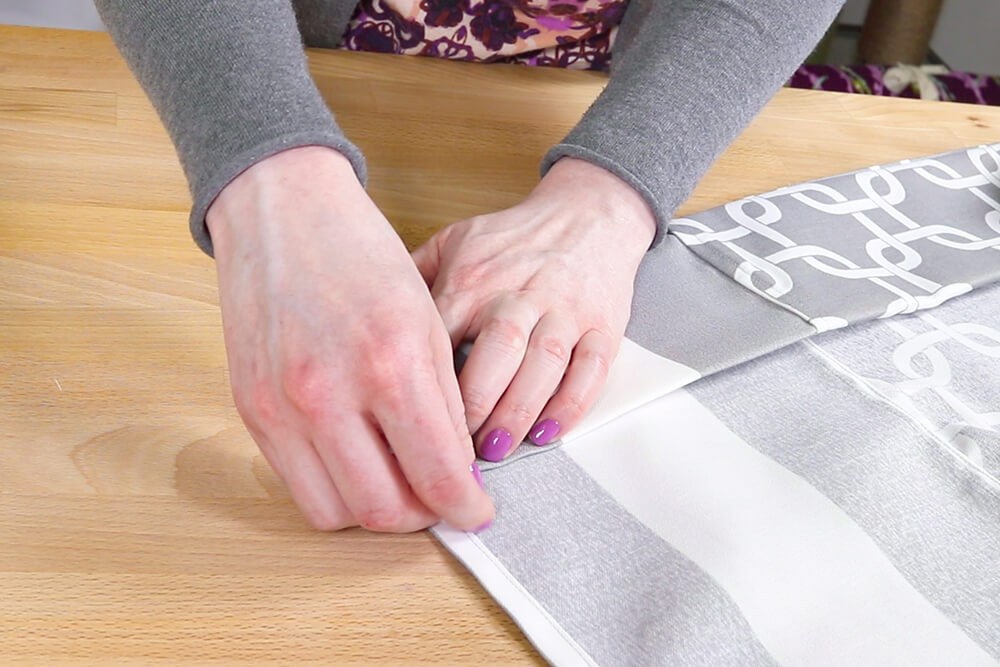
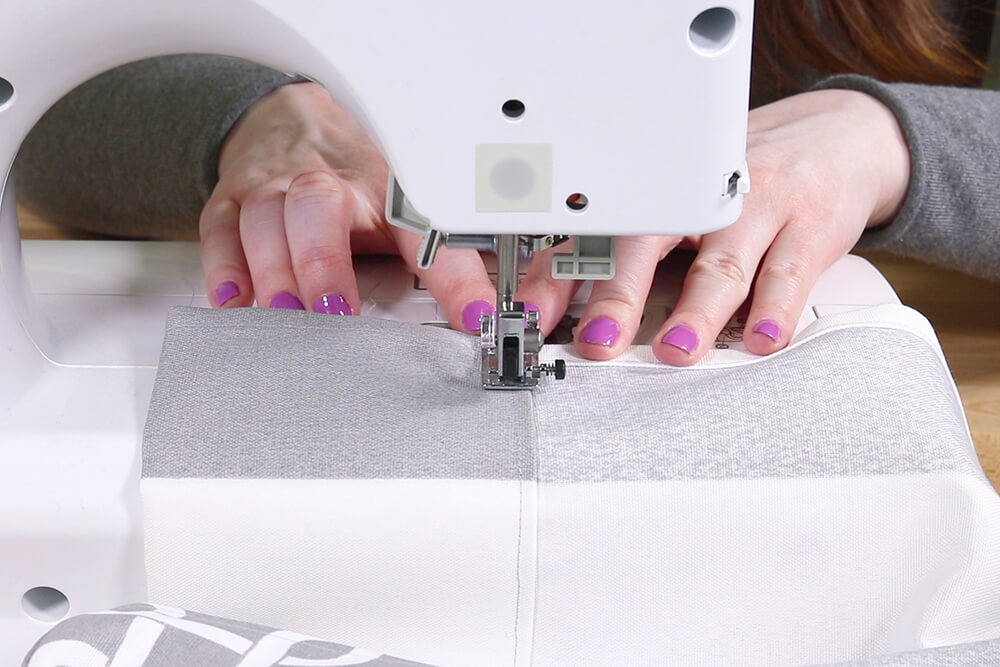
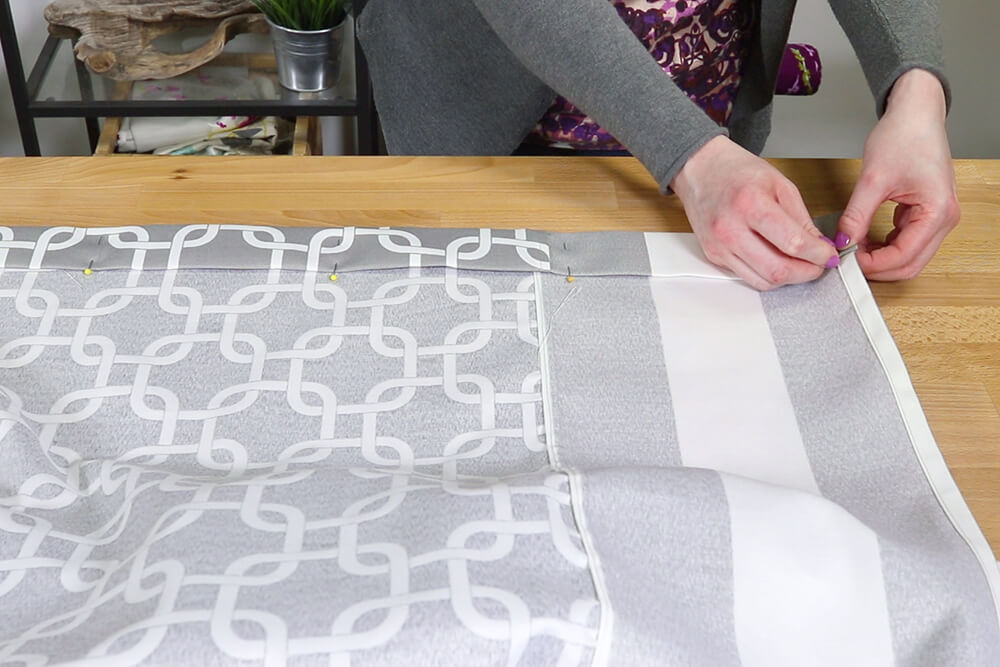
Step 3: Sew the panels together
With right sides facing, line up the edges of the center and one of the side panels and pin.
Sew with a 1/2″ seam allowance.
I’m using a slightly larger seam allowance to make sure the selvage and the edge of the stripe don’t show.
If you’re matching a pattern, you’ll want to do this differently. We have other videos that show how to do this:
How to Make Inverted Box Pleat Curtains
We like to use a fusible bonding tape, but you can substitute it with double sided tape, especially when working with a fabric that shouldn’t be ironed on high like polyester.
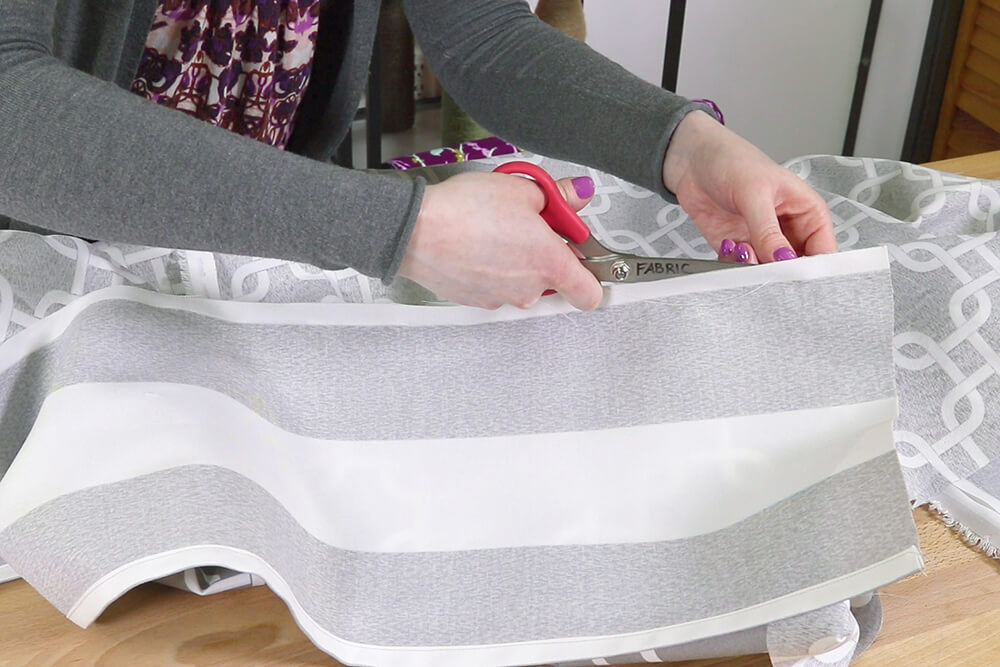
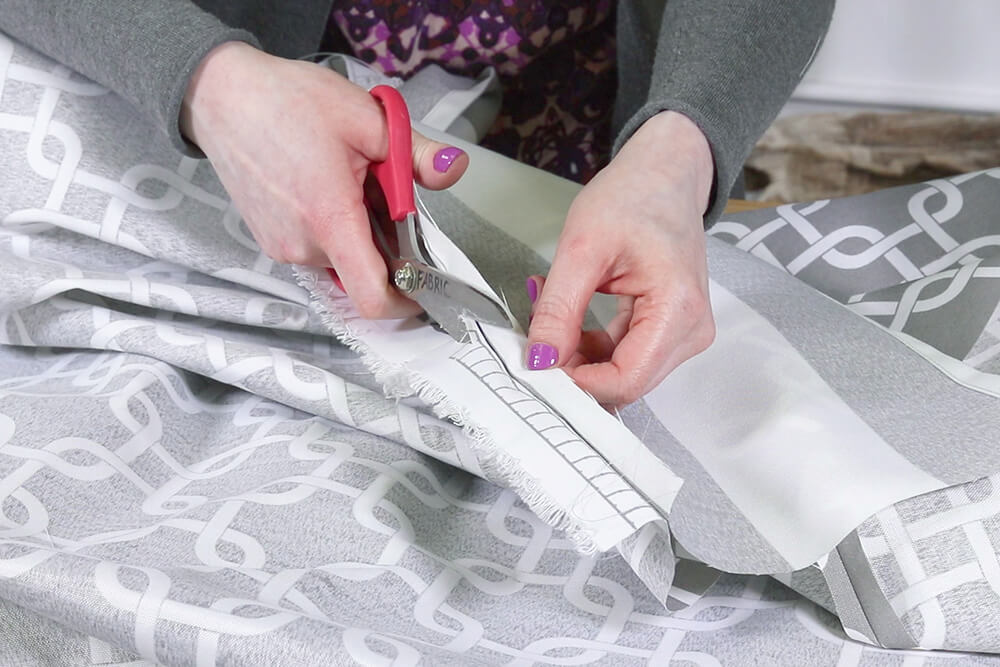
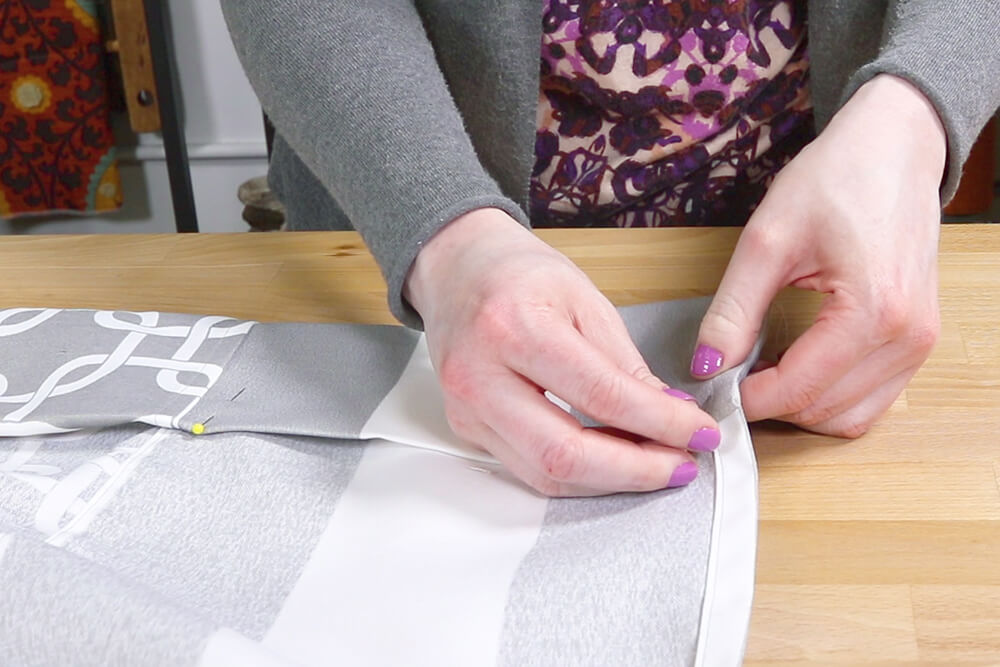
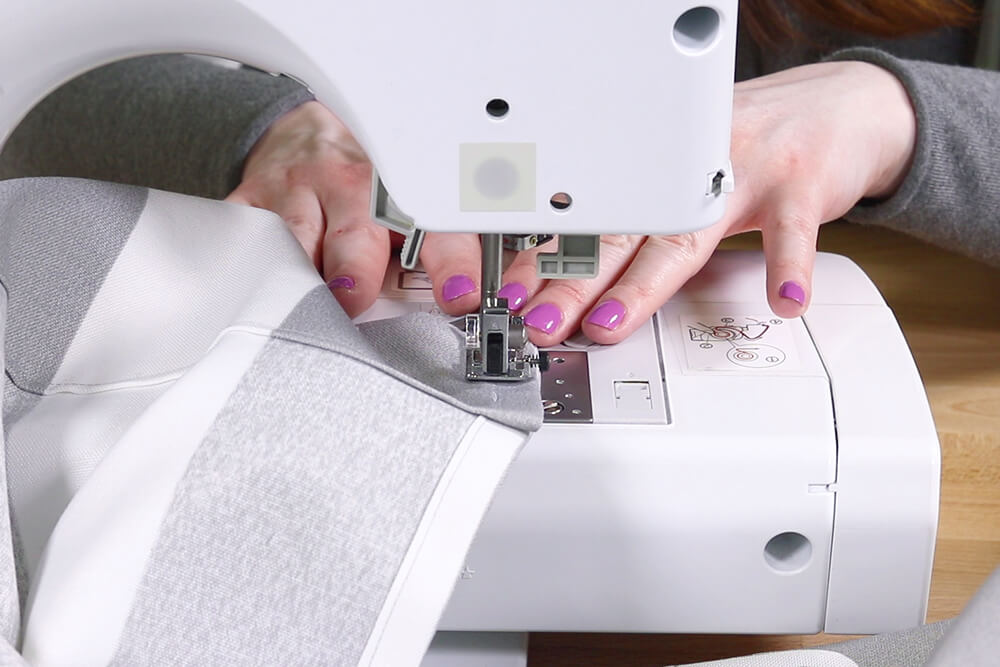
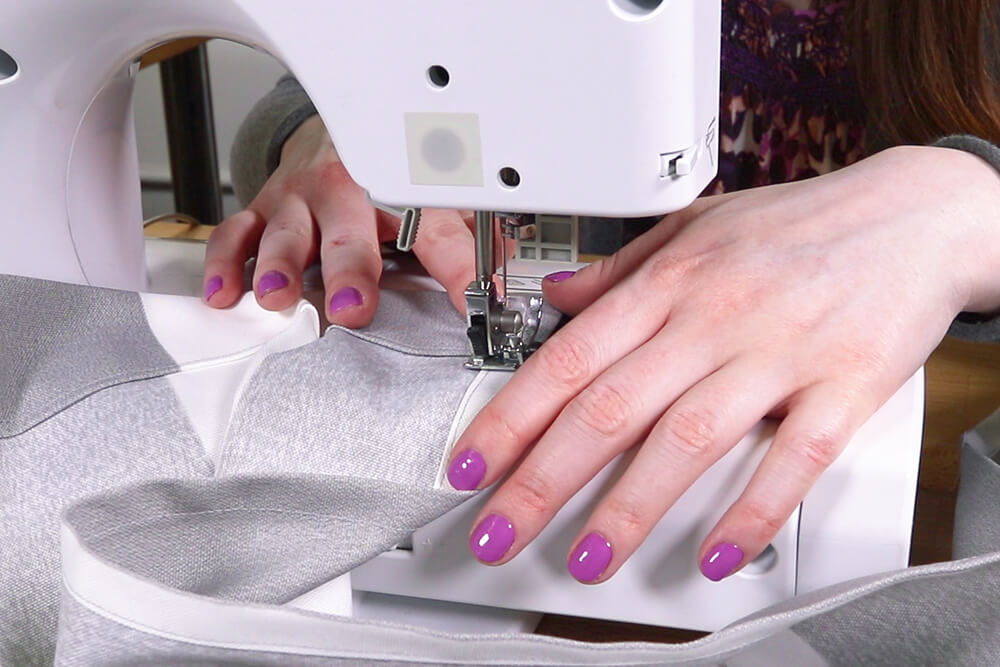
You can finish the edges of the seam in several different ways so it doesn’t fray. Using a serger or zig zag stitch on the edges works, but I’m going to use the flat felled seam here. It looks nicer if you’re going to be seeing it through a clear shower liner.
Trim one of the edges down to 1/8″. Fold the other edge under and sew on the fold so both edges are encased.

Repeat to attach the other side panel to the other side of the shower curtain.

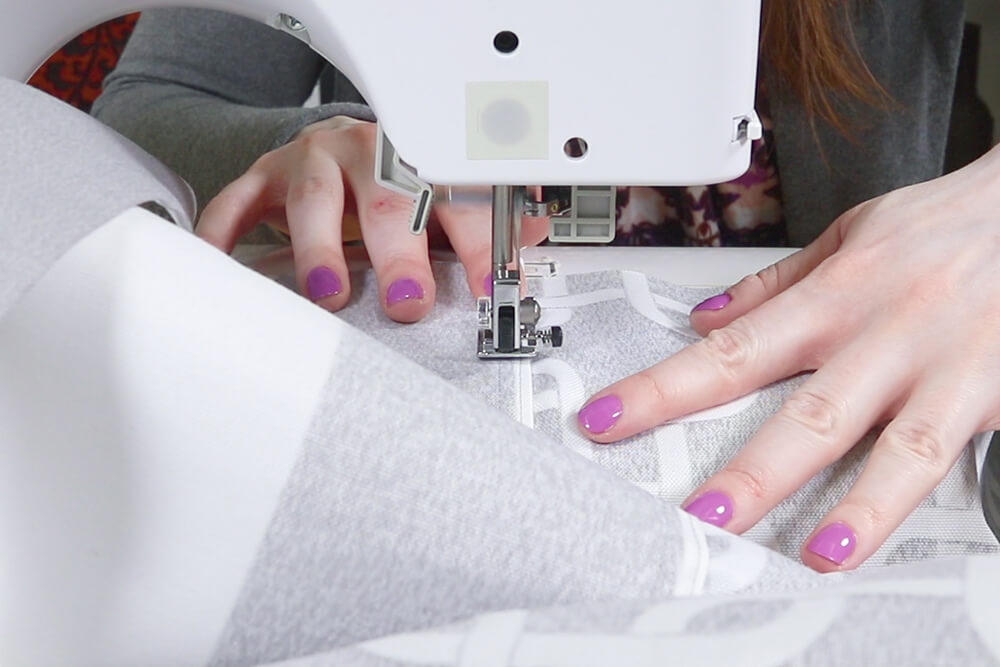
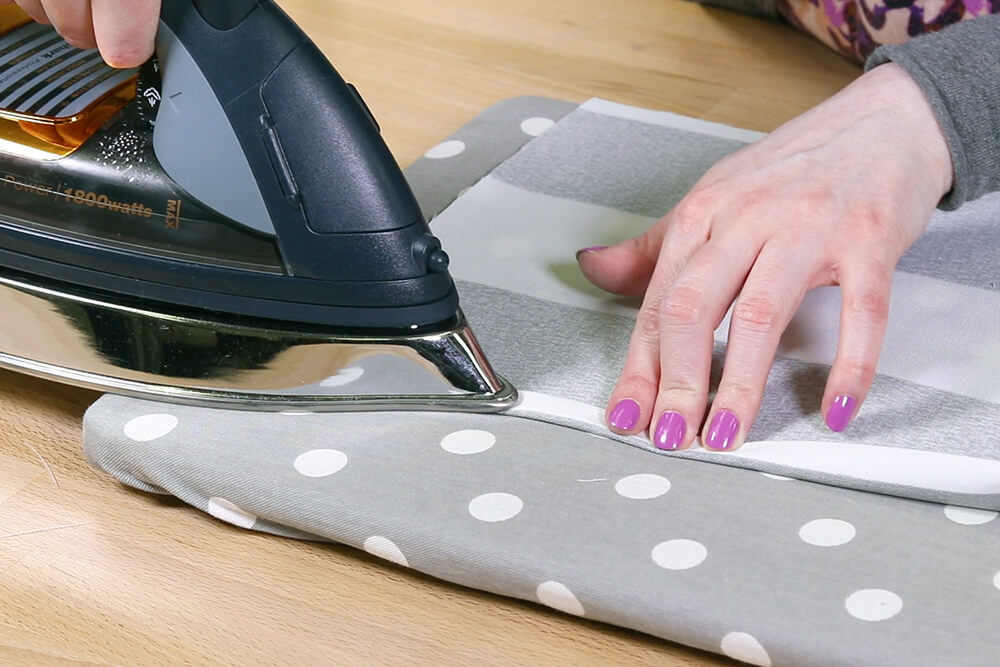
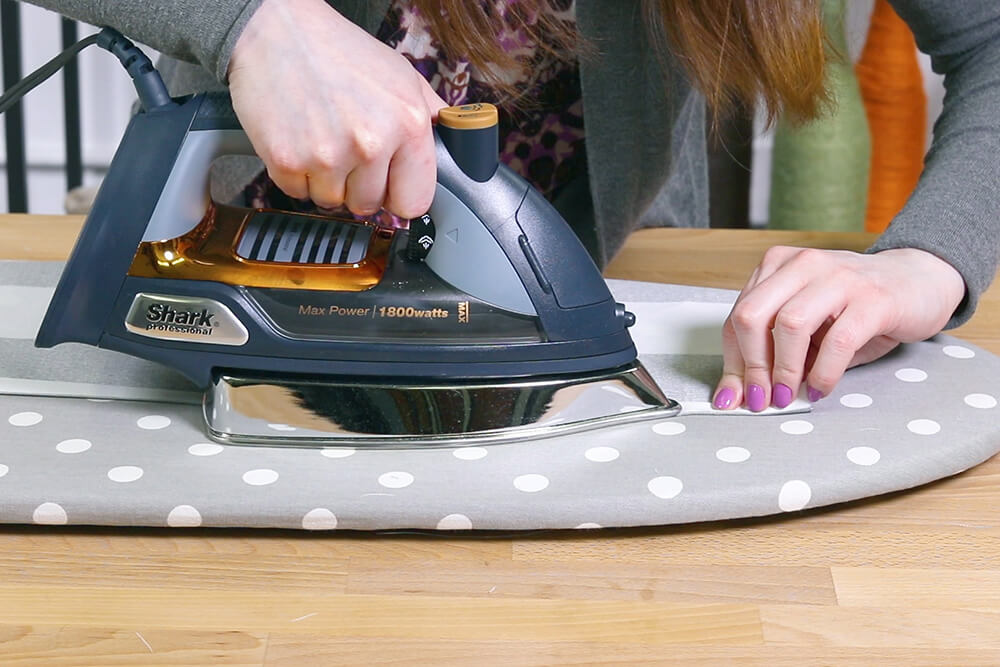
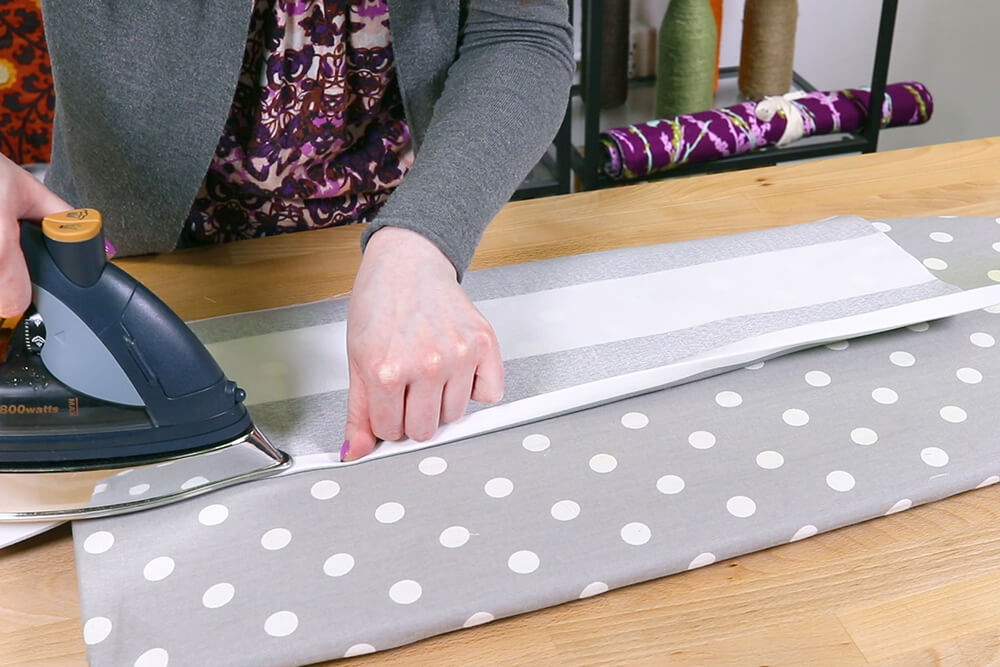
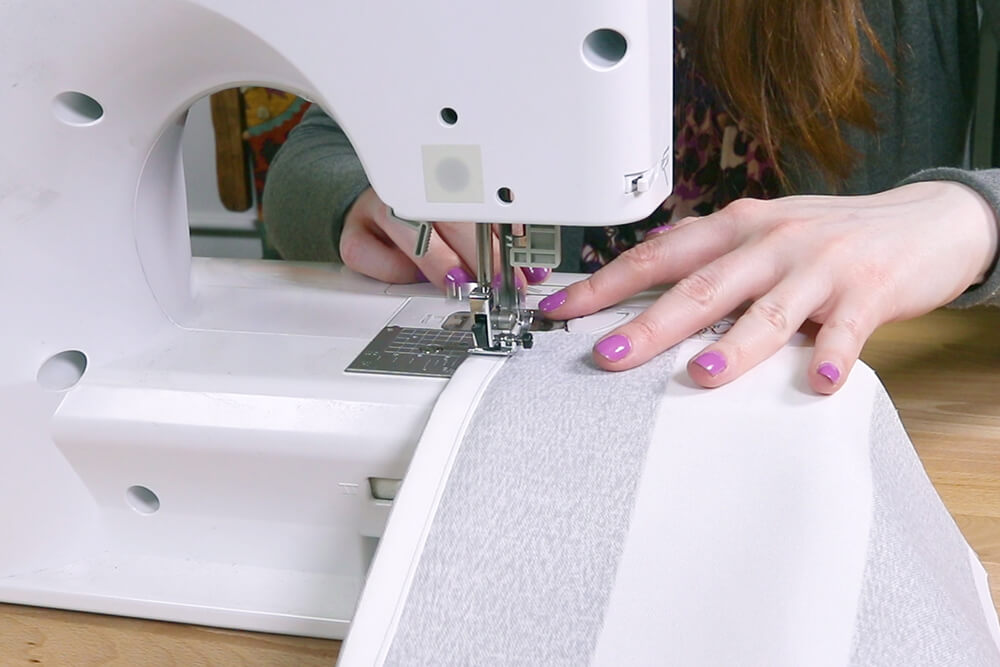
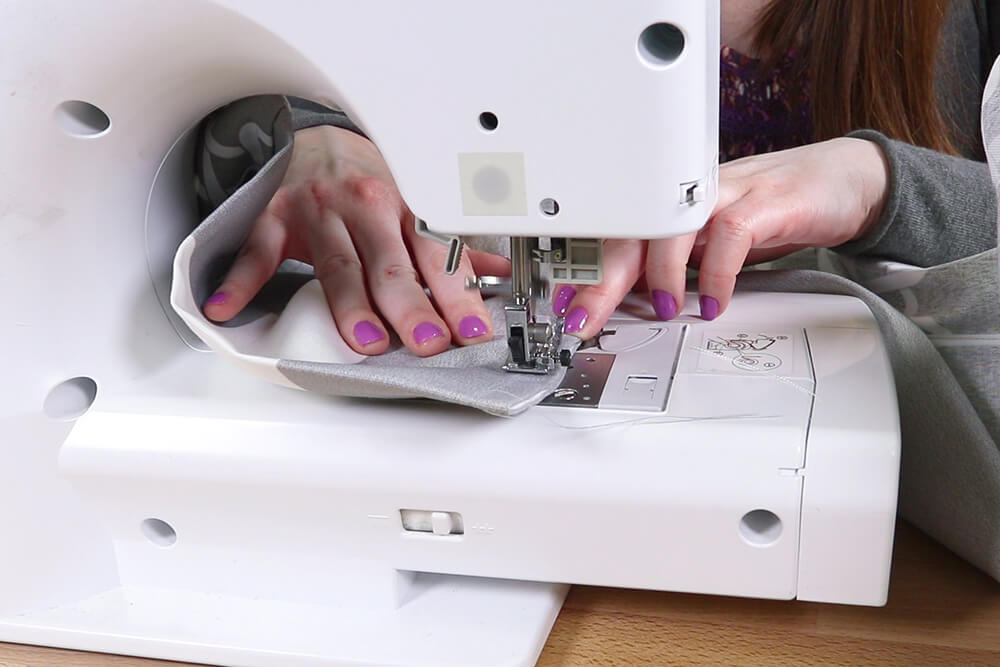
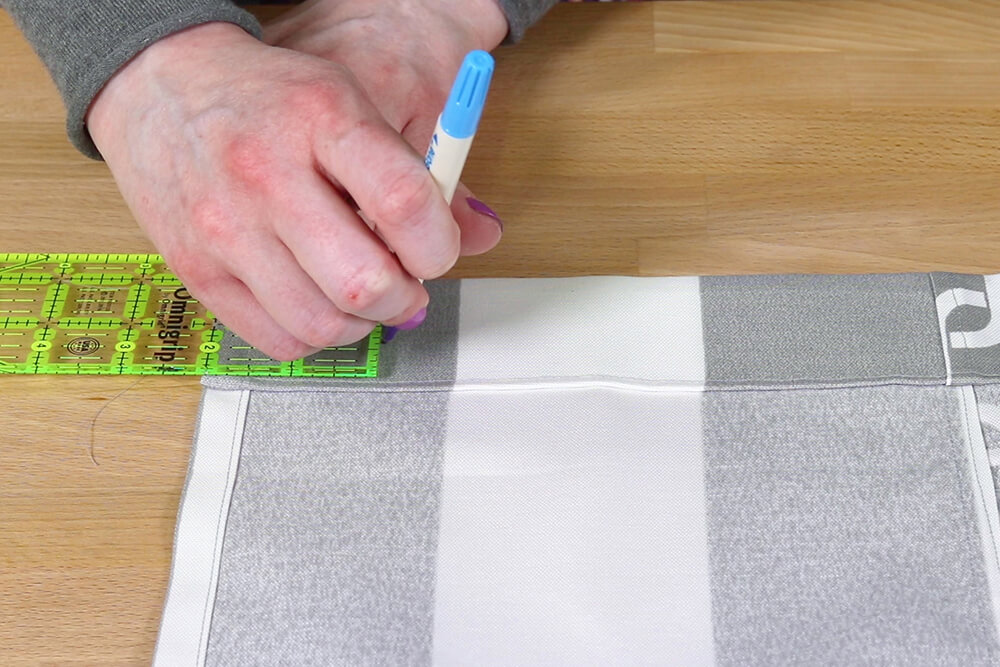
Step 4: Sew the bottom & top hems
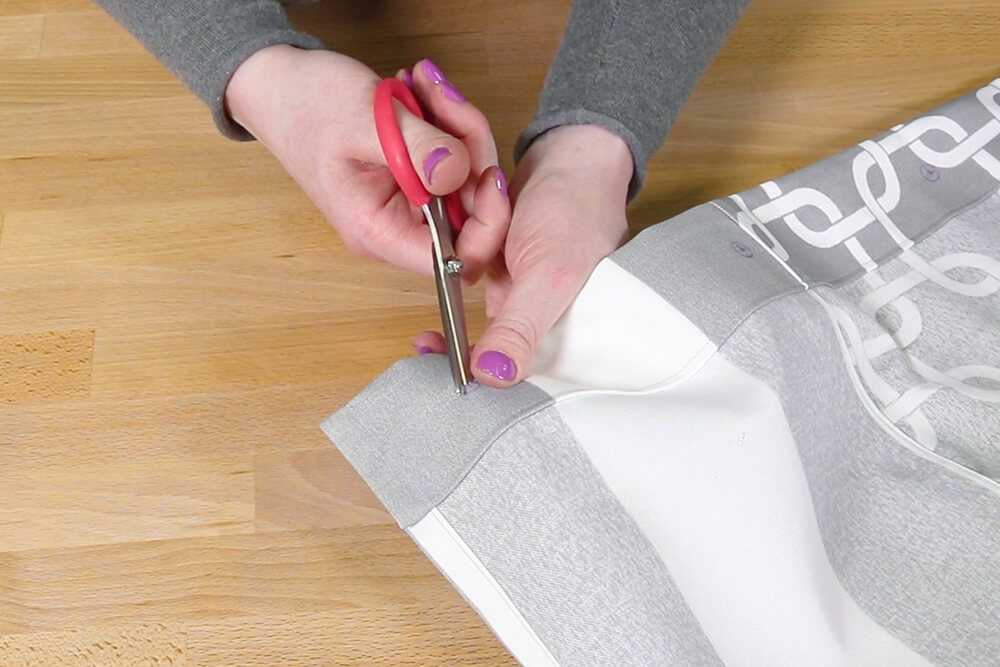
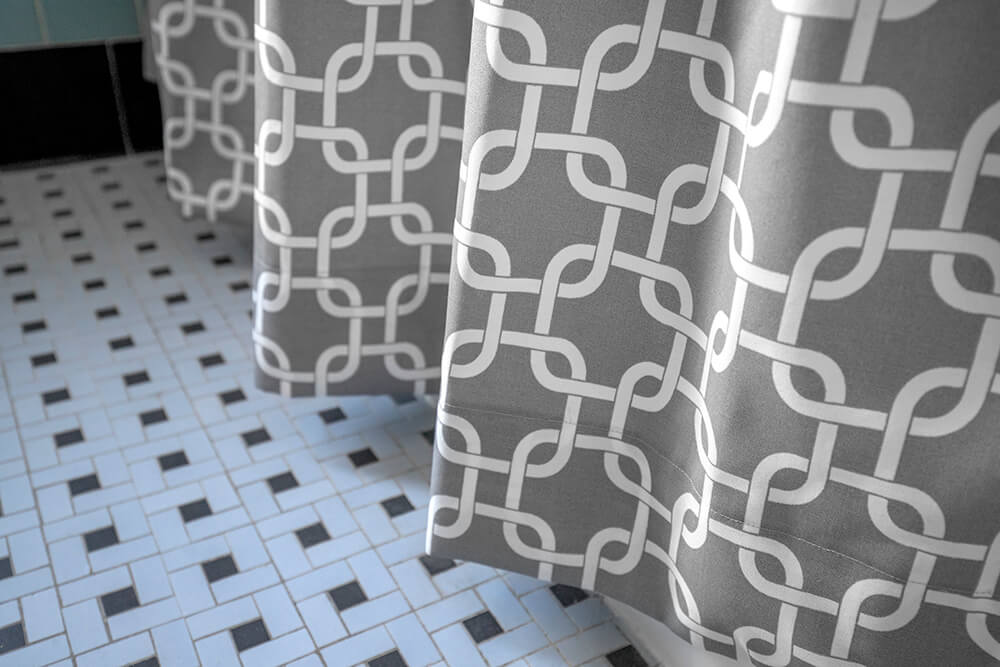
I’m using a 4 inch double folded hem to add a little extra weight to the bottom so it hangs nicely.
Fold the bottom up 4 inches and iron. Fold it up another 4 inches and iron again.
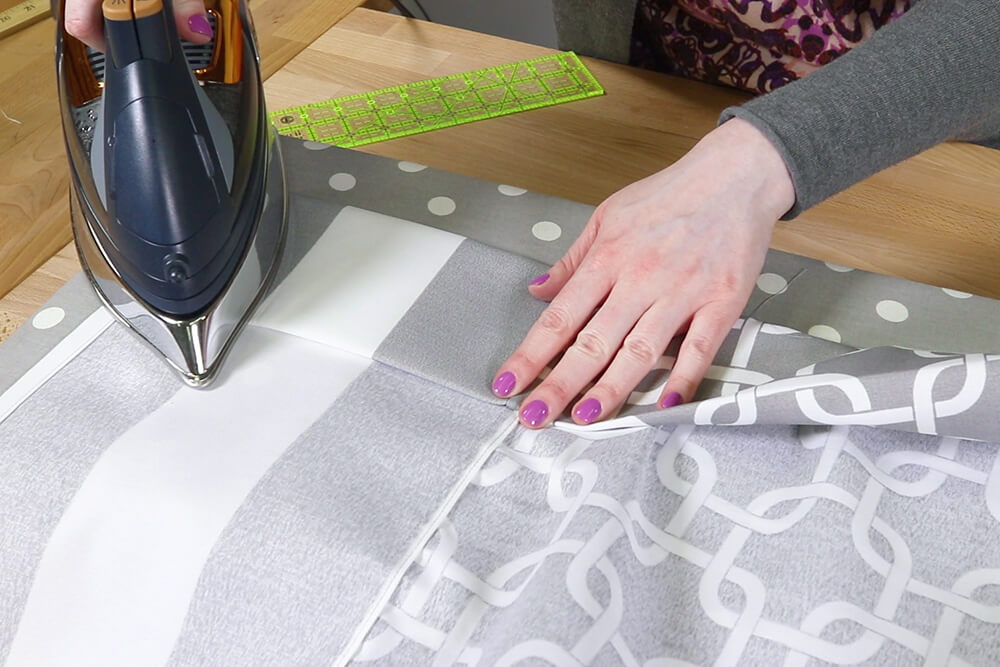
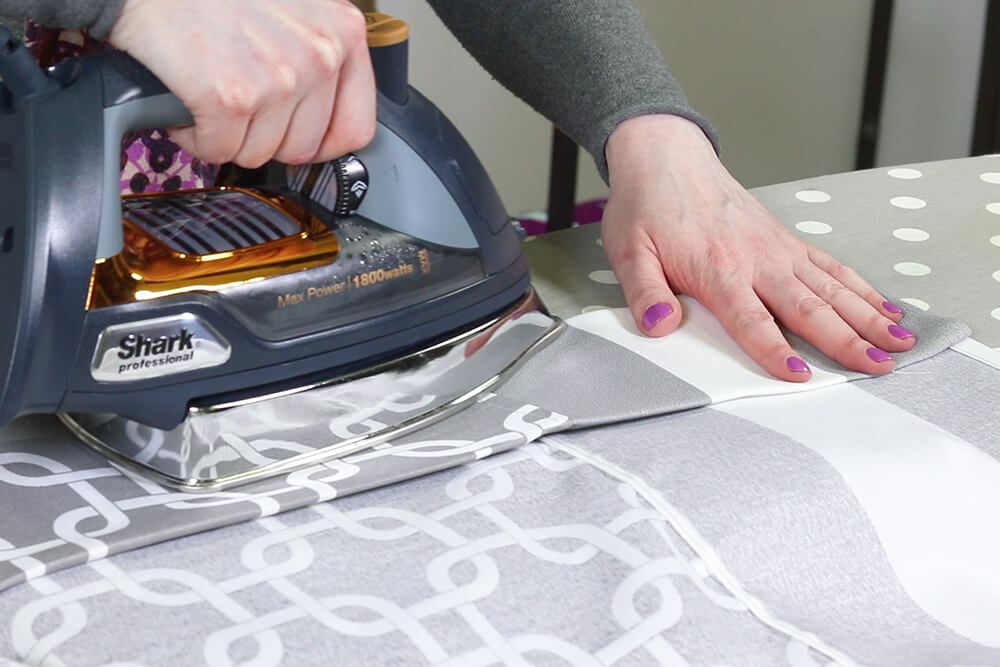
Fold under the corners and pin across.
Sew up the side, along the inner fold, and back down the other side.
Make a 2 inch double folded hem on the top the same way as the bottom hem.
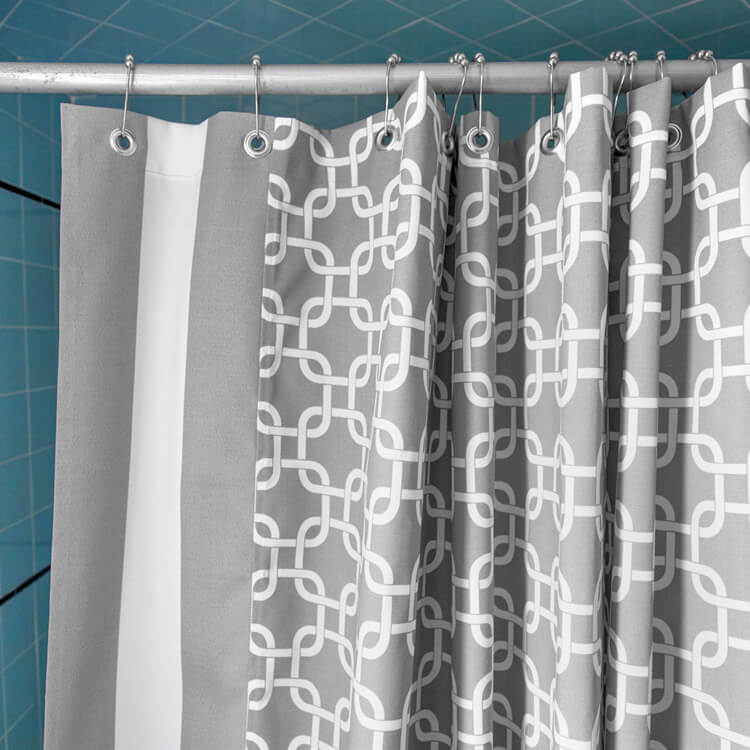
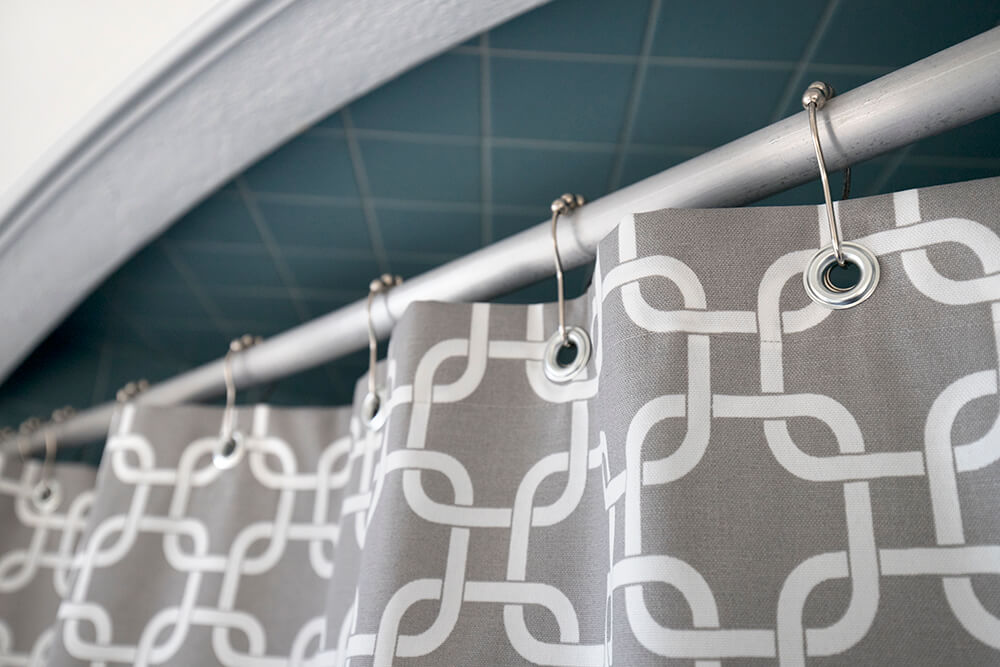
Step 5: Add grommets or button holes
You can either use grommets or make button holes to hang your shower curtain.
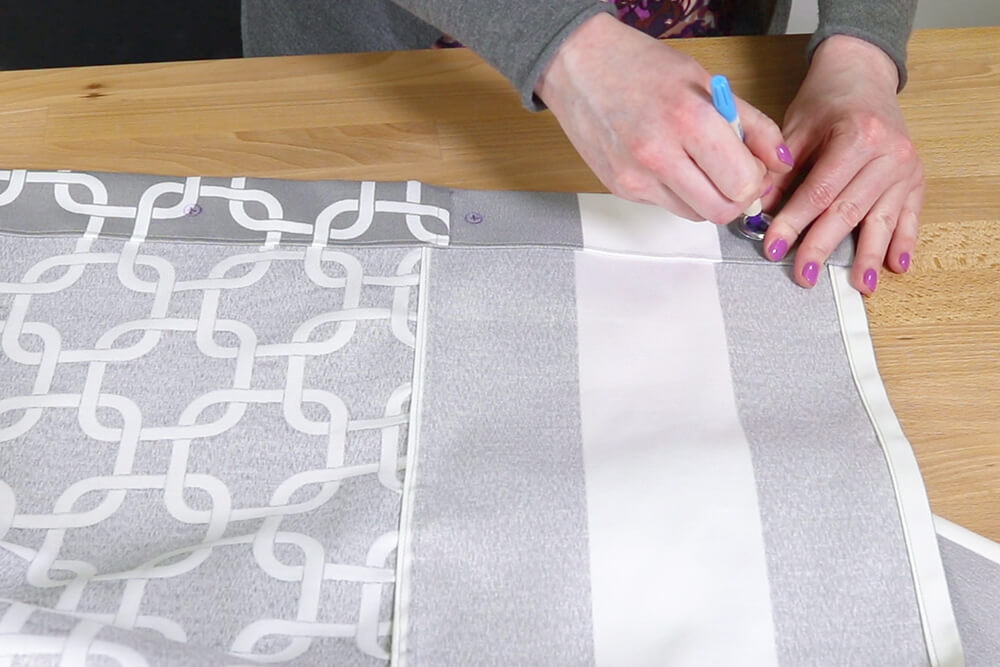
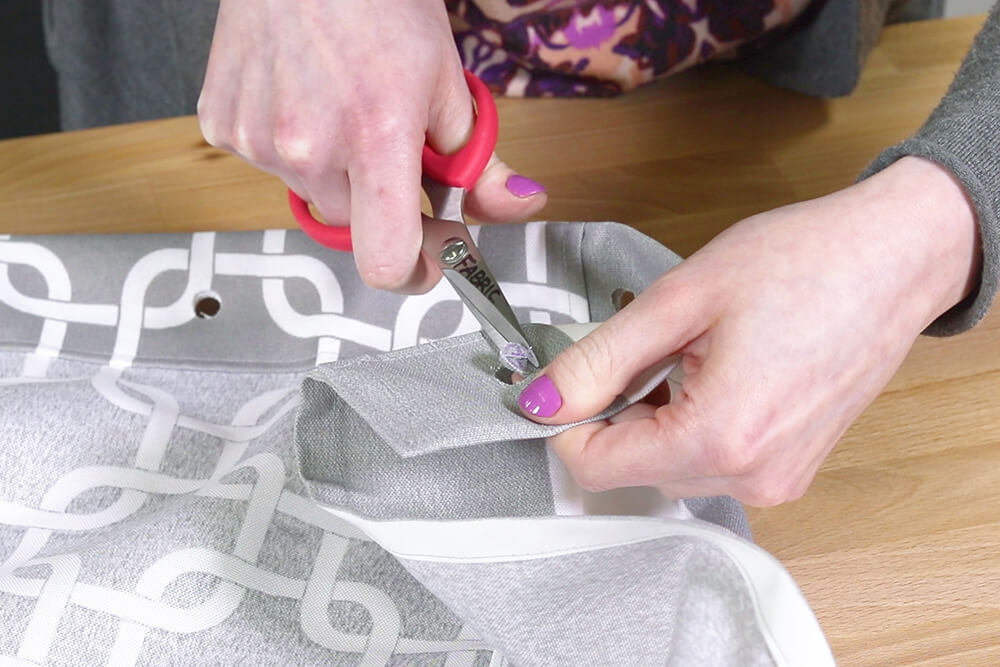
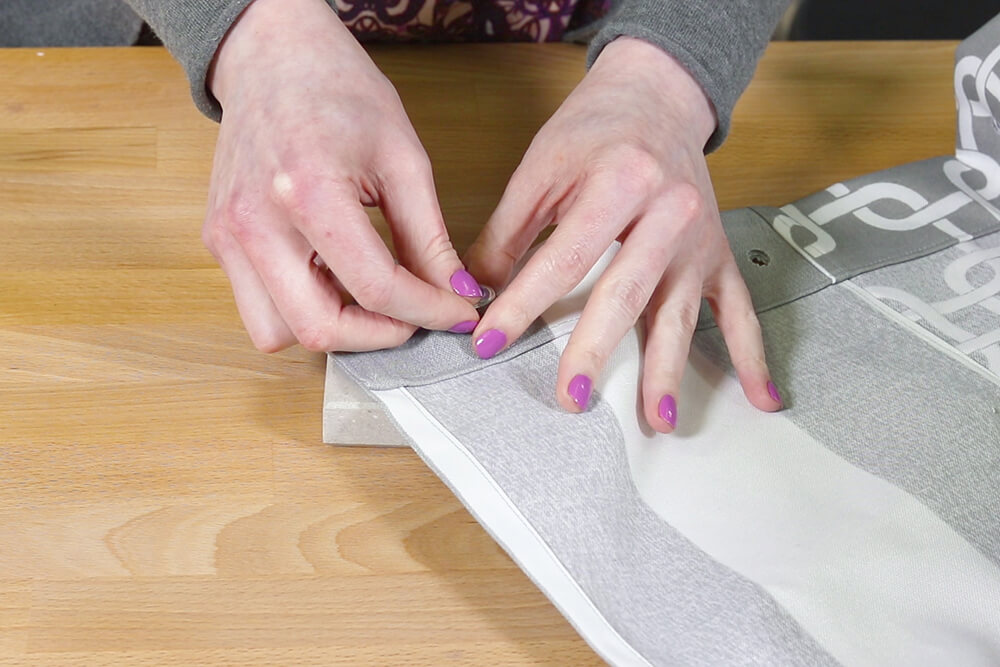
Either way, first mark the placement of the holes. Space out 12 holes evenly about 6 inches apart. Start a couple inches in from the side and 1 inch from the top.
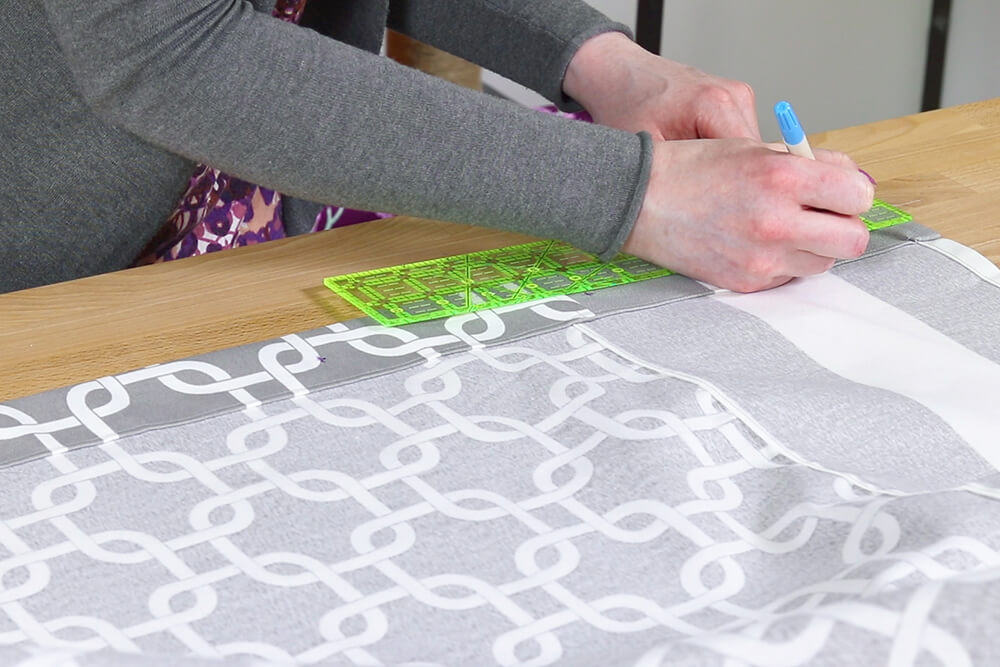
Center a grommet on the marks and trace around the inside of the barrel.
Cut a hole for each grommet.
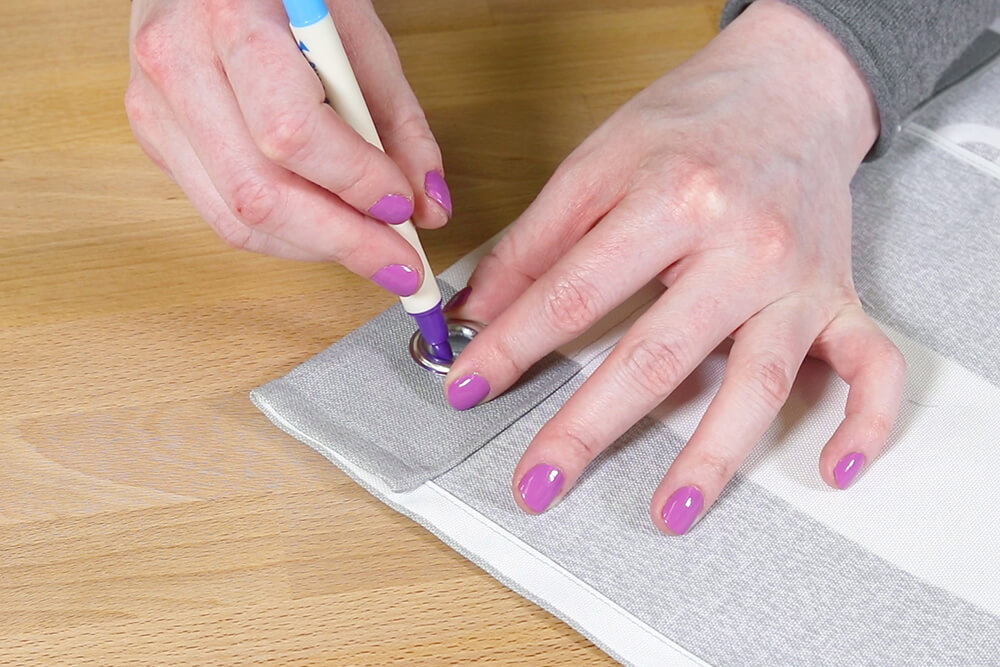
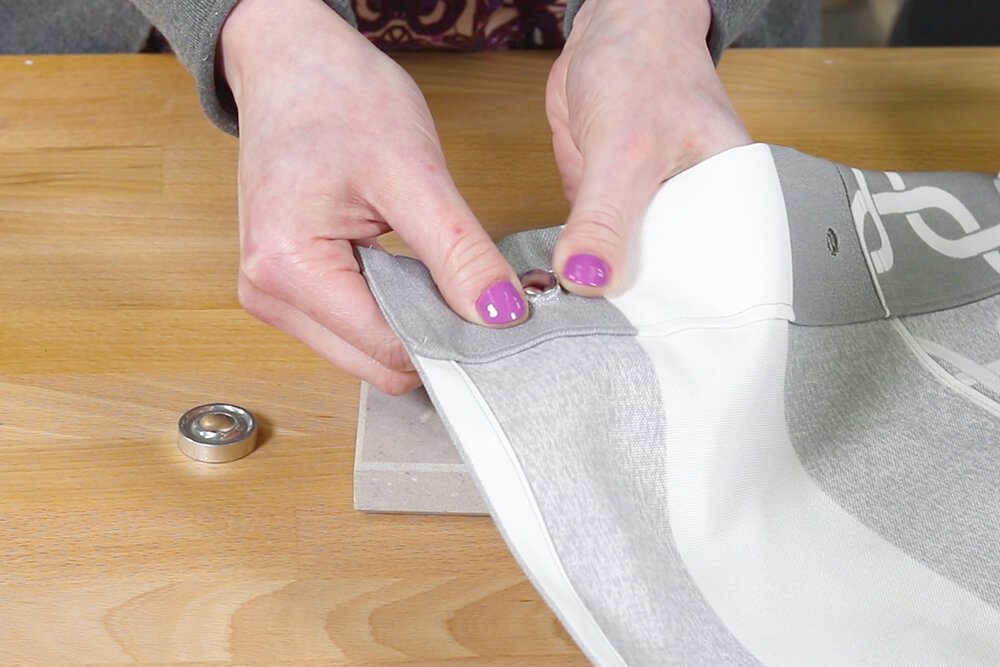
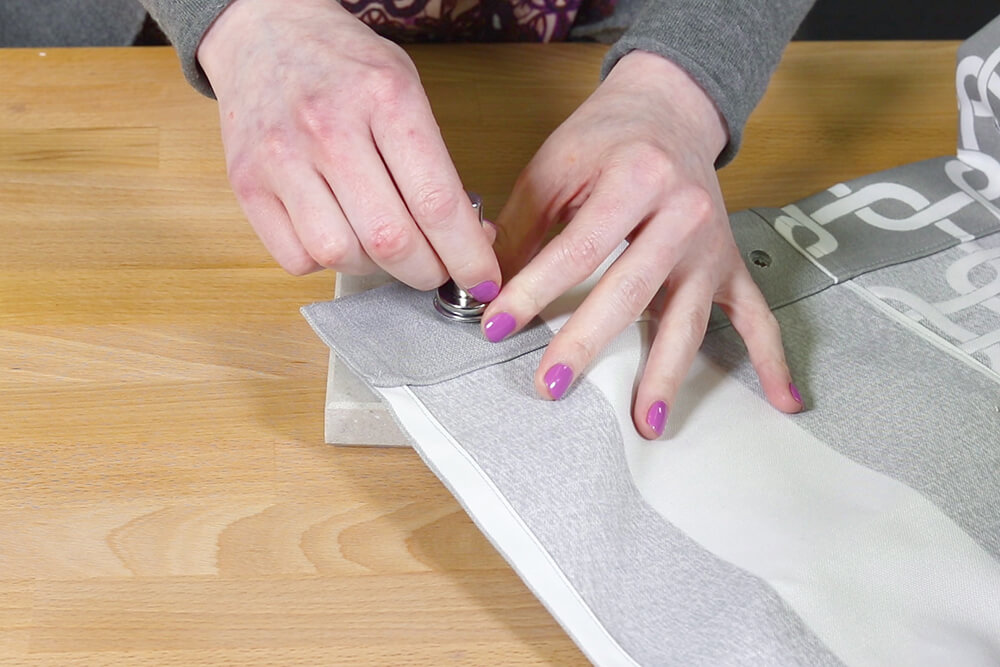
Insert the grommet barrel from the right side of the fabric. Place the anvil on a very hard surface like concrete. I’m using a piece of quartz.
Position the grommet on the anvil. Place the washer over the barrel with the teeth side down.
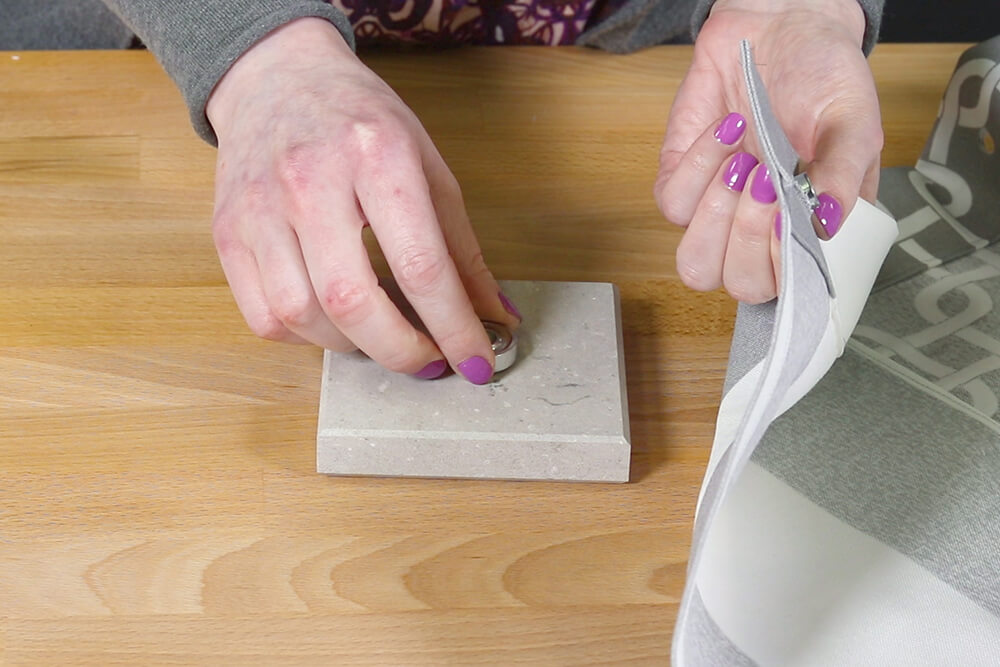
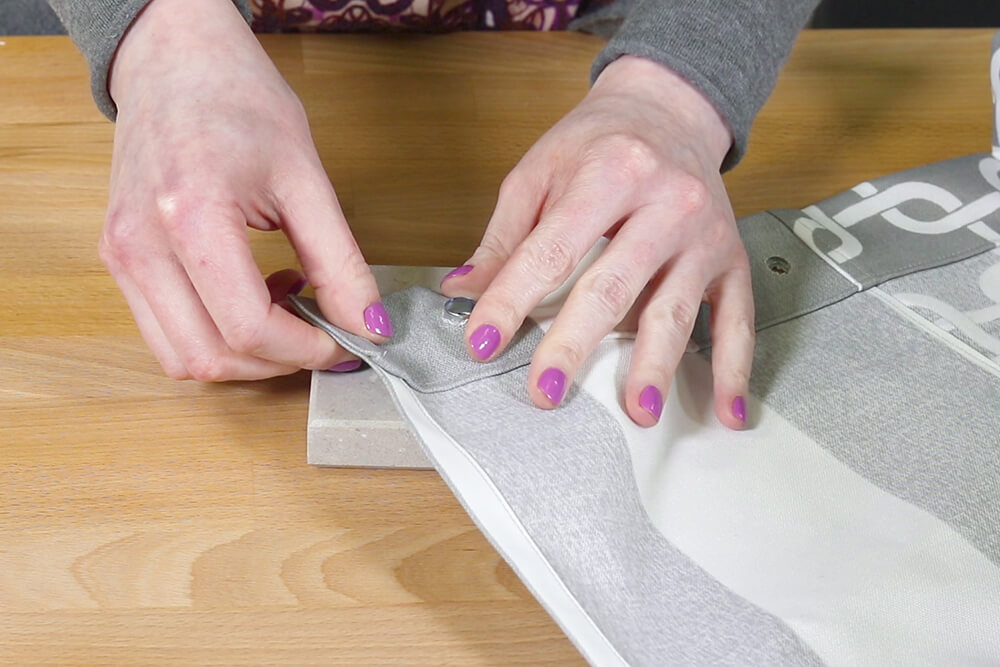
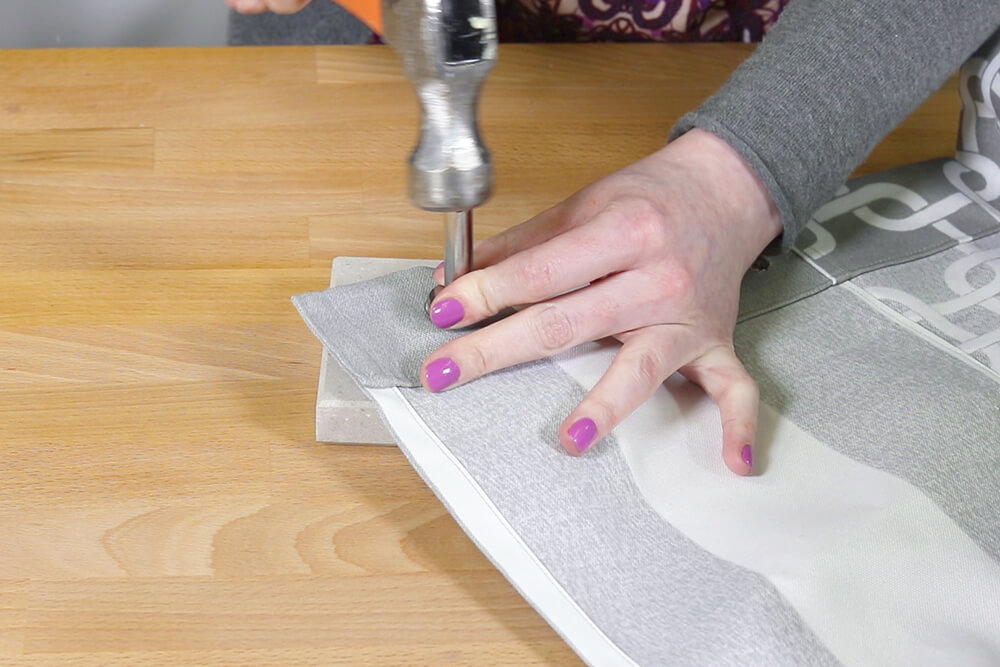
Position the stud end of the setter into the barrel and hammer. Repeat for all the holes.
Making button holes is another option. This is especially easy if you have an automatic button hole feature on your machine. If you don’t you can follow this tutorial.
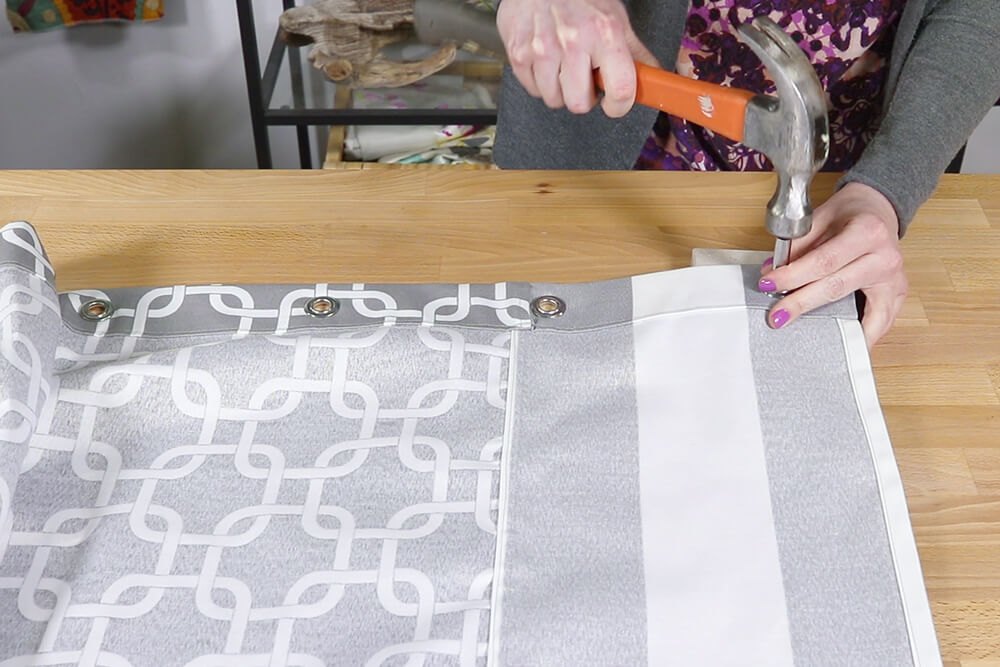
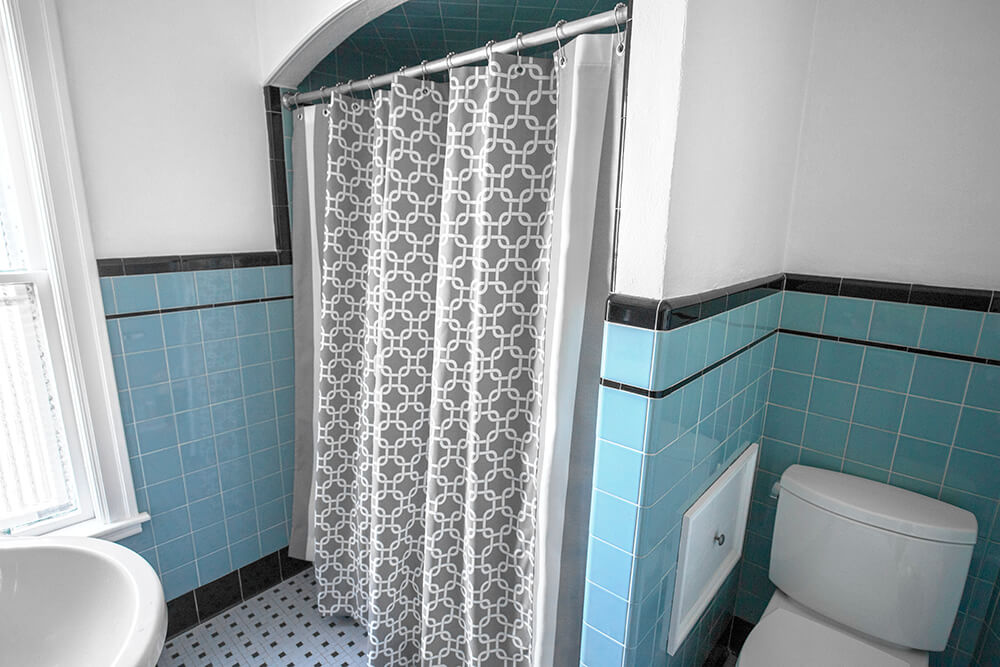
The shower curtain is ready to hang!
Ready to make a curtain for your shower? Check out our selection of outdoor fabric.
-
{{#each productSuggestedQueries.results}}
- {{query}} {{/each}}
-
{{#each categories.results}}
- {{html title}} {{/each}}
{{html attributes.description}}
{{/if}}-
{{#each queries.results}}
- {{query}} {{/each}}